
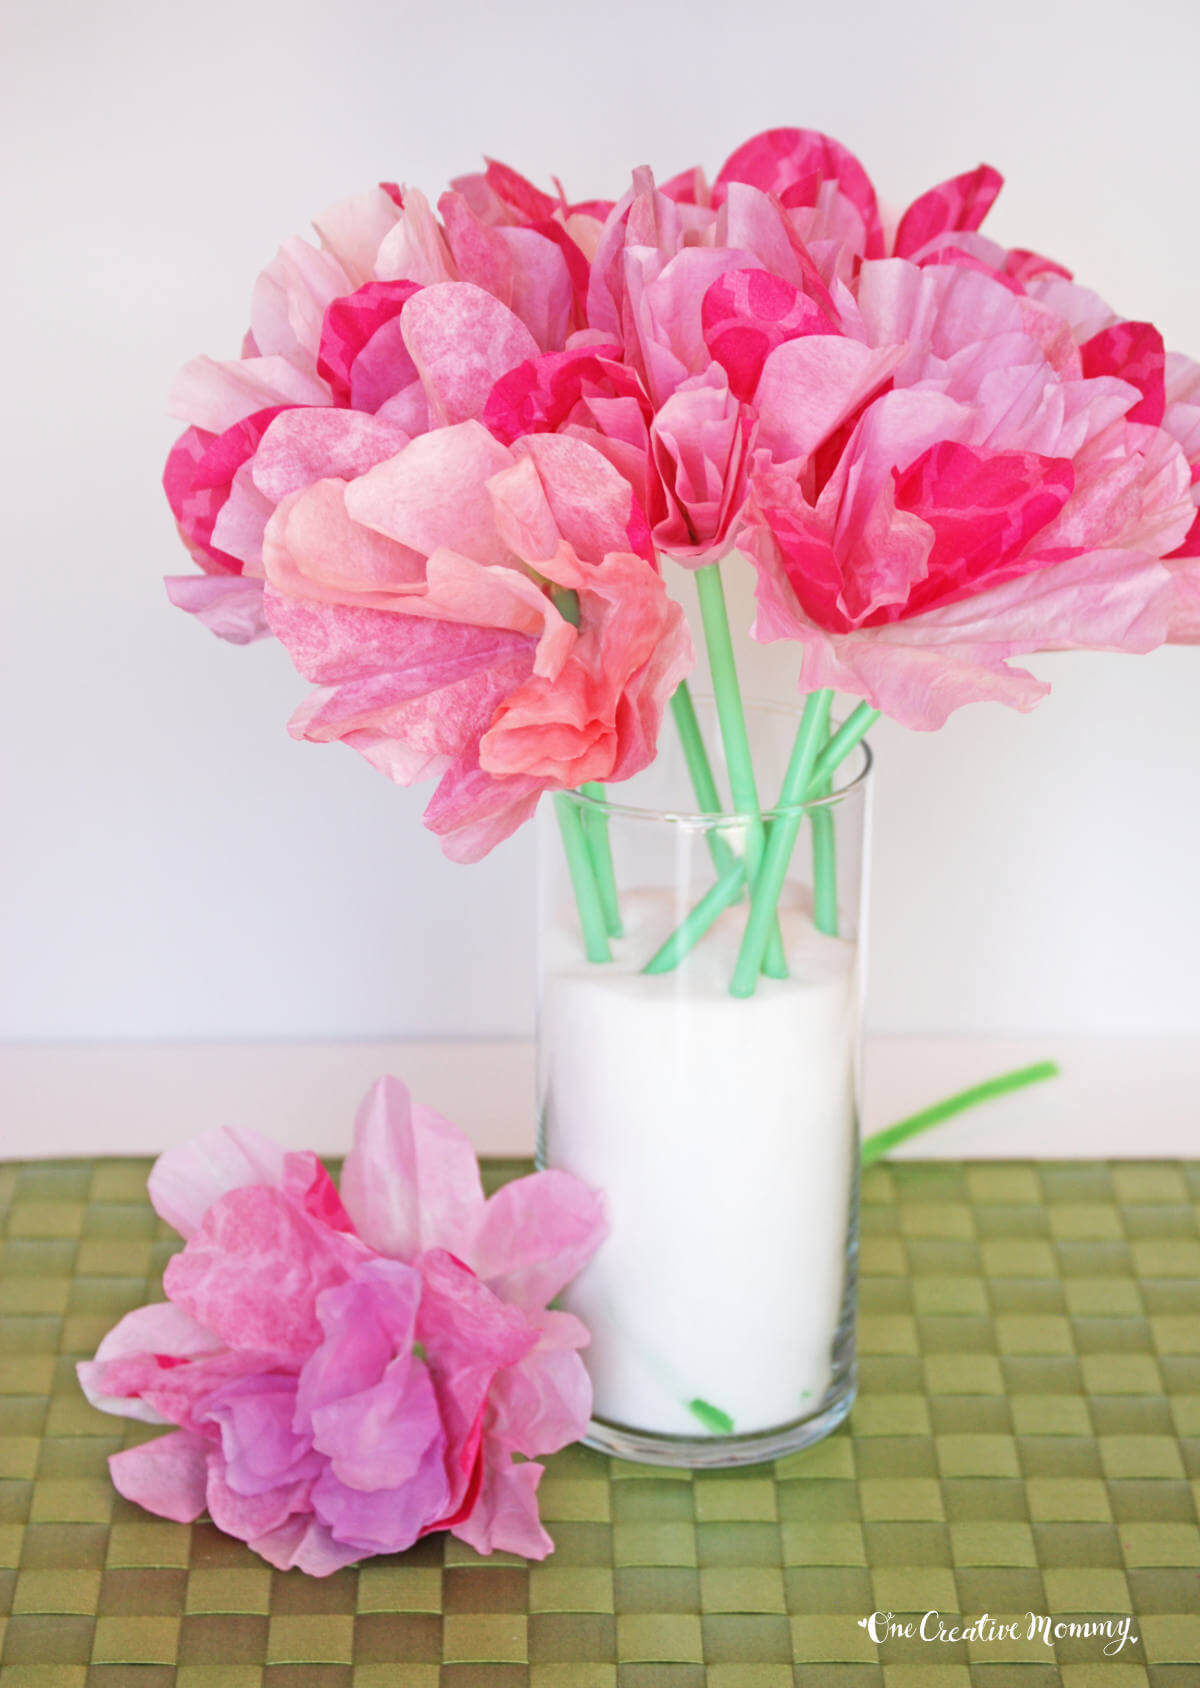
Spring is in the air, and I love all the paper flowers I see all over Pinterest. Of course, I had to make some. With my girls' help, we created these gorgeous coffee filter flowers. They're easy, and I love how something so simple turned into something so pretty. Keep reading if you want to dress up your home for Spring!
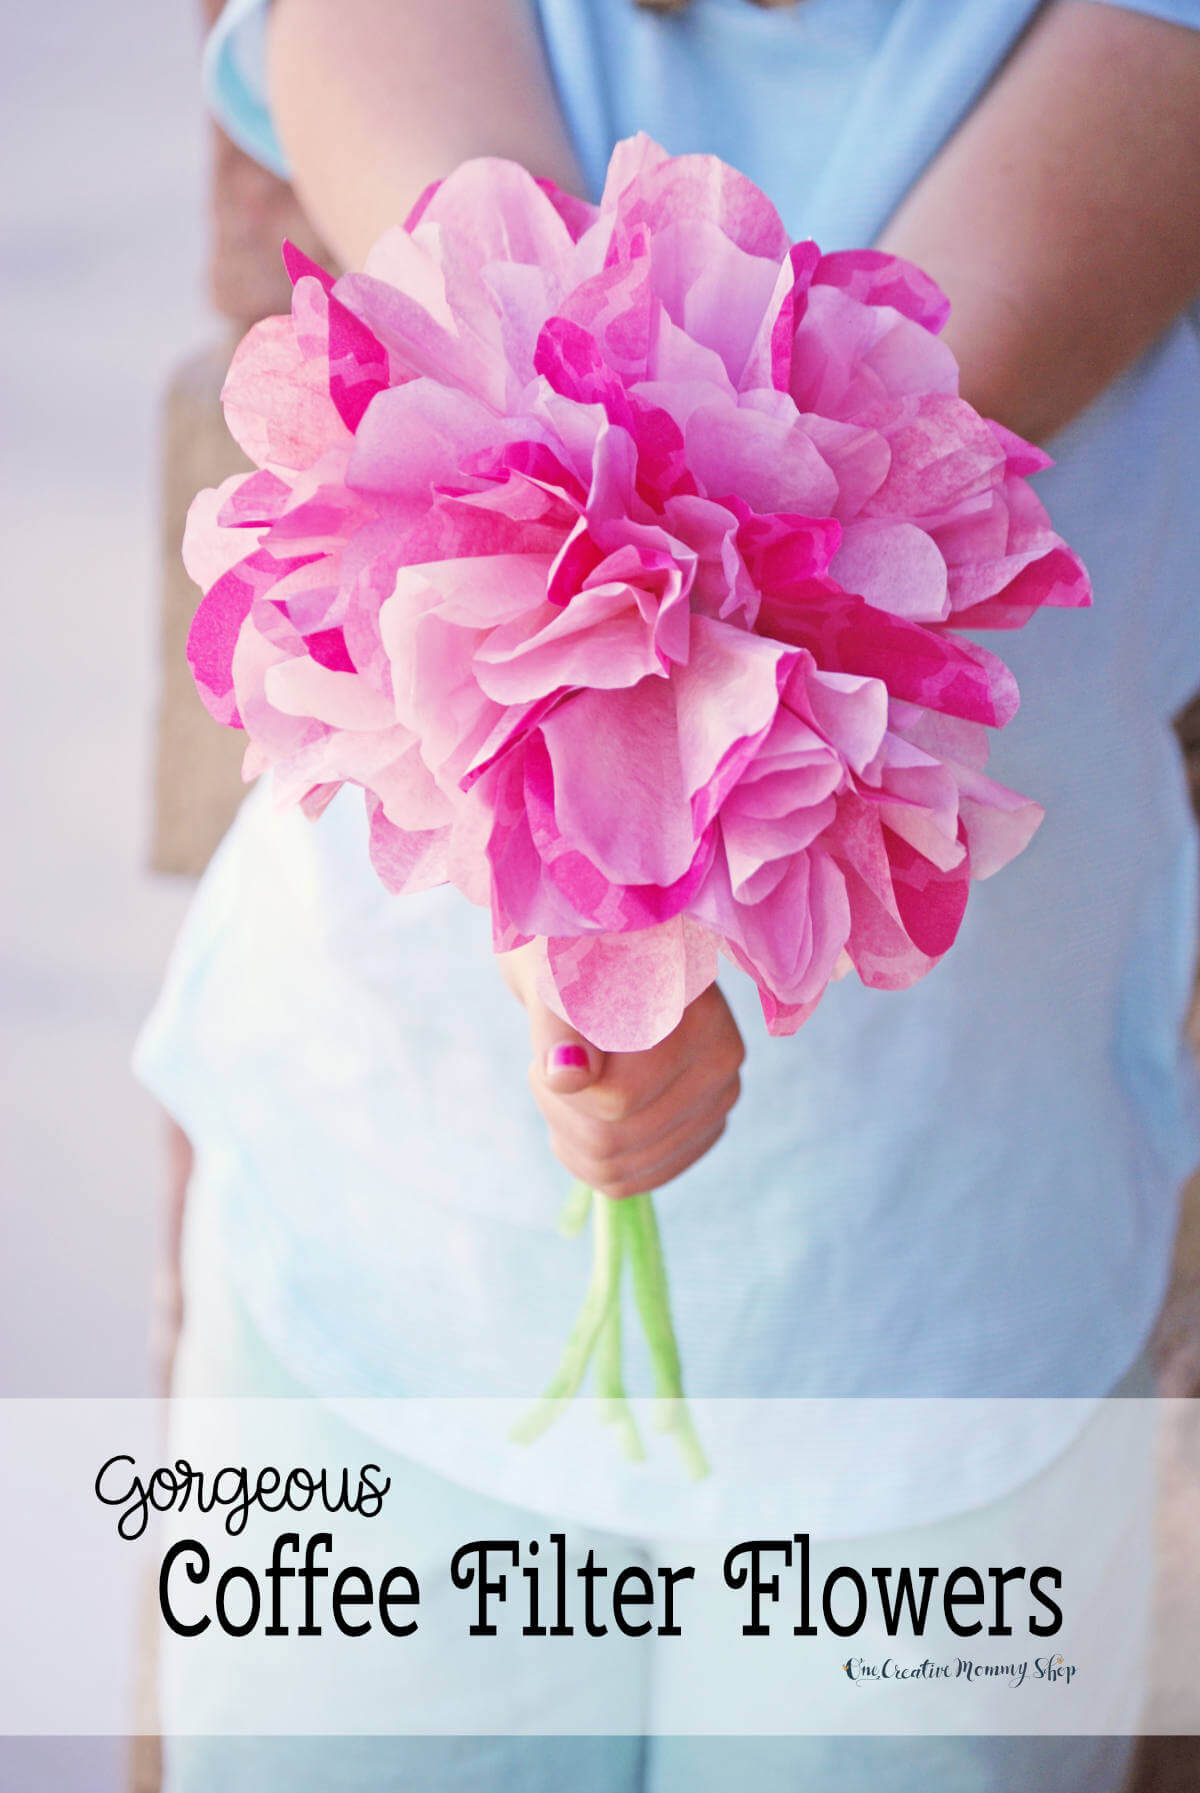
Whether you're planning ahead for Mother's Day, looking for a prop for photo shoots, or you just want to add a pop of color to your home, this is the perfect project for you. Let's get started!
Coffee Filter Flowers Tutorial
RELATED: Spring Frosted Rice Krispie Treats, Mosaic Turtle Craft for Kids
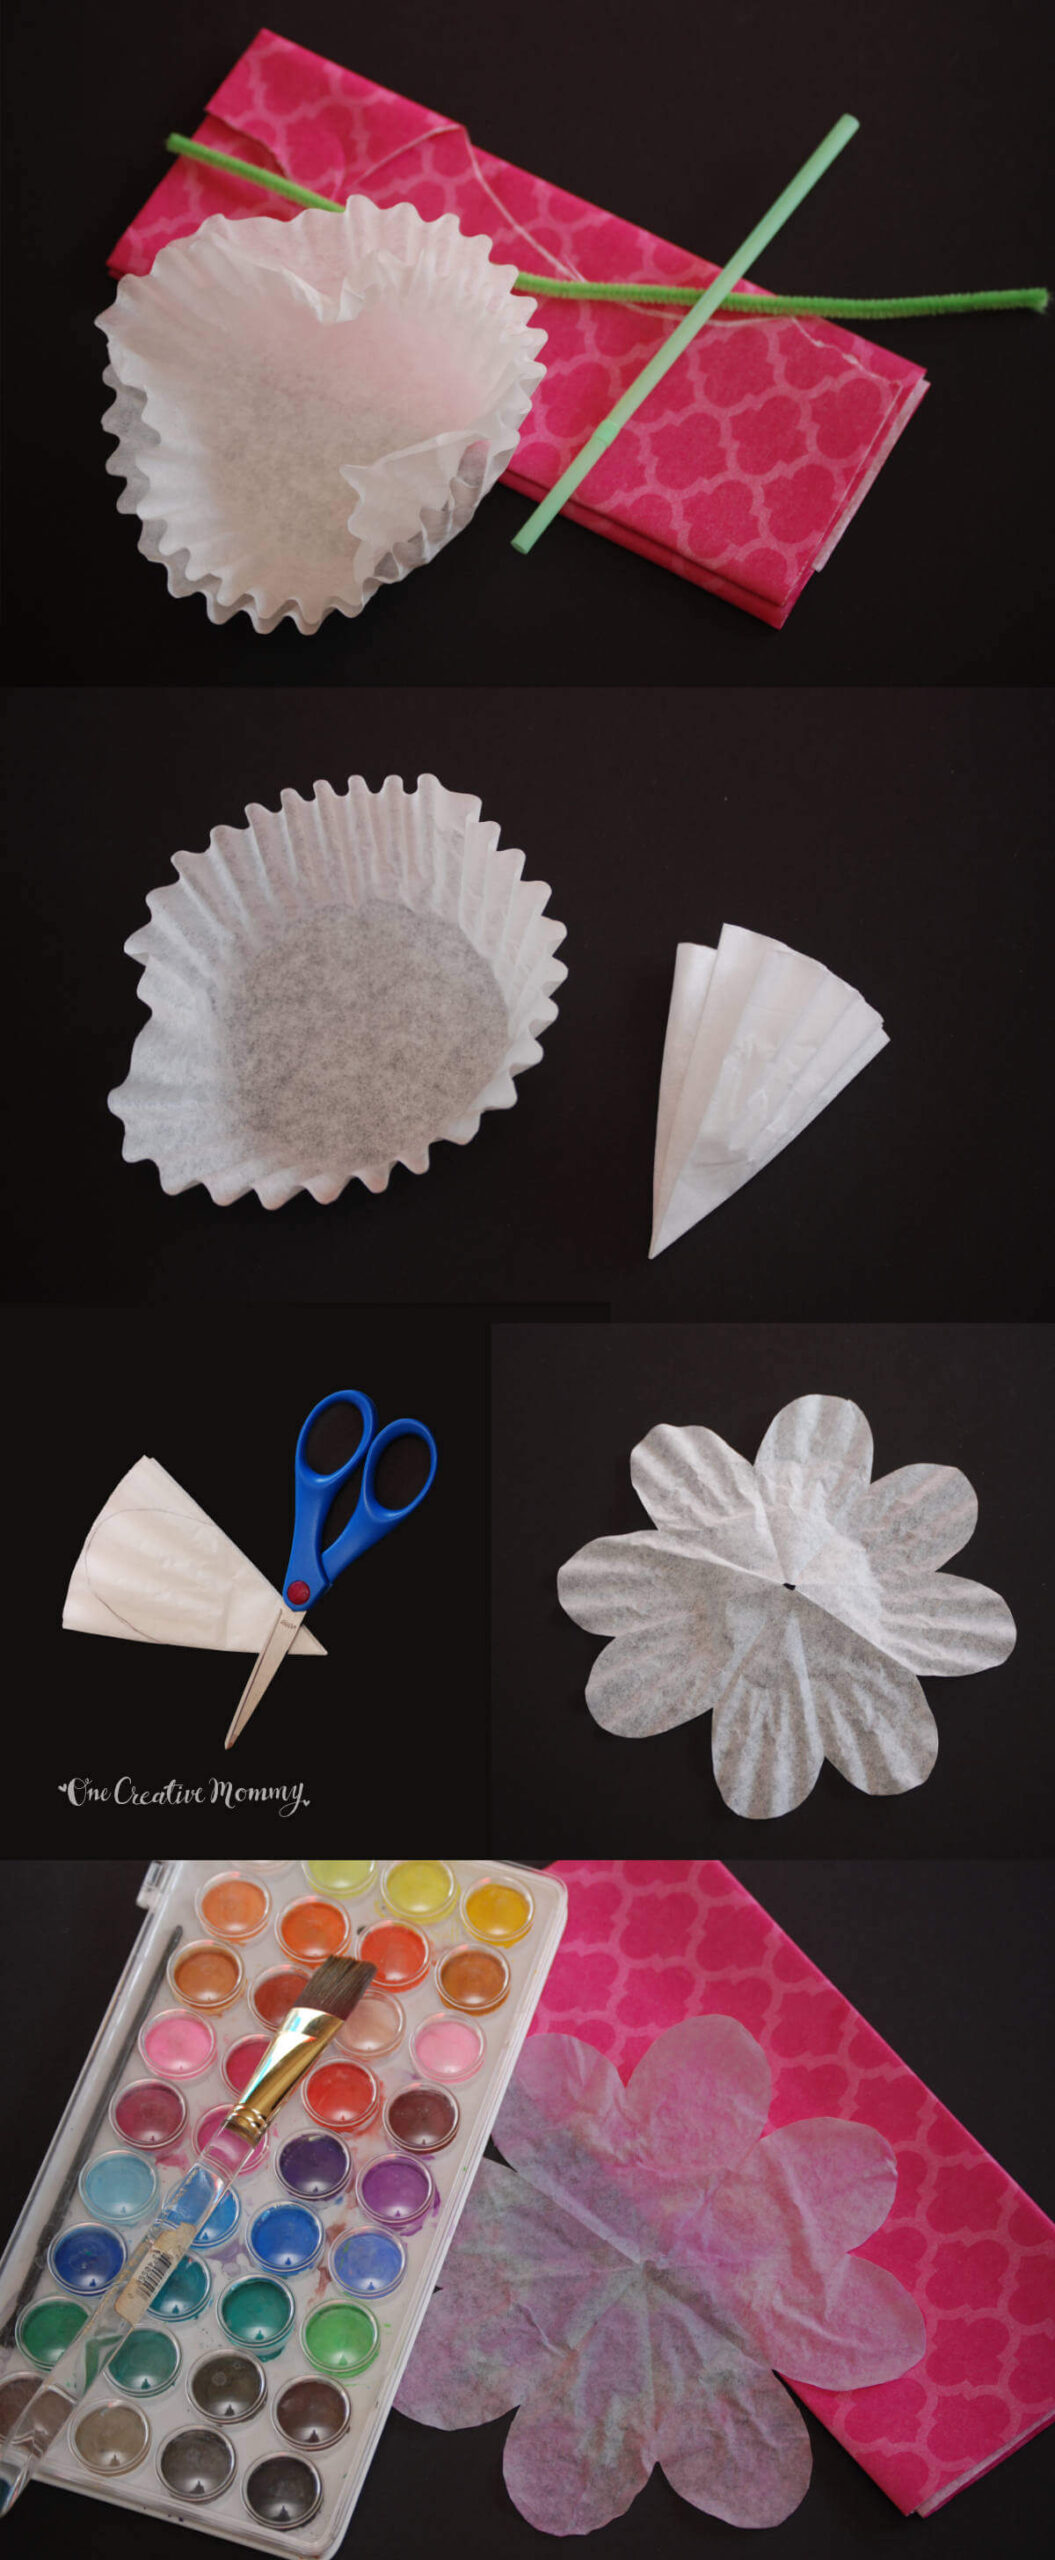
Materials:
- Coffee filters (2 per flower)
- Tissue paper cut to the same size as the coffee filters (1 per flower) I used a design with dark pink on light pink, but you could use a solid color.
- Green chenille stems (pipe cleaners)
- Scissors
- Glue
- Watercolor paints (You can substitute food coloring for watercolor paint, but your colors will be limited.)
- Large watercolor brush
Directions:
- Fold each coffee filter into 8 sections. (Fold the filter in half three times.)
- Cut a single petal shape from your folded filter. Don't cut the sides off. Just cut an arch shape off the top. (See image above.)
- Unfold the filter and paint it with watercolors. (Don't dilute the colors much at all. Put a very small amount of water in the bottom of a cup. Now wet your watercolor cake and fill your brush with as much color as possible. Put the brush in the cup of water and swish it around to add the color to the water. Add color a few more times, and then use your paint/water to paint the coffee filters. We used three colors and mixed them on the filters. (Red, dark pink, and purplish pink -- I just made that color up. Can you tell?)
- Allow the filters to dry completely.
- Fold your circles of tissue paper and cut them into flower shapes in the same way you cut the filters.
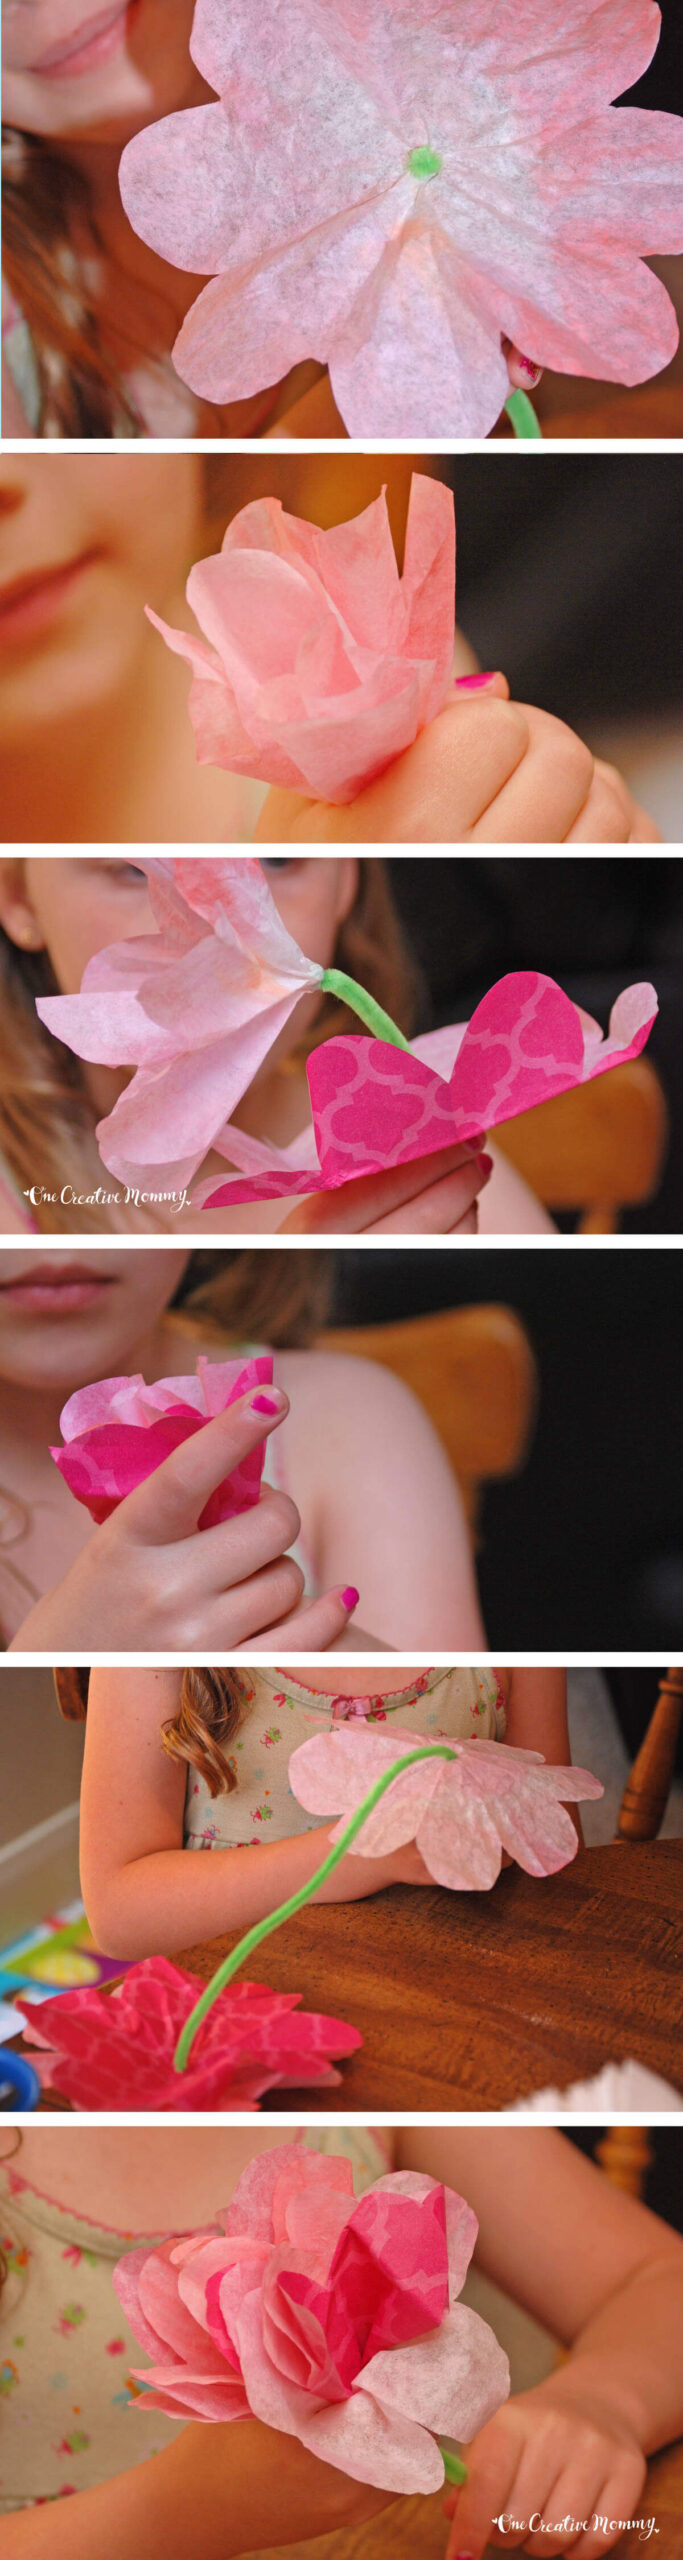
- Snip a tiny hole into the center of each coffee filter and tissue paper piece.
- Roll down one end of a pipe cleaner, and slide it into the hole on the first coffee filter. (Roll down about ½ inch. This forms the inside of the flower.)
- Grasp the filter in your hand and fold it up (away from the stem). Squish it.
- Add the tissue paper layer and fold up and squish.
- Add another coffee filter flower and fold up and squish.
- If desired, add a tiny bit of glue where the base of the flower and the pipe cleaner connect to keep the petals in place. (Don't glue if you plan to put the flowers in a vase. See more directions below.)
If you plan to put your flowers in a vase, you might want these items as well:
- One small glass vase (I got mine at The Dollar Store)
- Lime green drinking straws (mine are from a pack of blues and greens found at Walmart)
- 1 narrow plastic drinking cup
- 1 container of salt
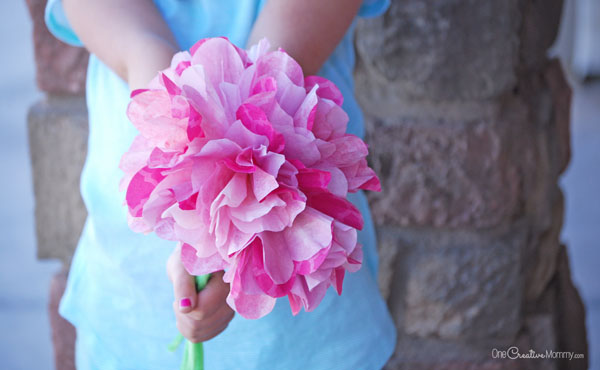
The flowers are perfect as a photo prop or to lay the bouquet on its side on a shelf. If you want to put the flowers inside a vase, you'll need to make a different type of stem.
For sturdier stems, cut the holes in the flower petals large enough to fit a drinking straw. Use the same method for creating the flowers as above, but slide the pipe cleaner inside a drinking straw before adding the flowers. Once you have shaped the flowers, add a bead of glue at the base of each flower (around the straw) and inside the petals (around the straw) so that the petals don't slide up and down the straw.
Place an upside-down narrow plastic cup inside your vase, and add the flowers. Pour a salt (from the large container, not the shaker) over the cup, and allow the salt to fill in the area around and above the cup. (You can skip the plastic cup and use more salt instead.) I chose to use the cup so there wasn't as much wasted salt.)
Check back on Friday for a free Mother's Day printable to add to your vase.
*Update--The link to the printable can be found in this Paper Flowers Roundup.
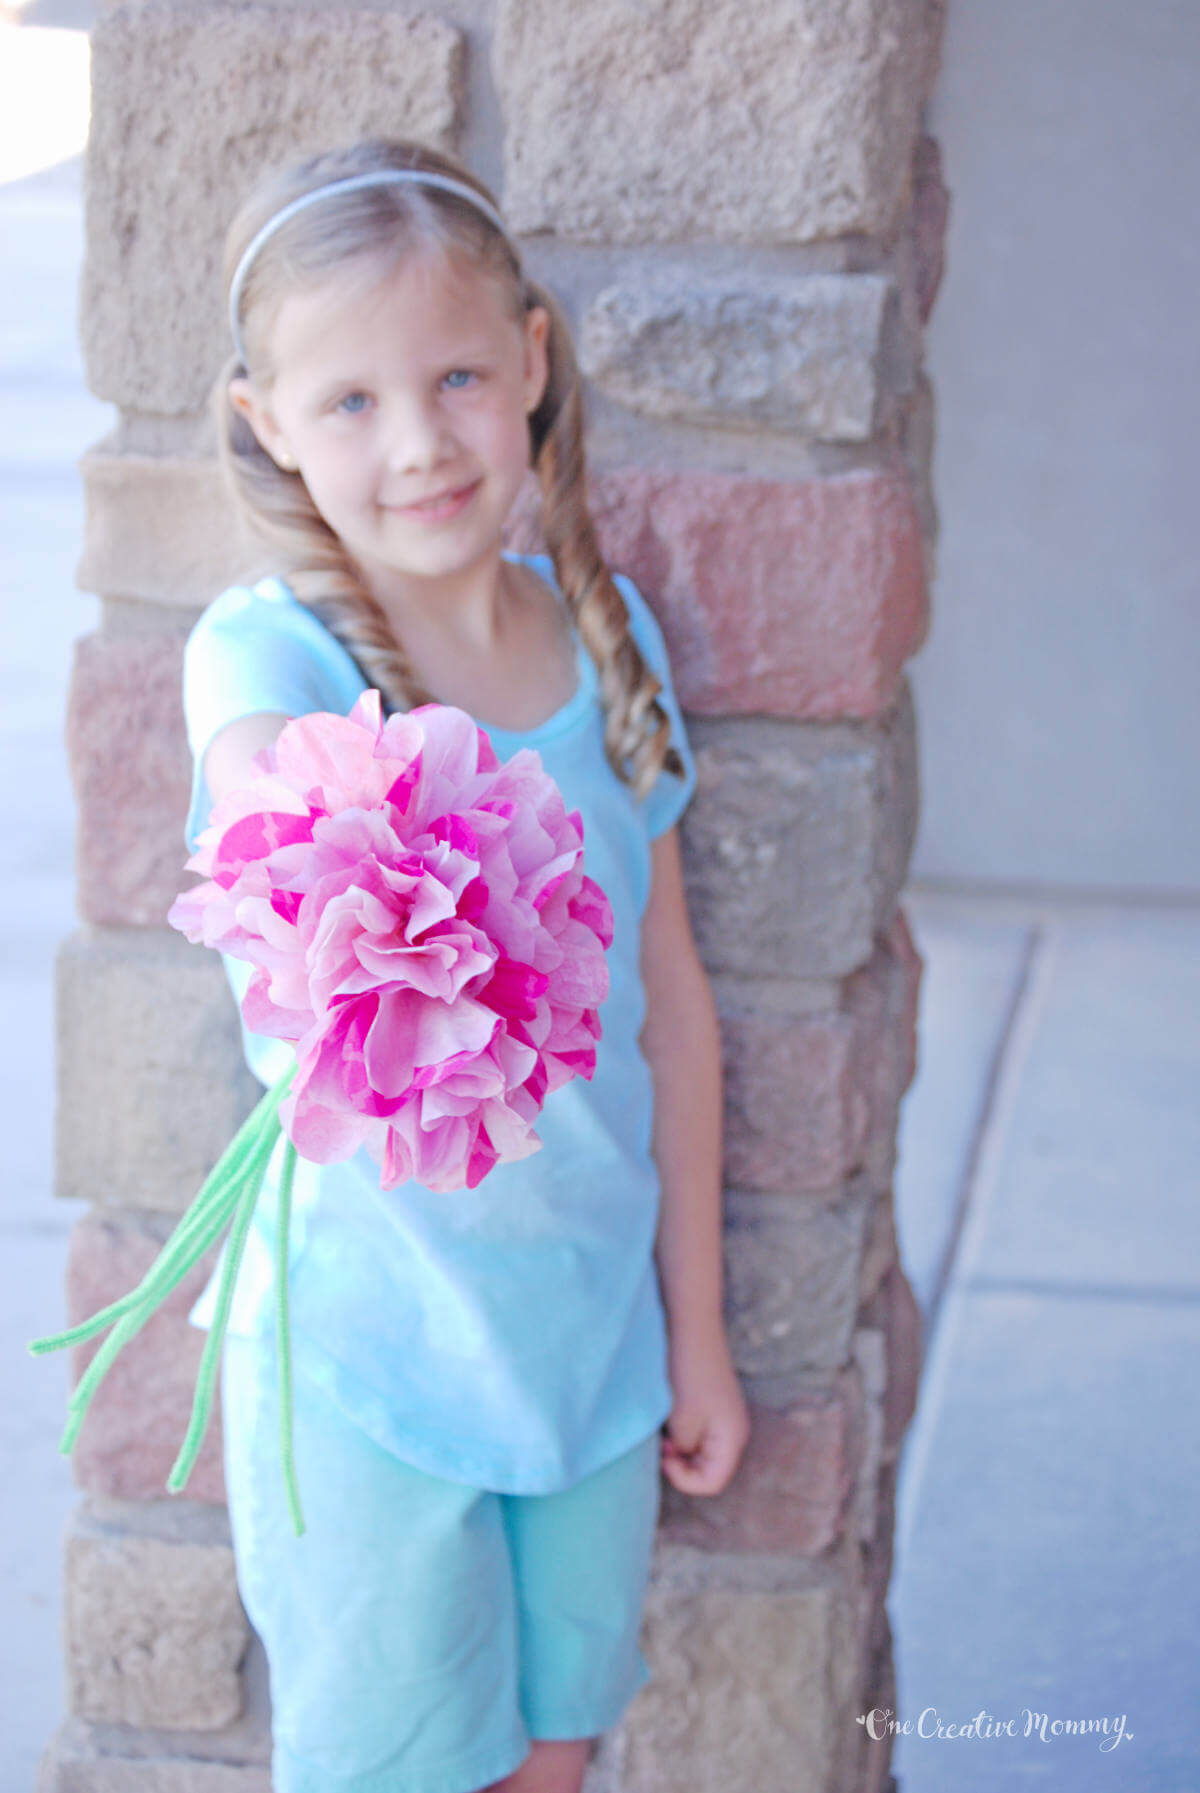
Enjoy! (Now someone teach me to remember to focus the camera on my daughter so that she doesn't end up blurry in this kind of shot!) Don't those flowers just scream SPRING?
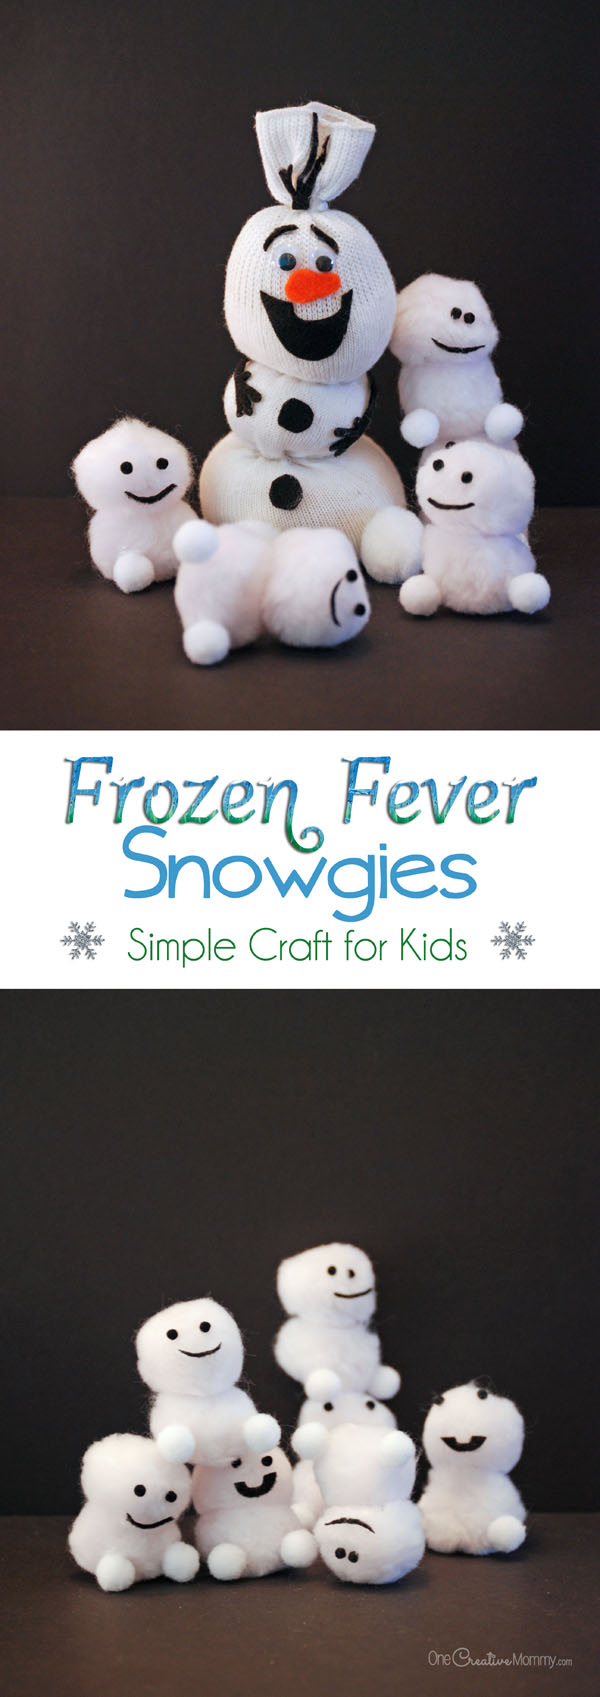
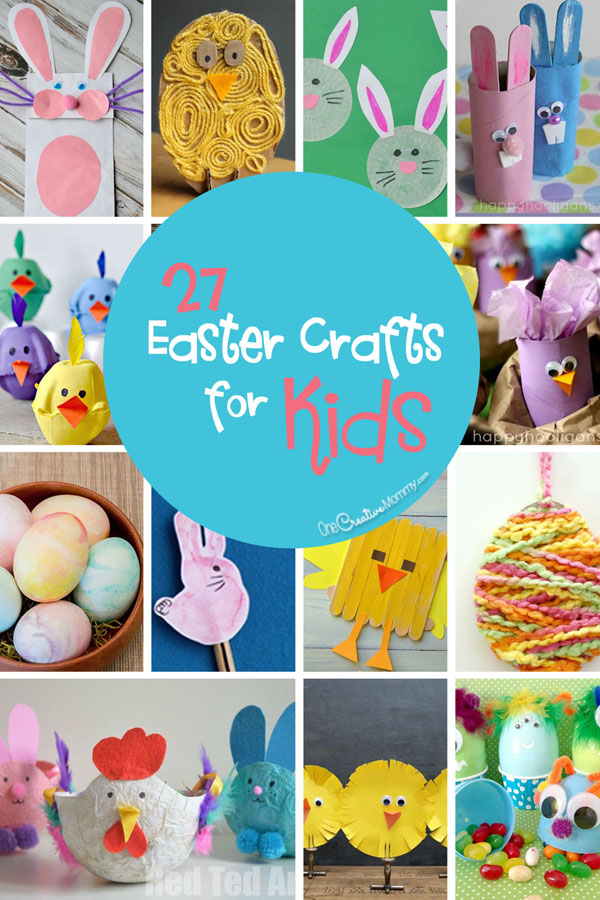
Thanks for stopping by today. You might like some of these projects, too. Images below are linked. Click on the image to visit the post.


Malan
What a great DIY project for kids! I will try this with my nieces
Heidi
Thanks, Malan. My girls loved it. I hope your nieces do, too.
Teri@The Freshman Cook
You definitely gave these flowers the right name when you said "gorgeous", because they are so pretty and cute! I can't wait to make these!
Heidi
Thanks, Teri. I love the colors. I plan to give them as a Mother's Day gift, but I'm seriously thinking of making some more to keep at home.
Marilyn
These flowers turned out simply gorgeous! :D
Heidi
Thanks so much, Marilyn. I love the way they turned out. They're in a vase right now, but I the girls and I might just have to make some more and do a spring photo shoot. (This time I'll get my daughter in focus in the pics!)
Bethany @ The Southern Couture
I just love that you can do this with coffee filters. They are so cheap and you get so many in a pack.
Heidi
Thanks, Bethany. I love inexpensive crafts, too. Coffee filters are perfect.
Nicci
Love this! I've seen these crafts before, but I love your detailed explanation and instructions. I pinned this, and I hope to create some flowers soon!
Heidi
Thanks, Nicci. I hope you try it. I love how something so simple adds such a pretty pop of color.
Melissa
Just beautiful!!!
Heidi
Thanks so much, Melissa. They were really fun to make with my daughters.
Anna
What lovely flowers, they look just like peonies! They'd make a lovely gift from a child to a bride on her wedding day :)
Heidi
Thanks, Anna. That would make a fun gift idea for a bride!
Janine Halloran
We love using coffee filters for projects, these are gorgeous! I'll be saving this activity for April break. Thanks for linking up to the Bloggers Brags Pinterest Party. I have pinned your post to the Bloggers Brags Pinterest Board.
Heidi
Thanks so much Janine. I hope you have a great time with the project!
Colletta
These are amazing! So pretty!
I hope you can stop by:
http://collettaskitchensink.blogspot.com/2015/04/family-time-into-woods-41415.html
Colletta
Heidi
Thanks, Colletta. I just checked out your Into the Woods post. I want to see it!
Marilyn
These flowers are so fun.....I LOVE them! We featured you at The Project Stash. Stop by and pick up your featured button! :D
Heidi
Thanks so much, Marilyn! You made my day. I always love your party.