
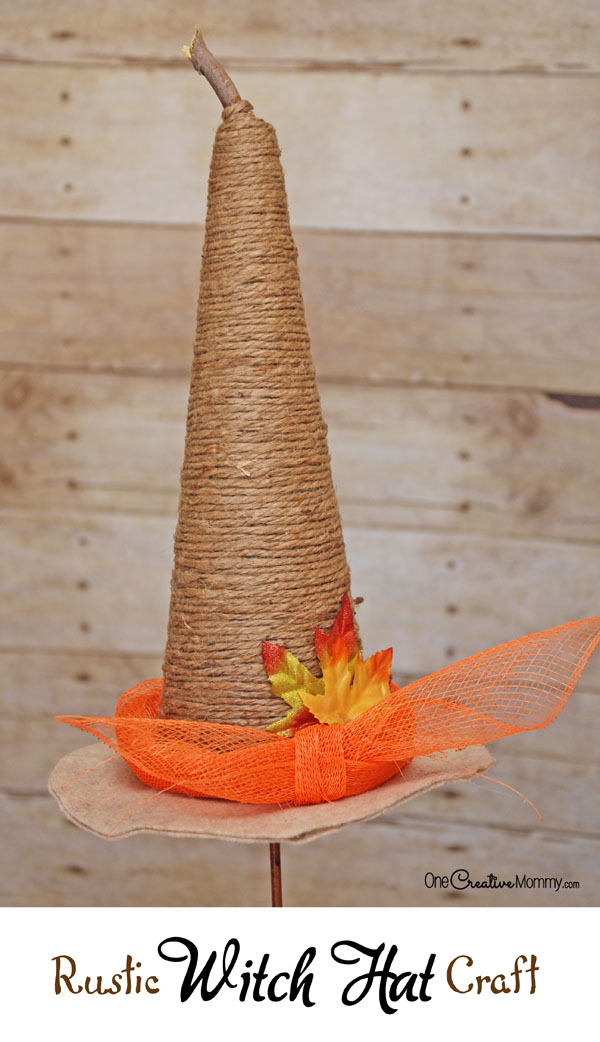
Our Halloween boxes have been out for two or three weeks, yet I didn't get the decorations up until today! What's wrong with me? Does anyone else feel like the holidays are are sneaking up way too quickly? I had to rush to create this rustic witch hat before the holiday was gone! I gave it a touch of Fall, so I'm hoping it can stay up a little past Halloween.
So, I did mention that my boxes have been out for a few weeks, right? The kids have been playing with the decorations and costumes, so not decorating on time hasn't been a total waste--just a total mess! (Yes, the kids have been digging in the costumes, so we've had our share of vampires, witches, and fairies running around the house.) The decorations are finally up now, and the boxes are put away. Phew!
And now, let's get going with the craft!
 Rustic Witch Hat Topiary
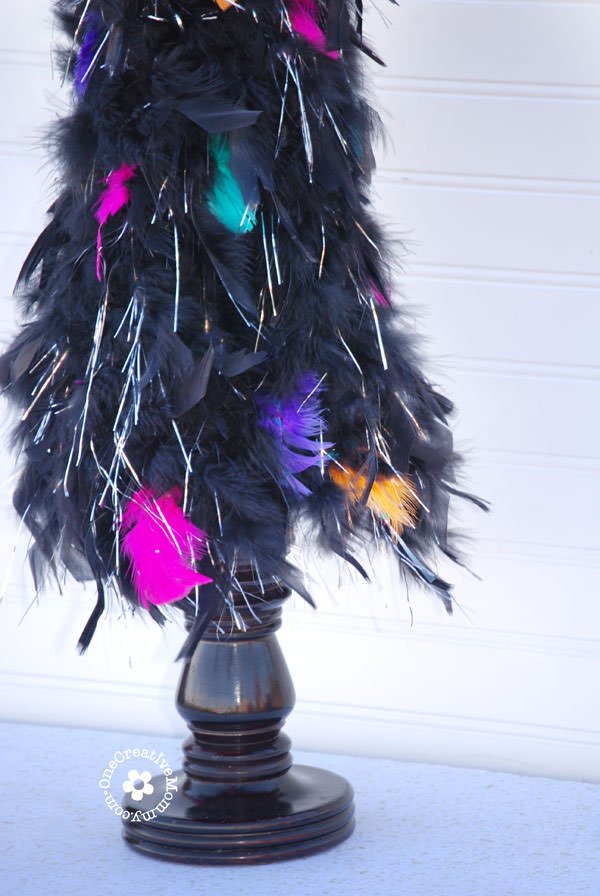
RELATED: Halloween Feather Tree, Yarn Christmas Tree Decor
Have you ever crafted with foam? It's so fun to work with. FloraCraft just came out with this cool Halloween ebook full of fun ideas for creating Halloween craft projects with foam. They asked me to pick one of the projects and recreate it with my own spin. I chose the witch hat topiaries. Click on the image below to download your own ebook and see all the fun ideas.

The original project was traditional, so I decided to shake it up and create a hat fit for a woodsy witch. Here's what you'll need to create one yourself.
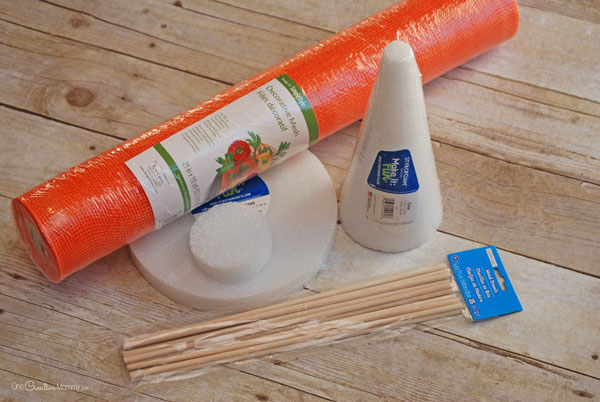
Materials:
FloraCraft® Make It: Fun® Foam:
- 12" cone
- 3" disc and 7" disc
Other Materials:
- Jute twine
- Wood dowel
- Orange FloraCraft® Simple Style® Decorative Mesh
- Craft Glue
- Glue gun and hot glue
- Brown felt
- Craft wire or cardboard
- Brown spray paint
- Fabric leaves
- Small stick
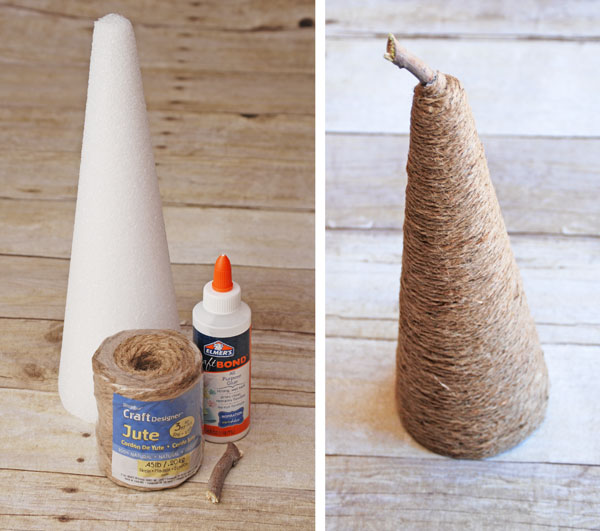
Begin by creating the top of the hat. Press the stick into the top of the cone, remove it, squirt in some craft glue, and put the stick back in place.

Starting at the bottom of the cone, draw a bead of glue along the edge of the cone. Lay the jute along the glue. Continue adding glue and pressing the jute into the glue as you wrap the jute around and around the cone. Continue gluing and wrapping all the way up the entire cone. (Turn on your favorite TV show and get comfy!)
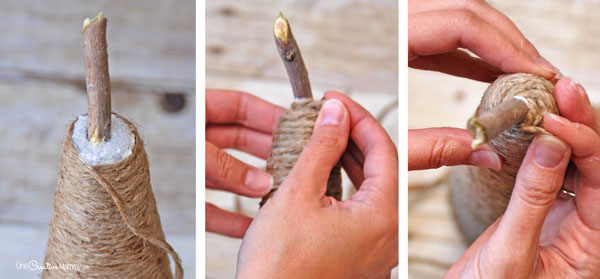
When you get to the top, continue right around the top of the cone and onto the bottom of the stick. Don't you love that my stick is still green? It came from the tree that I pruned last week.
Now for the hat brim.
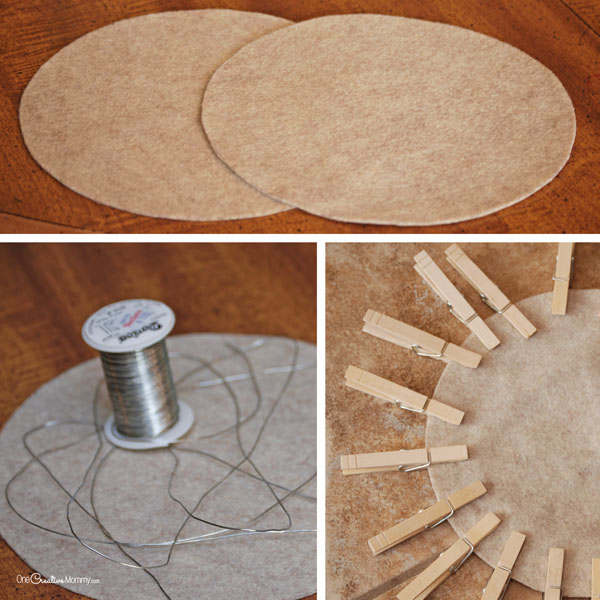
Cut identical circles out of two layers of felt. My circles are 7" in diameter, but I kind of wish I had made them a little larger. I wanted my hat brim to be bendable, so I put wire in between two layers of felt. If you don't care about shaping your hat brim, use cardboard in the middle instead. Glue the layers together. If your middle layer is wire, you'll need to clothespin the layers together while they dry. I was in a hurry, so I used a hair dryer to speed up the process.
Poke a hole through the center of the hat brim before you glue it to the top of the hat.
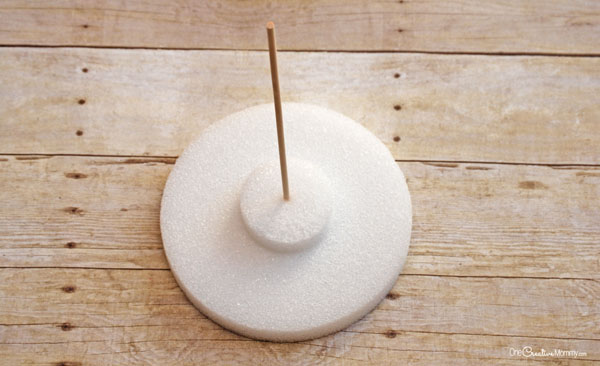
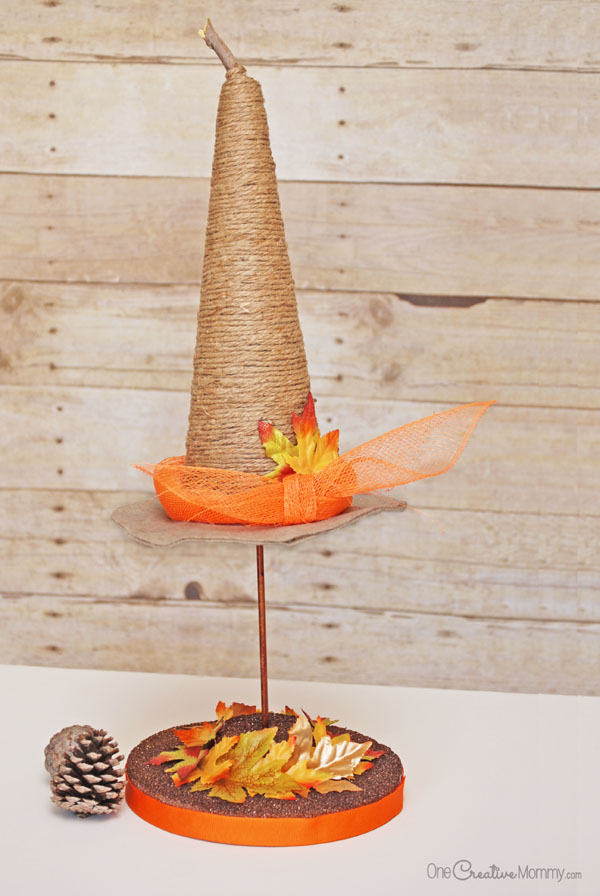
Prepare the base of your witch hat topiary by gluing your craft discs together and poking the wooden dowel through the center. I originally glued the discs together with craft glue, but I found that didn't work, so I switched to hot glue.
Take the base to a well-ventilated area and spray it with brown paint. I used the Glossy Wood Tone paint left over from repairing my daughter's scuffed shoes in this project.
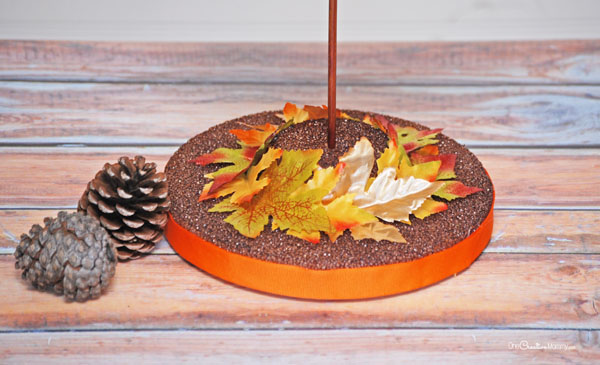
Decorate the base with ribbon, fabric leaves, or whatever suits your decorating style!
Attach the brim of the hat to the top of the hat with hot glue, and then decorate it. I created my ribbon using orange Simple Style Decorative Mesh and a couple of fabric leaves.
Finally, put the hat on top of the topiary, and you're done!
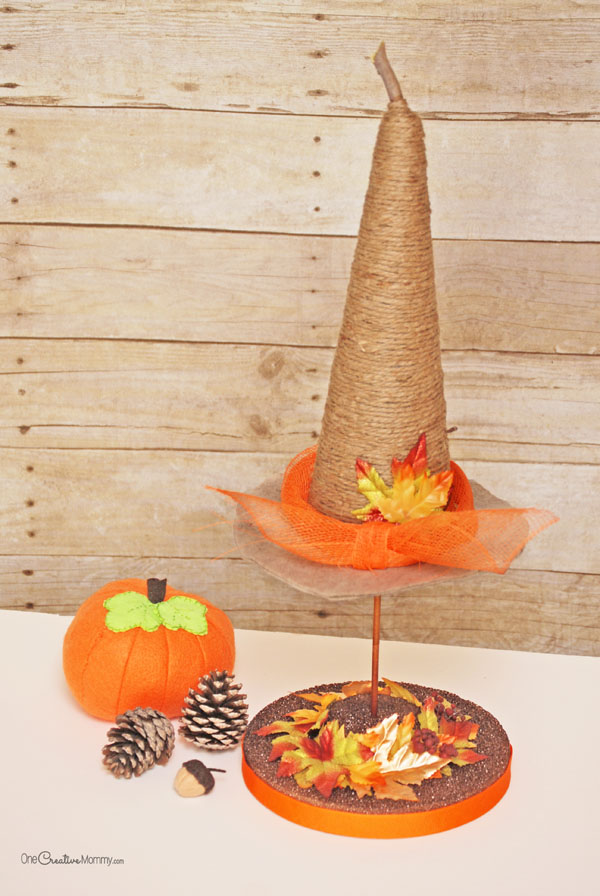
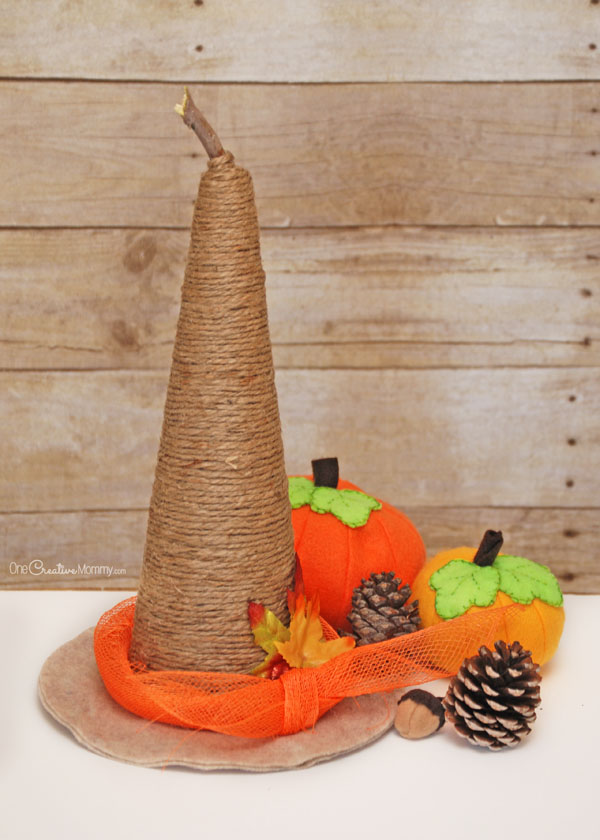
If a topiary isn't your style, I think the hat's pretty cute on it's own!
Be sure to visit Make it Fun Crafts for more great ideas!
* Special thanks to FloraCraft for sponsoring this craft. All opinions are my own.
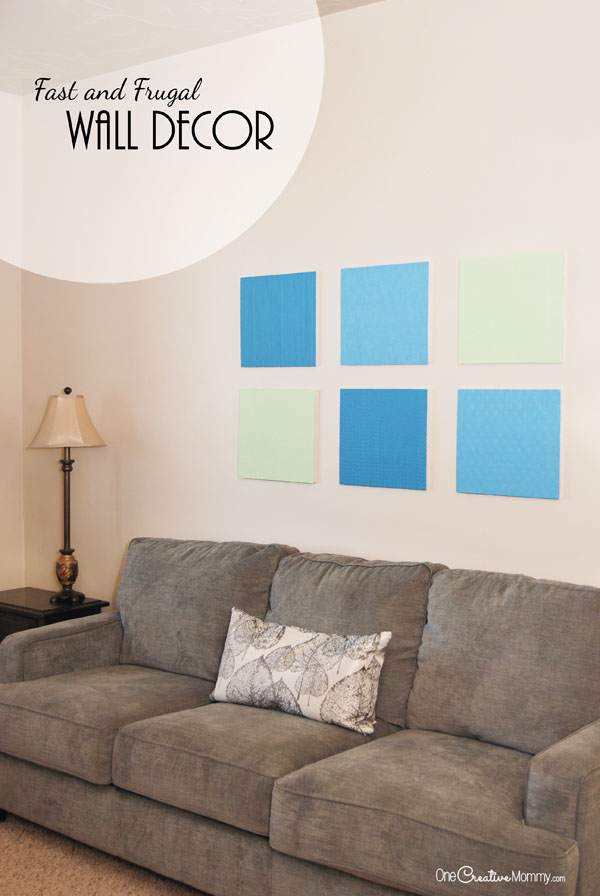
Want more crafts with foam? Here are some I've created. (Images below are linked to posts.)


Sharon
This is the prettiest witch hat! Love, love the twine and burlap! Thank you!
Heidi
Thanks, Sharon! It was a fun project. I'm kind of addicted to wrapping things in jute!
Sydney @ Tastefully Frugal
What a cute idea! And it's neutral enough you could leave it up after Halloween for a fall decoration. Thanks for the AWESOME tutorial!
Heidi
Thanks, Sydney. That's the plan. I'm hoping it will blend in with my Thanksgiving decor.
linda spiker
I love fall decorations and I haven't put out one thing yet! Very cute idea!
Heidi
I'm glad to know I wasn't the only one behind on my decorating!
Lindi Haws
This is absolutely adorable! Great work!
Heidi
Thanks so much, Lindi. I love your bat projects!
Mandy Al-Bjaly
Thanks for posting it step by step. I think even I could make this! I think it is super cute.
Heidi
You're welcome Mandy. I'm glad you like it!
Lara
I really like this one. I think since it doesn't scream "witch hat" that it can be used into Thanksgiving, too!
Heidi
Thanks, Lara. I think I'll keep it up.
Kim
Great tutorial!
Heidi
Thanks, Kim.
Heather Mecham
Still like the multi-holiday possibilities for this one. Thanks for the tutorial!
Heidi
Thanks, Heather. I think I'll leave it up through both seasons.
Brittany
Cute craft! Sharing :)