
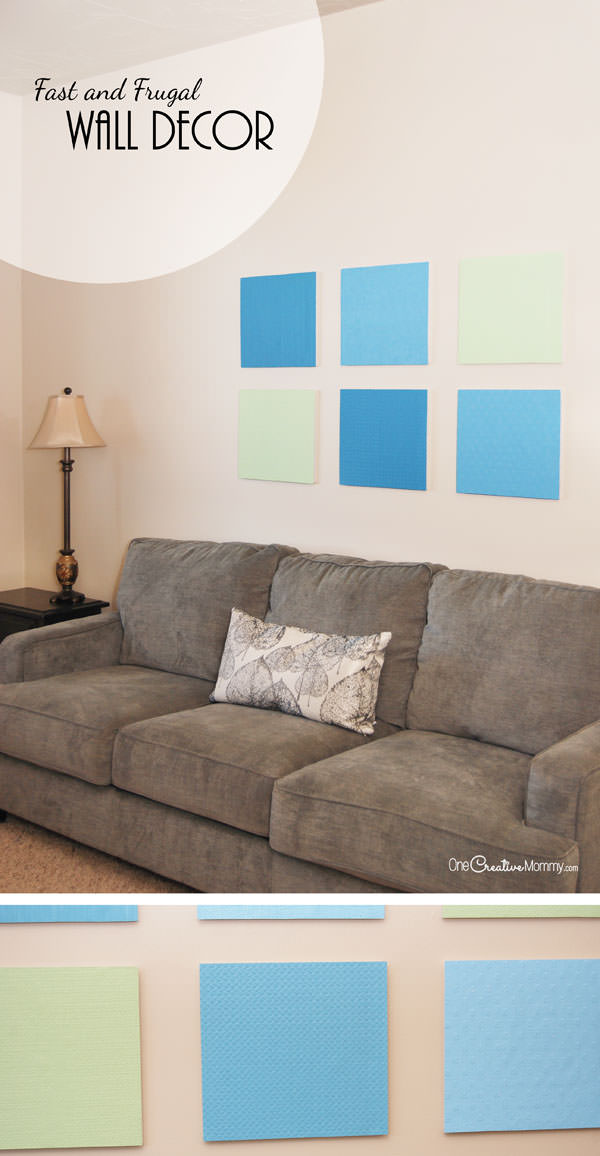
Would you believe that I have lived in my home for five years without decorating my living room walls? As a closet artist and frugal DIY-er, I have great plans to create some art, but I never seem to get to it. Well, I finally did it! I was given several sheets of FloraCraft® Make It: Fun® Foam and challenged to create some wall art. Would you believe those gorgeous panels are made out of foam? Want to know the secret to my DIY wall decor? (I'll give you a hint. It's all about what I used to cover the foam. It's so cool!)
RELATED: Easy Valentine Wall Art, Picture Frame Magnet Boards
Look at the closeup. Can you tell? It's not fabric. It's paintable wallpaper! When I was cleaning out my little girls' room, I found a huge stack of wallpaper sample books I've been "collecting" over the years for projects. (I should say, they've been collecting dust.) Before finally tossing them (my hubby will be so proud of me), I took one last look to see if there was anything worth keeping.
After carefully tearing out some favorite panels, I came across an entire book of paintable gems, and the idea for this project was born. Now, I know you don't all have a book of paintable wallpaper hiding under a bed somewhere, but now you know that you can buy a roll and snip it up to create something cool!
DIY Wall Decor with Paintable Wallpaper
Ready to get going? Unless you start in the morning, this project could take two days because of paint and glue dry time. But, each step is fast and fun, so the whole project isn't very time consuming. (Most of the time is spent waiting for things to dry.)
Materials:
- 3 colors of paint (I used $3 paint samples from Lowes. There is plenty left over to use for other projects in the room.)
- Painters tape or masking tape
- Drawing boards or sturdy cardboard
- Paintbrush
- Carpenter's Square (Optional--but it's really helpful for measuring and cutting straight lines)
- FloraCraft® Make It: Fun® Foam (You'll find the foam and project ideas on MakeItFunCrafts.com)
- FloraCraft® StyroCutter® Plus
- Scotch Super 77 Multi-Purpose Adhesive (That's not what's in my picture. I switched products half-way through, and the 77 worked much better. Do yourself a favor and get the large can. I had to go back and buy more when I ran out.)
- Velcro Picture Hanging Strips
Prep the Make It: Fun® Foam
- Choose the size you want for your boards. (My final boards are 12 ⅞" tall x 13 ¾" wide.) To create the size I wanted, I had to do a little bit of piecing.
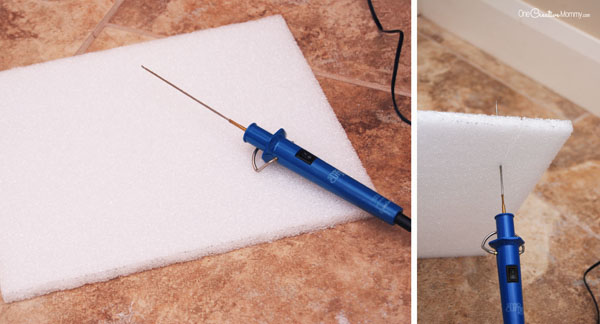
- To trim the foam, use a serrated kitchen knife or the FloraCraft® StyroCutter® Plus. (The directions are on the package, so I won't go into details.)
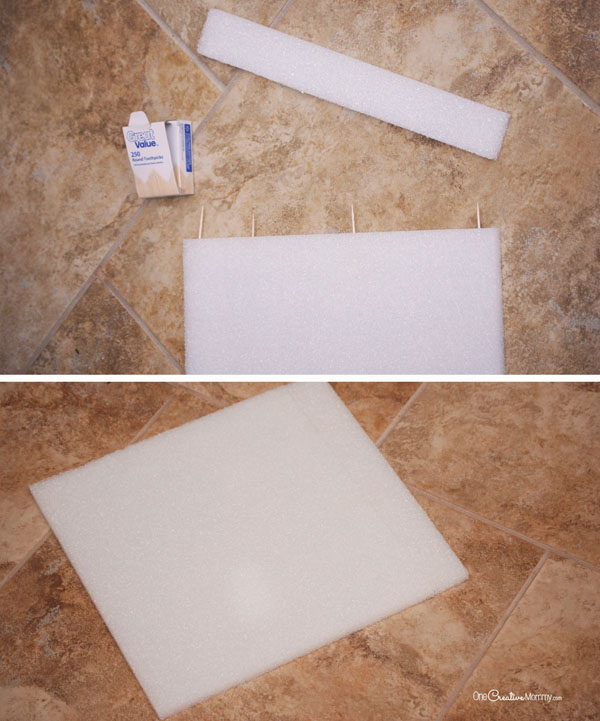
- To connect two pieces of foam, use toothpicks. For a lasting connection, you should probably use glue in addition to the toothpicks, but I skipped that step. (I know. I'm a slacker.) When you connect the two pieces, be careful to make sure that the two surfaces are flush. I didn't pay attention to that, and I can tell on one or two of the panels that I missed that detail.
Working with the foam was really fun, and I love that my finished art work is super light. I'm already planning more projects.
Get Painting!
This part is the most fun.
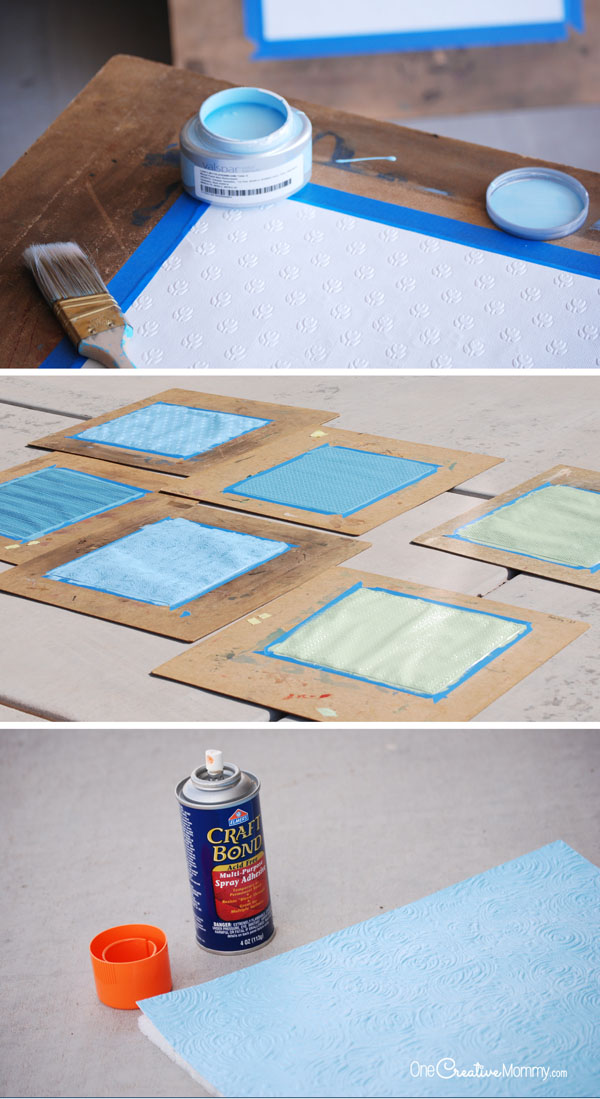
- Cut your wallpaper rectangles slightly larger than your foam panels. You will trim them down later. You need extra length and width to tape down the edges.
- Tape the wallpaper completely around all edges to your boards or pieces of sturdy cardboard. (I used old drawing boards from my past life as an art teacher. I knew they'd come in handy again one day!)
- Paint away! Make sure to get the paint into all the grooves of the wallpaper. I had to go back after many of the sheets were dry and touch things up. When the paint is wet, the wallpaper will curl up quite a bit. Don't worry. It will flatten out as it dries. That is why you taped it down.
- Once the paint is dry (the paper should not feel cold to the touch), remove the tape and trim the paper to fit your foam pieces. (I used a carpenter's square to make sure all of my edges were straight. It's most important that the edges of your paper are straight, and less important that your foam is perfect.)
- Glue the wallpaper to the foam using Scotch Super 77 Multi-Purpose Adhesive. For best results, spray the foam and the back of the wallpaper. Use a flat tool (a plastic spatula will work) to carefully smooth down the paper. Start from the center and move outward toward the edges.
- Allow the glue to dry.
- If necessary, sand off any edges of foam that can be seen beyond the edges of the wallpaper.
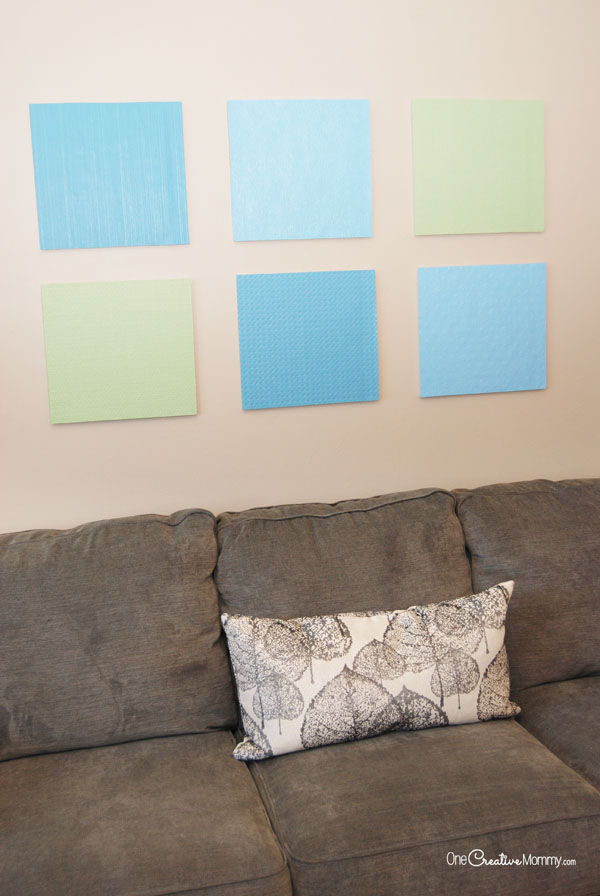
- Attach your artwork to the wall using velcro hanging strips. (That's my secret to no nail holes!)
Enjoy your new artwork!
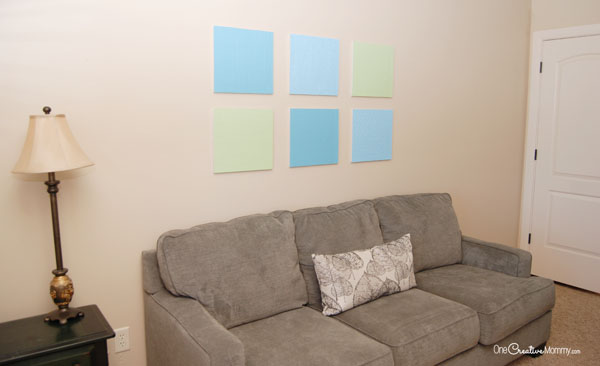
So, five years to get artwork on that wall. I guess I'd better hurry with the rest of the house! (It's not decorated either!)
Disclosure: I was compensated to create a project using FloraCraft® Make It: Fun® Foam. All opinions are my own.
Here are some of the products I used for my project:
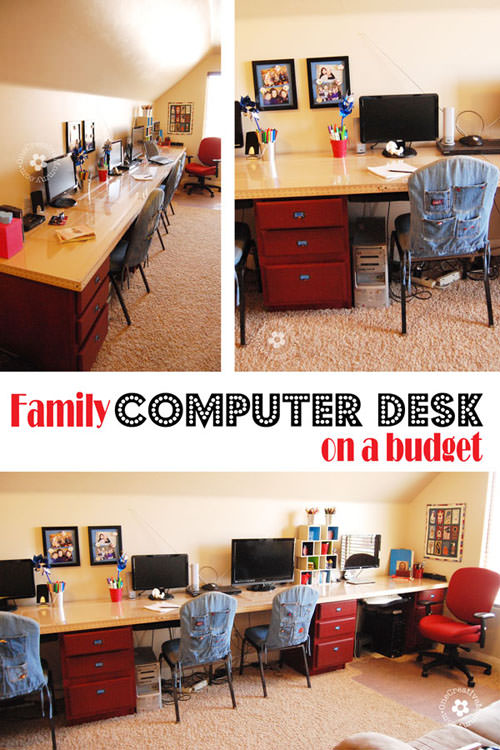
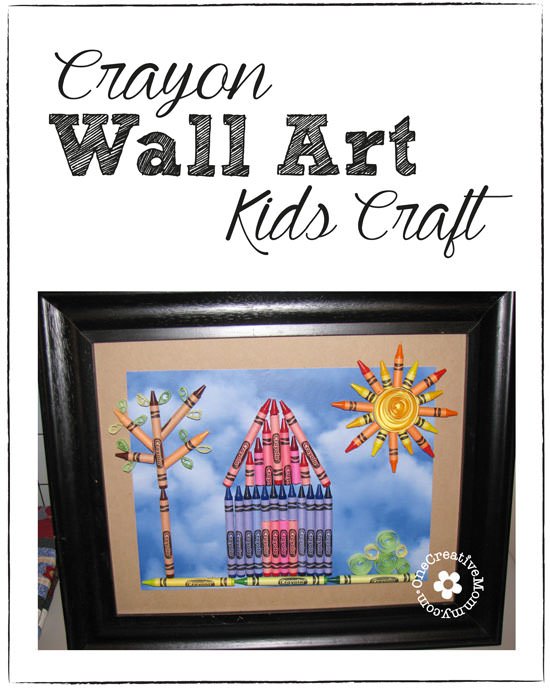
Thanks for stopping by today. While you're here, check out some of my other DIY projects for the home. (Images below are linked to posts. Just click on the image to visit the post.)


Sharon
Such a pretty palette of colors, and I love the idea to use paintable wallpaper. Really beautiful! Thank you.
Heidi Fowler
Thanks so much, Sharon. I feel like I found a gold mine with the wall paper, and I love the lightweight foam.
Leesha @ Living Contently
What a neat idea! This looks so easy and simple. I love that the wallpaper gives it a bit of a textured look. Thanks for sharing!
Heidi Fowler
Thanks, Leesha. I think the texture is my favorite part! Choosing my favorite papers was pretty tough.
Kristina
You my friend, are brilliant! I love it! Lots of things to do with this!
Heidi Fowler
Thanks, Kristina. I don't think I've been called brilliant before! I love that the foam makes the artwork so light. It looks fancy, but it's light enough to hang with velcro. So cool. Now I have to make more stuff!
Montserrat
I love all the different textures on the wallpaper. I had no idea paintable wallpaper even existed! Haha, shows how inept I am at decorating.
Heidi Fowler
I may not have known about printable wallpaper until I stumbled upon the sample book. It is pretty cool!
Kerry S
Great idea! This idea could be modified so the foam tiles could be used as pin-up boards. I'm in need of space to hang things in my craft room so I can "visualize" the end result a little better.
Heidi Fowler
They would definitely work as pin-up boards, Kerry. My kids had the same idea. I caught them collecting photos a few days ago. Fortunately, I caught them before they started pinning (or gluing--I think they were going to use glue!). A pin-up board was not my plan for the living room!
Vanessa Barker
This is so fun. What an easy project yet it makes a big pop above the couches!! I'm loving it.
Heidi Fowler
Thanks so much, Vanessa. It was really fun, and I'm loving the colors. Now I want to make more and put them all over my drab house!
Camille
I love how easy that is! Great idea Heidi! I really like that it's not just different colors but different textures too.
Heidi Fowler
Thanks, Camille. That's one of my favorite things about the project, too. Thanks so much for taking time to comment. You made my day.
Melanie
Such a great, simple idea. I tried something like this for my daughter's room, and it didn't work out at all. I need to try it your way instead.
Heidi Fowler
What did you try, Melanie? Did you try foam? I think the adhesive you use makes a big difference. The first one I used did not work well at all. My second choice (the one I linked in the post) worked great.
Bethany
I love the colors you used on your art, and I just love that the art is lightweight!
Heidi Fowler
Thanks so much, Bethany. I think the colors are my favorite part. The room has a totally different feel now. The lightweight is a definite plus, too. With the velcro and the foam, my walls will look untouched if I ever take them down.
Our Family Inspired Home
What a neat idea, fun and easy! Thanks for sharing!
Heidi Fowler
Thanks so much! It was a fun project.
Marilyn
What a clever way to use wall paper! YOU ARE AMAZING
Heidi Fowler
Thanks, Marilyn. When I found that old wallpaper sample book behind my daughter's bed, I thought I'd died and gone to heaven!
Sam @ DIYJUSTCUZ
This is spectacular! It's so simple but really cute. I would totally do this in a room with a very defined color scheme. Great!
Heidi
Thanks, Sam. The hard part for me is picking the color scheme!
Wall hanging tapestries
Wow! great ideas, beautiful diy wall decor..........