The weirdest thing happens when you get new carpet. You start wanting your whole house to look new again, and you start finding all sorts of long-put-off projects to work on. Since we had to move the heavy furniture anyway, my mom and I got this brilliant idea to finally paint the navy blue bunk beds white. If you've ever attempted painting furniture, you know that it takes some know how. Since this isn't my first time painting furniture, I'd thought I'd share some tips for painting furniture like a pro. (And I might even throw in a couple of bloopers for your reading pleasure!)
Years ago, we got some really cool bunk beds for a great price by buying the floor model in the showroom. Unfortunately, we had to settle for deep navy blue for our little girls' room. I thought we'd get rid of them when the girls got older, so I never bothered painting them. Since we put the bottom bunk in a separate bedroom and converted the desk area into a fort, those bunk beds are sticking around for a very long time!
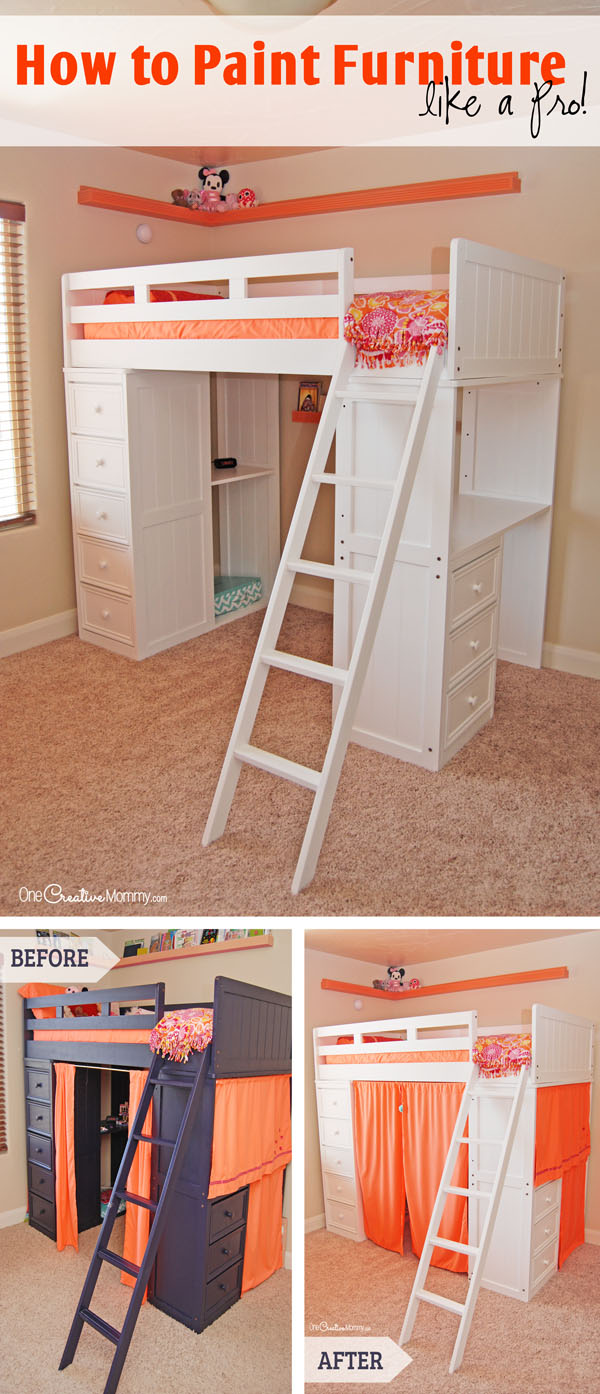
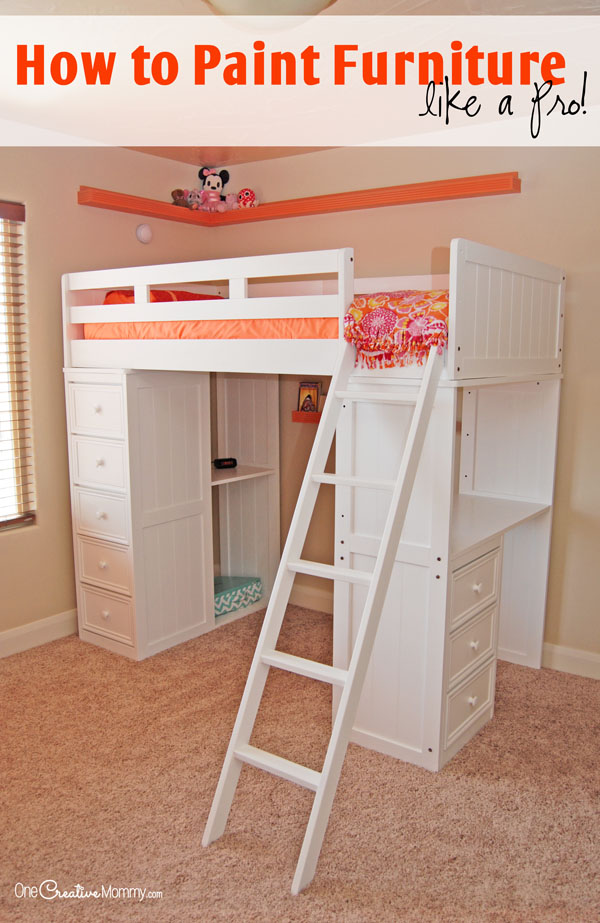
Because we were already making a mess tearing up the house for carpet, it seemed like a good time to start a new project. (I know. I'm completely nuts sometimes.) I can't believe I waited so long to transform these beds. (Lower bunk not pictured.) Now both bedrooms are bright and cheerful, and I (and the kids) couldn't be happier.
So, let's get to the tips!
How to Paint Furniture Like a Pro
RELATED: How to Paint Unfinished Furniture
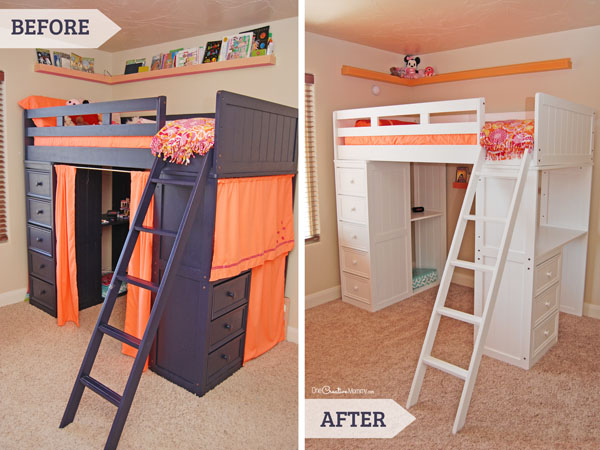
These tips are specific for paining a light color over a dark color. Painting over a light color doesn't require quite as many coats of paint!
Use the Right Tools
To avoid visible brush strokes in your paint job, you need to use the right tools. I started out using a Purdy paint brush (my favorite), but this furniture is huge, and the brush just took way too long. A quality foam roller worked great for this project. I was able to paint quickly with no visible brush strokes. I used a four-inch foam roller (extra smooth surfaces) and cut into the corners and edges with a foam brush.
Know What Not to Paint
When painting dressers or furniture with drawers, you should only paint the drawer fronts. Do not paint the inside of the drawers, the outside of the drawers, or the back of the drawer front.
Lightly Sand Before You Begin
Unless you are using chalk paint, you should lightly sand your furniture to rough it up so that the new paint will stick. If your piece is small, you might be able to get away with hand sanding, however, I highly recommend an electric orbital sander. If you can't afford to buy one, by all means, borrow one! You won't believe the time it will save. I have this one from SKIL. You need to sand enough to take the glossy sheen off the furniture. If you're painting a piece like mine, you'll have to sand by hand to get into all of the little corners.
Be sure to remove all dust and grit from the project before you begin painting. (Use a damp cloth or tack cloths.) Have you ever used tack cloths? This was my first time using them, and they are amazing! They're like sticky cheese cloth, so they pick up all the grit. So cool. Mine started out yellow and quickly turned blue from all the blue paint dust they removed.
Use Primer
In order to cover the navy blue with white, I had to use 2 coats of primer and 2-3 coats of latex paint. Painting over a dark color is serious business! Don't skip the primer! My favorite basic primer is Kilz, but I have also used BIN Primer by Zinsser to paint over laminate. It worked great.
Water Down Your Paint
To get smooth coats with no visible brush strokes, you need to water down your paint and primer just a bit. (Use up to 1 cup water to 1 gallon of paint, or up to 1 T water to 1 cup of paint.) A little bit of water goes a long way toward making your paint job look smooth and professional.
Focus on thin, smooth coats rather than thick coats.
Lightly Sand In Between Coats
This step really makes a big difference. I skipped it in my storage locker project, and the finished product is not smooth and professional. For this project, I sanded after every coat of primer and paint, and the result is beautiful! My favorite products for this step are sponge sanders and tack cloths.
Finish with Polycrylic
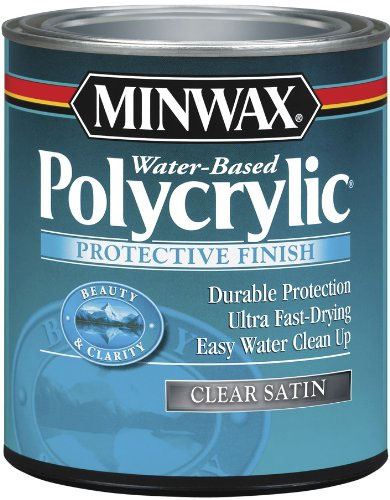
This is the first time I've used Polycrylic, and I'm sold. If the surface of your furniture will be used a lot, definitely seal it! Polycrylic dries clear and does not bubble (if applied correctly). It dries quickly, so you don't have to wait long between coats. I found it really easy to work with. DO NOT use a roller with this product. That will cause bubbles. Use a quality brush and work quickly, because I wasn't kidding when I said it dries fast! You will need to allow 24 hours of dry time before using the furniture, and you need to lightly sand in between coats. (More sanding. Yippee!)
Photo credit - Amazon.com
So, those are the basic tips you'll need, but let me add a few that I've learned through experience. Some tips I learned by doing it right the first time, and other tips I learned by making mistakes. Every project has it's bloopers, right?
What I Learned From the Blooper Reel
Put Furniture on Blocks
If you want to be able to paint the furniture from top to bottom, put it up on blocks. I raised mine on some pieces of scrap wood, and it worked great.
Lighting is Key
When possible, paint in an area that gets good lighting. I love painting in the garage (during the day) because the lighting is great and I have good ventilation. Since these pieces were so heavy, I painted the two dressers in the bedroom. Without thinking, I painted one coat without opening the blinds. When I realized my error and opened the blinds, my mistakes were obvious. I missed drips and left spots unpainted. Lesson learned! If you don't have good lighting, plug in a lamp and drag it around with you.
Pay Attention and Watch for Drips!
Speaking of drips, watch for them. Drips happen! Before moving onto a new area, quickly scan for drips, paying close attention to the edges. After I finish a section, I quickly run my finger along the edge it touches to catch any paint that went over the edges. (You should see my painting clothes. They're a mess!) You can get rid of many drips by sanding after they are dry, but some spots are really tough to fix, so pay attention. If your piece has holes in it (like the head and foot board of these beds), the paint will likely drip through the holes and pool around the other side of the hole.
Soaking Hardware Can Help Remove Paint
Painting around hardware is extremely difficult. If you get paint on removable metal hardware, try soaking it in water to loosen the paint. Then you can rinse it right off. If you can't remove the hardware, loosen the hardware a bit, and then use the rough part of a kitchen sponge to remove the paint. (Wait until you have finished all of the coats of paint, but be sure to remove the paint before you put on the clear coat.)
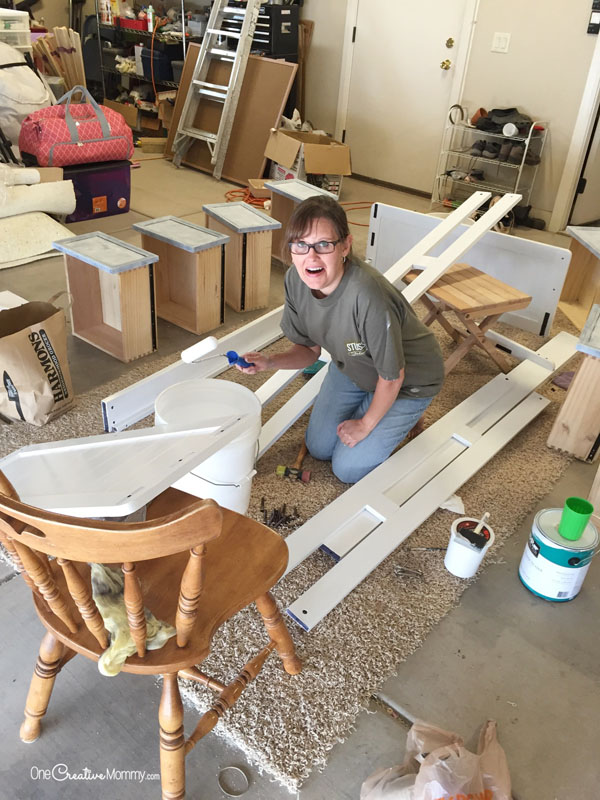
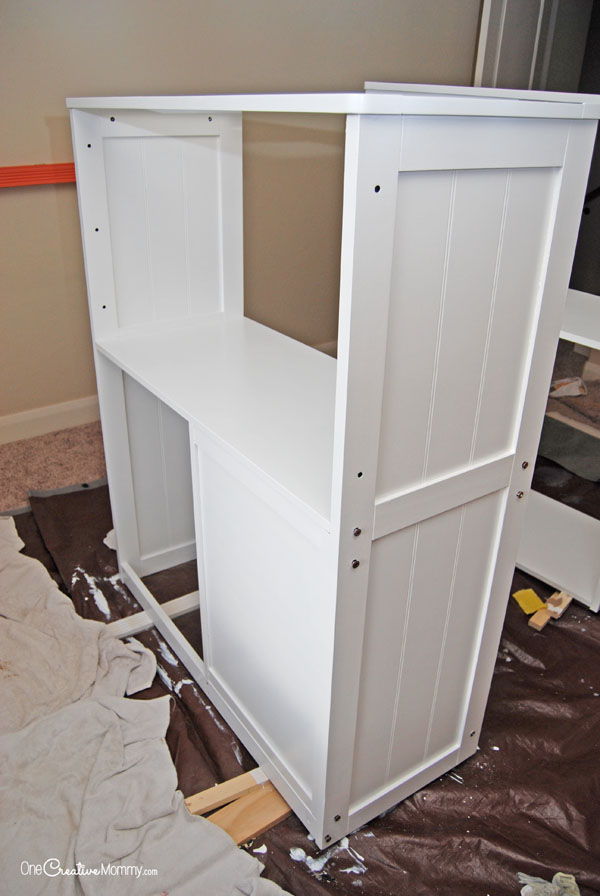
This used to be a bunk bed. I forgot that the hardware had been removed. When I sat down to put on the next coat of paint, the whole thing fell apart! Oops! I was a lot easier to paint the bed in pieces, anyway. Surprise!
Pay Attention to Which Parts of the Furniture Show
This was my most heartbreaking mistake. Because this project was huge and I had limited amounts of time, I was painting for two weeks. That's two weeks of my girls sharing a room so that I could paint in a bedroom. Two weeks of cars parked in the street so that I could paint in the garage. Two weeks of sore body from using muscles I'm not used to using.
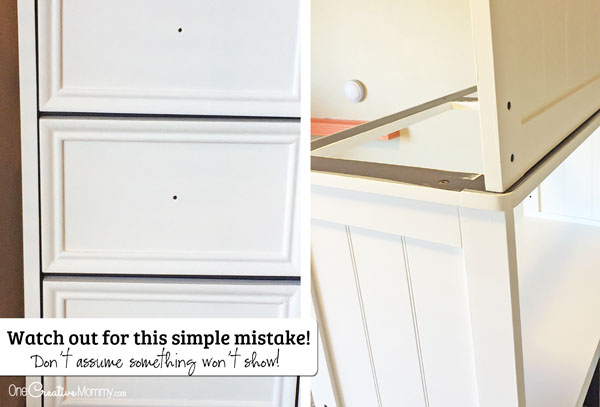
I did not paint the very top of the desk and dresser (the part that the bed sits on top of) or the inside edges of the slots for the drawers. Here's what happened when I excitedly put everything back together:
It never occurred to me that the dark blue would show through the cracks between the drawers. Ouch #1.
When we started to put the bed frame on top of the dressers, we realized that an inch to and an inch-and-a-half of the top of the dresser shows all the way around the edge of the bed. Ouch #2.
I almost cried. I was depressed the rest of the day thinking about putting five coats of paint and two clear coats on the spots I missed. The next day, I found a solution. I took ⅓ c of paint and turned it into chalk paint. Two coats of chalk paint, two coats of clear coat, and I was done. In one day. Yippee! Which brings me to my next tip.
Research Ahead of Time
There are many methods to paint furniture. Take the time to do a little research to find out which method works best for your project. I have painted furniture before, so I didn't look into new methods. I could probably have saved a bit of time had I looked into chalk painting furniture. It's a great method for turning dark furniture into light furniture. It can by tricky, though, so I'm still happy with my method.
Chalk painting requires different tools and methods to look good, so don't go into it blindly! The few spots I chalk painted were in parts of the furniture that don't really show, so I was willing to risk inexperience and improper brushes. While painting, it was obvious to me why there are "Epic Chalk Paint Fail" pictures all over the internet. Mine turned out fine, but had I been working on larger areas, I might have been in trouble!
There are a lot of great bloggers out there who share great tips for painting. I personally like All Things Thrifty. Since she transforms furniture all of the time, I know I can trust her tips.
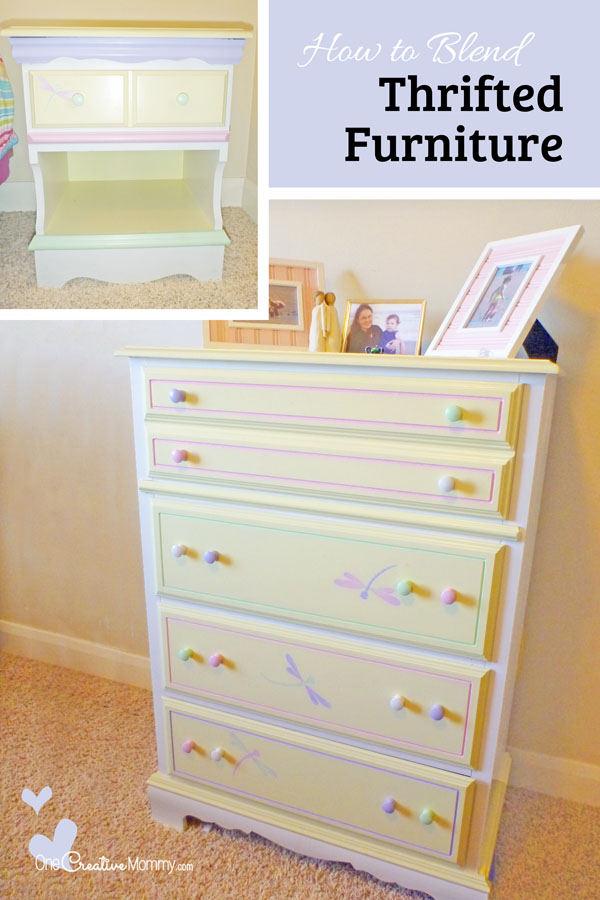
If you are wondering about my experience and advice, I learned by asking professional furniture painters, by researching on the internet, and from experience. Here are some of my painted furniture projects that made it onto the blog (click on the image to visit the post):
Sorry--the lighting is terrible on these dresser pictures!




MEDINA GRILLO
Thanks for all these great tips! Didnt know about the watering down to remove brush strokes so thanks for that!
Heidi
You're welcome, Medina. Watering down the paint helps a lot!
Kelly
Thanks for the tips - my kids have a really boring looking bunk bed, but looking at what you did, I think I can really brighten things up a bit!
Heidi
You're welcome, Kelly. Good luck transforming your bed. I hope it turns out great!
Philip
This is really perfect. I will surely try to paint my own furniture. Wish me luck. Thanks!
Lacy
Have you ever used a bonding primer? No sanding of the piece required because bonding primer sticks to everything and anything (apparently). Would love to know your thoughts on this as I'm thinking of using it!
Your furniture is beautiful :)
Heidi
I’ve never used that, Lacy, but it sounds wonderful! On my most recent project, I used paint with polyurethane in it. I didn’t sand in between coats, and it dries really hard, so you don’t have to use a clear coat. I can’t remember the name of the paint, but it’s the kind many people use to paint cupboard doors.
I hope your project turns out well!
Kaley
Try using pro classic . It is a latex/synthetic oilbase. Its designed for baseboards and trim because it self levels(levels out the brush strokes) the cabinet company we use also paints their white cabinets with it. (They spray it on though) ive sprayed custom built closet shelving with it many times. Its a great product. Being as its “latex” the polycryllic should still work ontop. You can get pro classic at sherwin williams.
Heidi
Thanks for the tip, Kaley. On my last furniture painting project, I used Urethane Alkyd Semi-Gloss Enamel Interior/Exterior Paint from Behr. It's holding up great. It has the polyurethane in the paint already. The only drawback is that the white has a slight brown cast to it because of the poly.