
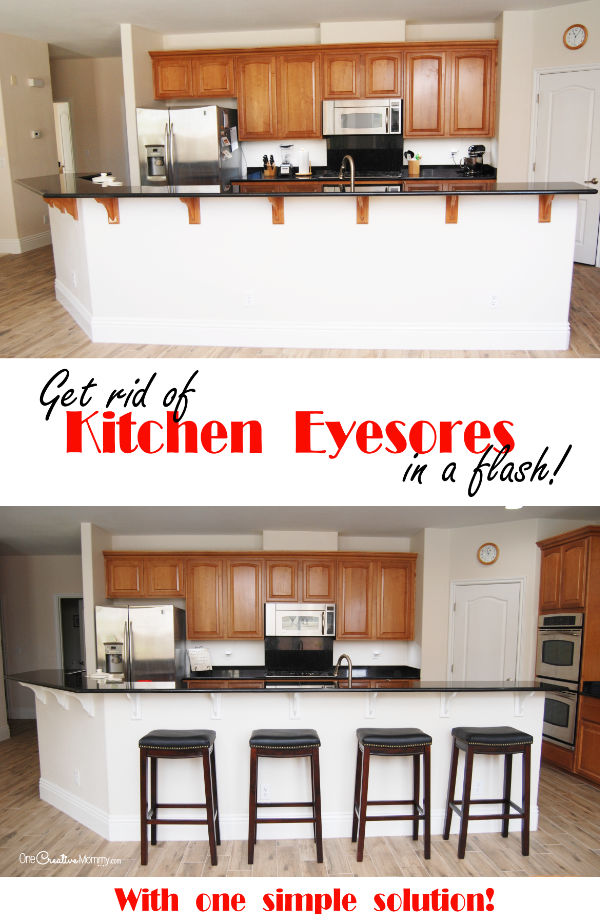
Is there a spot in your kitchen that drives your crazy? That one place that just stands out and dates your whole kitchen? I had one, but I don't anymore! Thanks to my friend's great idea, my 1970's-looking counter top is now modernized. And it was so simple! Check out this easy kitchen fix.
RELATED: How to Paint Furniture Like a Pro, 7 Easy Tips to Refresh Your Home
I recently moved into a great house, but it needs a little updating. We just finished the kitchen floors and baseboards, but the braces under the kitchen counter top were still driving me crazy! To me, they just stood out and called attention to the cabinet color that I don't love.
My friend has the same house. When I visited her kitchen, I realized that I didn't notice her cabinet color or the braces under the kitchen counter at all. What was the difference? One, she had a beautiful paint color in her kitchen. (I hope to get to that eventually.) Two, she painted her braces to match her trim, and they disappeared. I had to try it.
Here's my before:
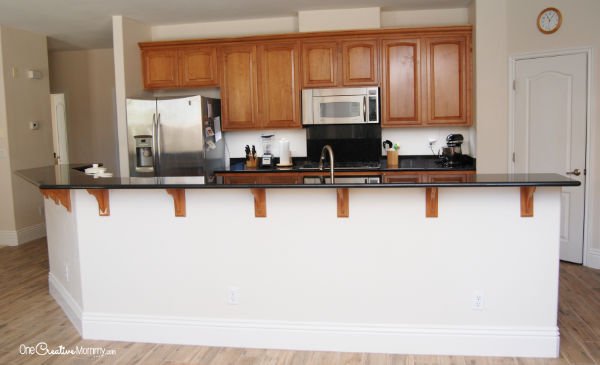
Don't those braces just scream 1970's? And why does that counter top need so many braces? I'm sure half of them are just for show.
Check out the after:
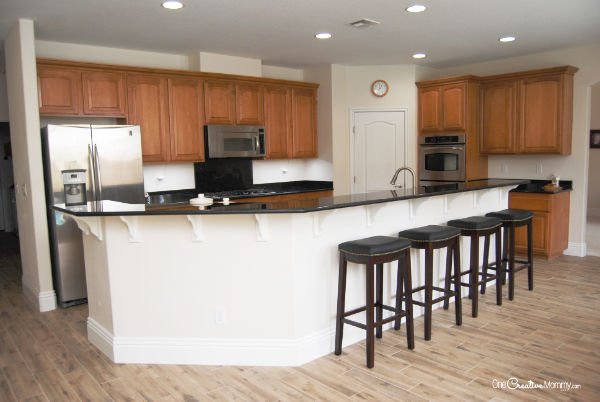
So much better! They just disappeared! Now, I just need a nice paint color to add some pizzazz. I'd love to paint the cabinets white, but there are a lot of projects in line before that one.
Want to try this in your home? Do you have a feature that bugs you because it stands out and dates your home? Have you considered painting it? What have you got to lose?
If you are ready to try it, here's what to do:
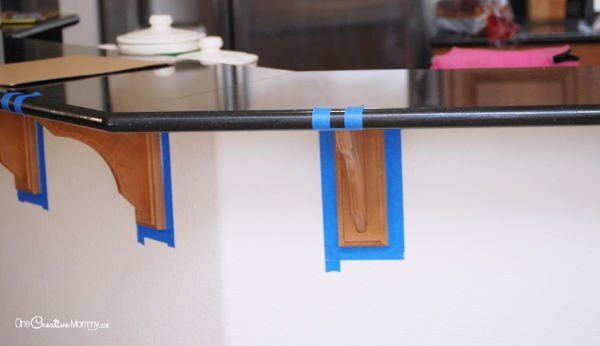
If you are painting wood, give it a light sanding and then wipe off the dust with a damp cloth. Caulk any loose areas. Paint with a coat of primer, and then your trim color.
Tips:
- Don't forget to watch for drips.
- If your paint is showing lots of brush strokes, try adding a tiny bit of water to your paint.
- Try to do this project in one day or two. If you leave the tape on too long, it will peel off some of the paint when you remove it. I painted the primer on Saturday and the paint on Monday. It was not a smart move. I had to do a lot of touch up. If you make the same mistake, use an x-acto knife to cut the paint from the edge of the tape before you peel it off. Be smart so you don't have to do it the hard way!
That's it. This kitchen fix is so easy, and I hope you can apply it to whatever feature is driving you crazy in your home. Happy DIY-ing! Thanks for stopping by.
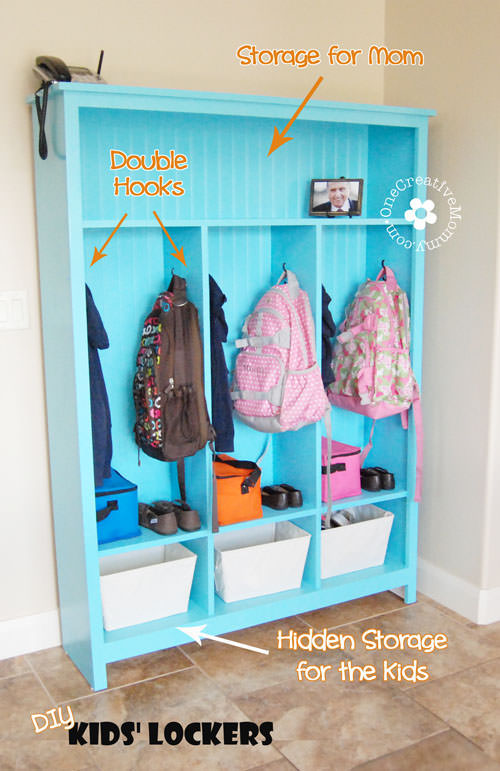
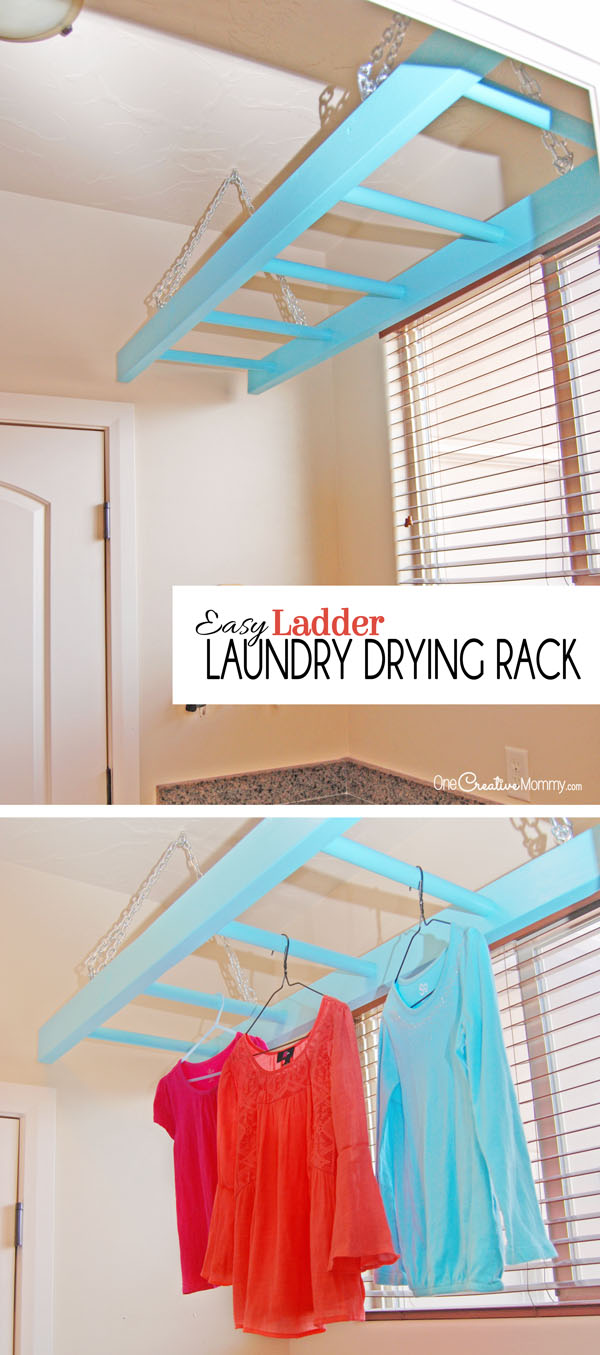
If you like this project, be sure to check out some of my favorite DIY's. The images below are linked to posts, so click on them to pay a visit.


Amber Myers
I love this idea! My kitchen looks pretty drab as well and could use a face lift. Yours looks fabulous!
Heidi
Thanks, Amber. I still have a lot of work to do in my kitchen, but this simple step definitely made a big difference.
Joan Cajic
Looks really great, very surprising how some paint can totally change a room with just a few tweaks.
Heidi
Thanks, Joan. It's crazy what a difference a little paint can make.
Jessica Taylor
I could get a ton of use from that drying rack! Such a genius idea! Especially since my washroom is fairly small.
Heidi
Thanks, Jessica. That was one of my favorite projects. I love the pop of color it gave the room, too.
Joanna @ Everyday Made Fresh
Wow, what a small update for such a big impact! They were totally meant to be white, and blend in.
Heidi
Thanks, Joanna. I totally agree. The original look stood out way too much.
Alison Rost
Love all the ideas that you have here. Painting those details white definitely makes a difference! I love how clean and simple it looks!
Heidi
Thanks, Alison. Now I just need to figure out what to do with the rest of the room!
AnnMarie John
Awesome DIY ideas! I love doing stuff on my own, it's really relaxing and it's fun when the kids are involved in the home projects. I think the kitchen turned out niceley!
Heidi
Thanks, AnnMarie. It was a simple and easy project. Those are my favorite kind!
Joanna
It's amazing what a difference a little bit of white pain does! Your kitchen counter looks so modern now!
Heidi
Thanks, Joanna. The house isn't that old, but those braces sure dated it!
Sarah Bailey
It is amazing what a difference just paining them white has made! Good luck with getting around to painting the cabinets as well!
Heidi
Thanks, Sarah. I'm going to need that luck! There are so many cabinets (for which I'm grateful) that I don't know if it's a project I'll be able to tackle myself. I might have to hire it out, which means it won't be happening any time soon!
Natalie
I love how such a small change makes such a big difference! The white paint on the braces really makes the kitchen counter look modern!
Heidi
Thanks, Natalie. It's fun when a small change makes a big difference. (Especially when it's an inexpensive change.)
Jessica Joachim
IT is amazing how a small thing can make a huge looking change. My kitchen needs some serious love, but I need like a whole remodel lol
Heidi
Good luck on getting a remodel some day, Jessica. Good things come to those who wait, right?
Kendra - The Kreative Life
I love how it looks! Looking at the first picture with the makeover I actually thought you removed them. Great job!
Heidi
Thanks, Kendra. I'm so grateful I saw this trick in my friend's home so that I could try it in mine! She's a genius!
Claudia Krusch
Love all these ideas! The bunk bed is amazing! I love how clean and simple everything looks! Can't wait to try some of your ideas!
Heidi
Thanks, Claudia. It's fun to slowly update things.
Ada
What a nice transformation! It looks so good.
Heidi
Thanks, Ada. It was amazing to see such a big transformation with such little work. That's the best kind of DIY!
Dee Jackson
I love DIYs and this is a great way to get rid of eyesores for real. Your island looks lovely btw
Heidi
Thank you, Dee. I love that type of island because you can hide your dirty dishes behind the tall counter!
Kiwi
This looks modern and chic. I think that white paint helped A LOT!
Yocana talaia
The kitchen looks beautiful, it’s made a difference for sure. Great idea
Aashima
This is so creative and useful. The bunk bed fort is simply amazing, and coloring makes such a huge difference. I will plan to do something similar for my kiddo too.
Marxie
The house you moved in looks really nice! You have really good ideas and I love the bunk bed!
All blogroll
Great ideas. Thank you for sharing your ideas with us. My favorite is the baby bed. Saves space and looks great.
Damond Nollan
I love your creativity! It's like you take the little things and it has such a huge effect on the room. Great ideas!
Wanda Lopez
I’m all about painting and brightening spaces in the house. You did a great job and love the tips.
Javed Jabbar
Nice tips for kitchen beautification...Good
https://apkhow.net/