
• Skip to primary navigation
  • Skip to main content
  • Skip to primary sidebar
  • Skip to footer
onecreativemommy.com
  • DIY/Crafts
    • DIY for the Home
    • DIY for the Garden
    • Crafts for Kids
    • Sewing Projects
    • Felt Food Tutorials
  • Parties/Gifts
    • All Party Ideas
      • Frozen Party
      • Harry Potter Party
      • Spy Party
      • Un-Slumber Party
      • Minion Party Ideas
      • Art Party
      • Princess Party
    • All Gift Ideas
  • Holidays
    • Valentine's Day
    • Halloween
    • Christmas and Winter
    • Thanksgiving and Fall
    • Fourth of July
    • New Year
    • Easter and Spring
    • St. Patrick's Day
    • Mother's Day
    • Father's Day
  • Recipes
    • Gluten Free
  • Tips & Tricks
    • Organization Tips
    • Cleaning Tips
    • Parenting Tips
    • Back to School
    • Cooking Tips
    • Gardening Tips
  • Printables
    • Bingo Games
    • Lunchbox Printables
    • Educational Games
    • LDS Printables and Lesson Ideas
  • Navigation Menu: Social Icons

menu icon
go to homepage
subscribe
search icon
Homepage link
  • Home
  • DIY & Crafts
  • Parties & Gifts
  • Holidays
  • Recipes
  • Tips & Tricks
  • Printables
×
NEWSLETTER | SUBSCRIBE |
🔍 SEARCH
Home » Blog

Refresh your lamp post with this easy makeover

Published: Jan 29, 2021 by Heidi. This post may contain affiliate links 3 Comments

If you have an ugly and faded lamp post in your yard, then I have a quick and easy project for you today. You won't believe how easy it is to refresh your lamp post with this simple makeover.

Take your shabby lamp post from drab to fab with this quick and easy Lamp Post Makeover {OneCreativeMommy.com} What a difference!

All you need to give your home better curb appeal is a damp cloth, painters tape, windex, and spray paint. That's it! If you are lucky enough to have a shop vac, that helps, too! (Affiliate link)

Easy Lamp Post Makeover

RELATED: How to Make Brass Hardware Look Like Oil-Rubbed Bronze, The Secret to Blending Thrifted Furniture

Take your shabby lamp post from drab to fab with this quick and easy Lamp Post Makeover {OneCreativeMommy.com} What a difference!

Instructions:

  1. Carefully remove the top of your light fixture and wipe down the entire lamp post with a damp cloth.
  2. Using a shop vac or a vacuum with a hose attachment, suck all those dead bugs out from the inside of the lamp. (Can you believe how many bugs get inside? Gross!)
  3. Clean the inside and outside of the glass with Windex (or the cleaner of your choice).
  4. Using painter's tape, cover the glass and any other areas of the lamp post that you do not want painted. (We also covered the light sensor that makes the lamp turn on after the sun goes down.)
  5. Now spray the lamp post with the paint of your choice! If you are weak like me, you'll start spraying--thinking this is so much fun--until you realize how tiring it is to hold down that nozzle with one finger. Then, you'll graciously let your hubby have a turn!
  6. Allow the paint to dry, remove the tape, and stand back and enjoy!

We started with Rust-oleum High Heat paint. It covered great, but we didn't love the flat/matte finish. We then sprayed again with a high gloss outdoor paint. We liked the gloss finish, but I'll warn you, high-gloss paint shows every imperfection in the metal of the pole. If I were to do it again, I'd choose a semi-gloss or satin finish.

Check out the before and after:

Take your shabby lamp post from drab to fab with this quick and easy Lamp Post Makeover {OneCreativeMommy.com} What a difference!

I'd call that makeover a huge success! What a difference! The best part was that it was quick and inexpensive. What's your favorite easy makeover? I'd love to hear about it.

Thanks for stopping by today. While you're here, stick around and check out some more home projects by clicking on the links below.
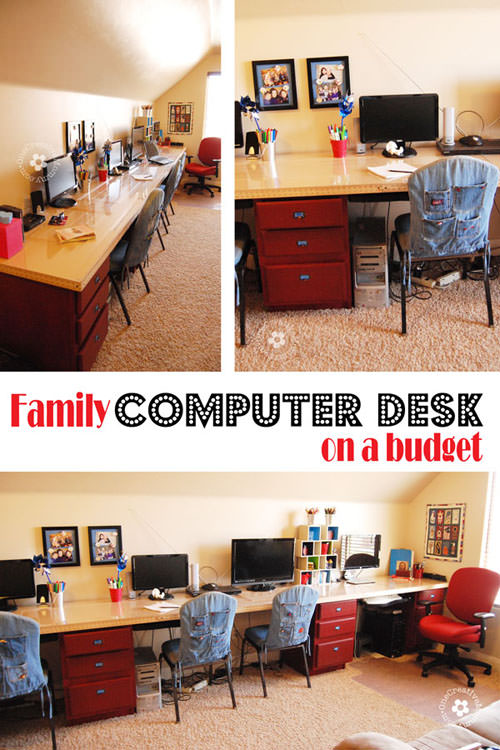
Build a Family Computer Desk on a Budget! {I made mine almost completely with second hand materials} OneCreativeMommy.com

I love how she turned an annoying bunk bed into a fun bunk bed fort for her daughter! I have to try this. {OneCreativeMommy.com}

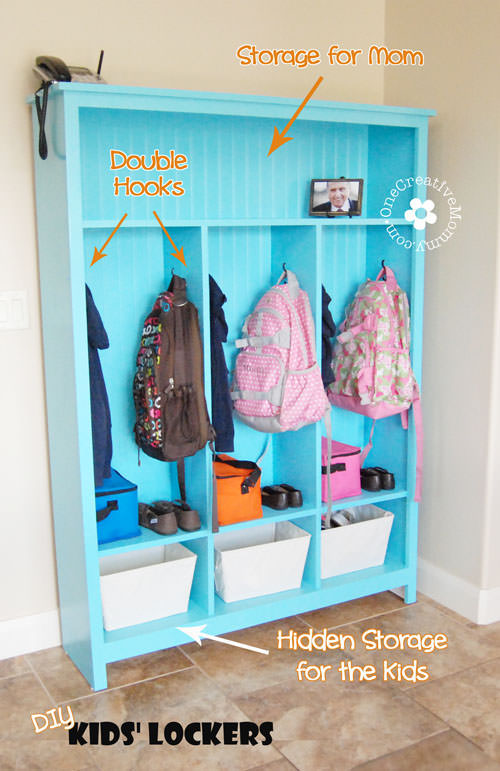
Build your own storage lockers using the kreg jig! (Even beginniners can do it!) OneCreativeMommy.com

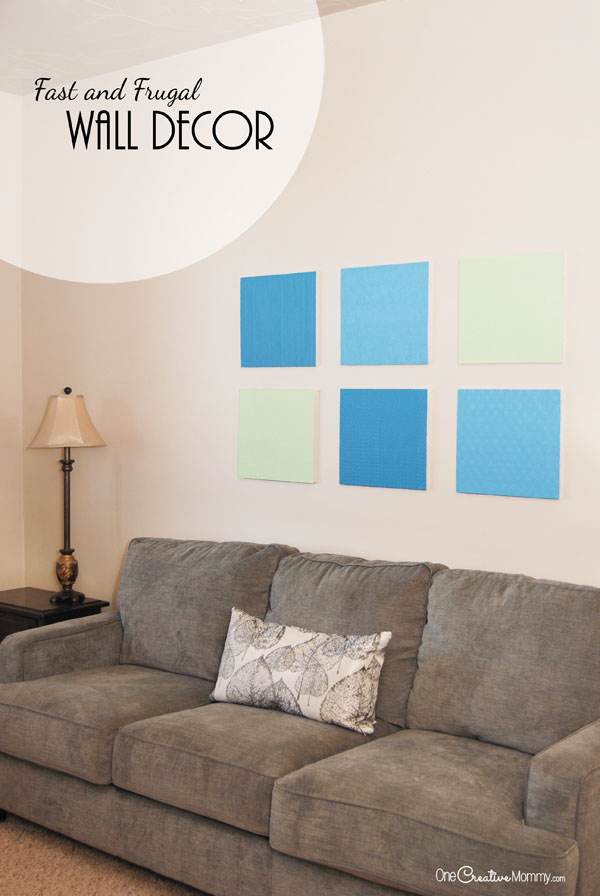
You won't believe what I used to create this Wall Decor! {Frugal DIY Wall Art tutorial from OneCreativeMommy.com} #MakeItFunCrafts

Heidi

More Blog

  • Homemade Halloween decorations and pumpkin carving in a bright kitchen
    Nostalgic Halloween: Simple Ways to Bring Back the Halloween Magic
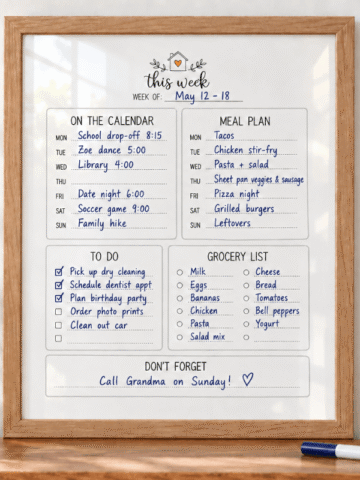
  • Framed weekly planner printable filled in with a blue dry-erase marker for organizing appointments, meals, tasks, and groceries.
    The Home Hub: A Simple Printable System to Organize Your Week
  • UGEE Funbox 3D printer for kids with finished 3D printed toys
    UGEE Funbox 3D Printer Review: Is It Really Easy Enough for Kids?
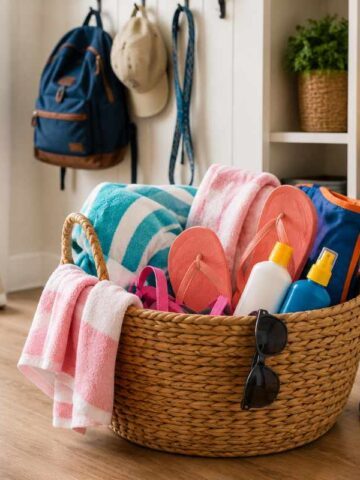
  • End-of-summer home reset with summer gear organized in a bright entryway before fall.
    A Simple End-of-Summer Reset for Your Home

MORE IDEAS FOR YOU

  • Recipes
  • DIY & Crafts
  • Holidays
  • Parties & Gifts
  • Printables
  • Tips & Tricks

Reader Interactions

About Heidi

Hi! I’m Heidi, the sometimes scatterbrained, but always creative mind behind One Creative Mommy. I'm a retired teacher, wife, and mom of three beautiful teenage girls and one adorable fur baby. In my spare time, I love to share my ideas (mistakes and all) with anyone who will listen.

Learn more about me →

Comments

  1. Alison Moore Smith

    August 10, 2015 at 1:15 pm

    Very nice looking! I wouldn't have thought to do that but what a difference in curb appeal!

    Reply
    • Heidi

      August 10, 2015 at 4:01 pm

      Thanks, Alison. It's amazing what a little paint can do!

      Reply
  2. linda spiker

    August 11, 2015 at 9:23 am

    Wow! That was great. Now all I need to get started is a lamp post.... :)

    Reply

Leave a Reply Cancel reply

Your email address will not be published. Required fields are marked *

Recipe Rating


Primary Sidebar

Headshot of Heidi, owner of One Creative Mommy and All Things Lovely

Hi! I’m Heidi, the sometimes scatterbrained, but always creative mind behind One Creative Mommy. I’m a retired teacher, wife, and mom of three beautiful girls and two adorable fur babies. In my spare time, I love to share my ideas (mistakes and all) with anyone who will listen.

More about me →

Save Money

Footer

Privacy Policy

Footer

↑ back to top

About

  • Privacy Policy
  • Printables Terms of Use

Newsletter

  • Sign Up! for emails and updates

Contact

  • Contact

As an Amazon Associate I earn from qualifying purchases.

Copyright © 2022 OneCreativeMommy