• Skip to primary navigation
  • Skip to main content
  • Skip to primary sidebar
  • Skip to footer
onecreativemommy.com
  • DIY/Crafts
    • DIY for the Home
    • DIY for the Garden
    • Crafts for Kids
    • Sewing Projects
    • Felt Food Tutorials
  • Parties/Gifts
    • All Party Ideas
      • Frozen Party
      • Harry Potter Party
      • Spy Party
      • Un-Slumber Party
      • Minion Party Ideas
      • Art Party
      • Princess Party
    • All Gift Ideas
  • Holidays
    • Valentine's Day
    • Halloween
    • Christmas and Winter
    • Thanksgiving and Fall
    • Fourth of July
    • New Year
    • Easter and Spring
    • St. Patrick's Day
    • Mother's Day
    • Father's Day
  • Recipes
    • Gluten Free
  • Tips & Tricks
    • Organization Tips
    • Cleaning Tips
    • Parenting Tips
    • Back to School
    • Cooking Tips
    • Gardening Tips
  • Printables
    • Bingo Games
    • Lunchbox Printables
    • Educational Games
    • LDS Printables and Lesson Ideas
  • Navigation Menu: Social Icons

    • Facebook
    • Instagram
    • Pinterest
    • YouTube
menu icon
go to homepage
search icon
Homepage link
  • Home
  • DIY & Crafts
  • Parties & Gifts
  • Holidays
  • Recipes
  • Tips & Tricks
  • Printables
    • Facebook
    • Instagram
    • Pinterest
    • YouTube
  • ×

    Home » Blog

    Picture Frame Magnet Board {Easiest Magnet Board Ever!}

    Published: Jan 29, 2021 by Heidi Fowler. This post may contain affiliate links 3 Comments

    I have a birthday party to plan, so it's  a quick project this week.  This picture frame magnet board is simple, fast, and inexpensive.  Ready to learn how to do it?

    Create the easiest magnet boards ever with this Picture Frame to Magnet Board tutorial {OneCreativeMommy.com}

    Years ago, I found four matching 8"x10" framed pictures at a garage sale.  I originally thought I was buying them for the cute pictures inside, but after the pictures moved with my family about four times--never once seeing the light of day--I decided it was time to repurpose.  Here's how I did it:

    I removed the pictures and the glass.  Some frames were slightly banged up on the corners, but they were in good enough shape to use.  Next, I purchased four sheets of  galvanized steel shingle flashing from a hardware store.  (They come in different sizes.  Mine were about 8"x12"--almost perfect for my frames.)  These shingles are really cheap--less than a dollar each.  (I took a magnet to the store to be sure the shingles I picked were magnetic.  Sometimes there is a coating on the metal that makes magnets not stick well.)

    metal shingle

    Using a pair of tin snips, I trimmed the length to fit my frame.  I used a can of Rustoleum Wildflower Blue spray paint to add some color and provide a mat for whatever I chose to display.  (You could just leave it the metal color.)

    Finished Magnet Board with artwork

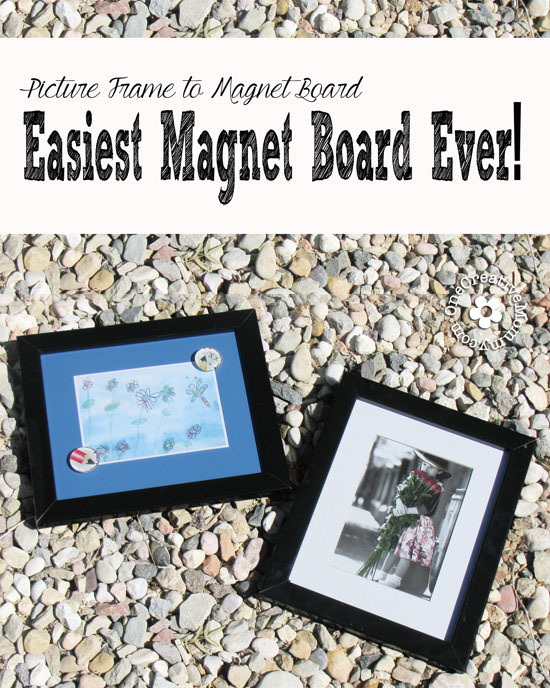
    I put the metal sheets into my frames, and I was done!  So easy and cheap!

    Velcro Wall Fasteners

    I can never get up the courage to pound nails into the wall, so I put them up with 3M Velcro picture hangers instead of nails.  Now, if I change the layout of my room, I can easily move the frames--without having to fill in nail holes.

    Frames on wall

    Magnet Boards on the Wall

    Sometimes I put pictures the kids have drawn on display, and sometimes I use snapshots instead.  Either way, it's instant changeable art.  (I couldn't find any portrait size photos today, but I still like the framing, even when it's uneven.)

    Before and After Magnet Board

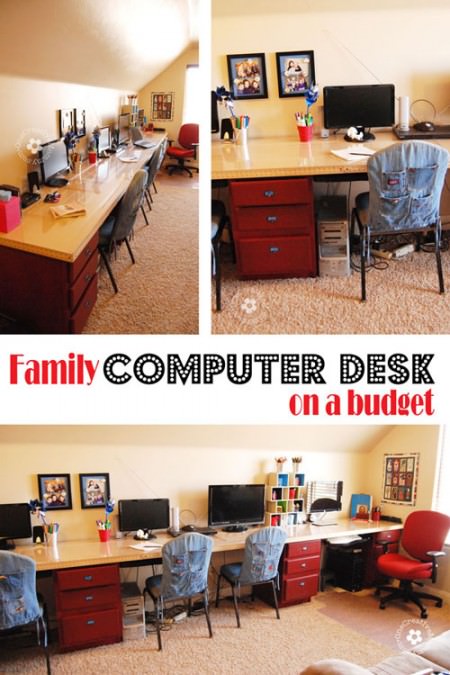
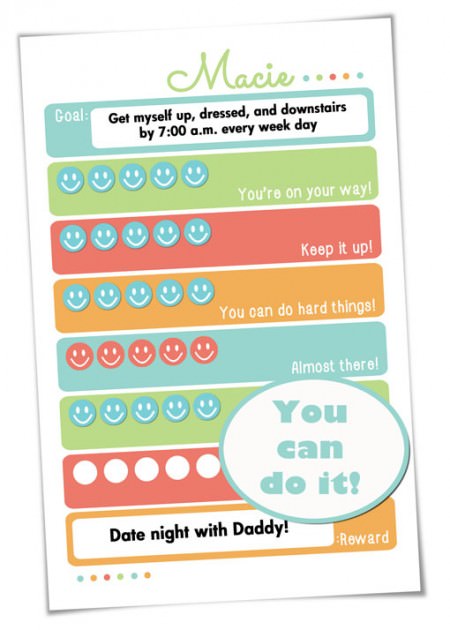
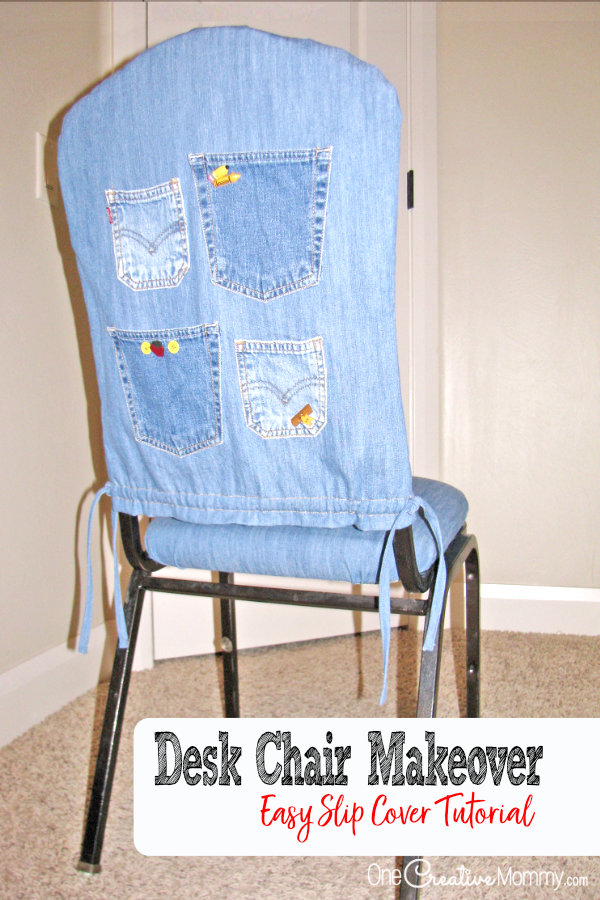
    Thanks for stopping by today!  While you're here, I hope you'll check out some of my other posts.  (Images below are linked.)

    Build a Family Computer Desk on a Budget! {I made mine almost completely with second hand materials} OneCreativeMommy.com

    Goal Setting: Helping kids turn short-term goals into long-term habits {Free Printables} OneCreativeMommy.comGo from boring to fun with this easy slipcover tutorial. {OneCreativeMommy.com} Desk Chair Makeover #slipcover #tutorial #seweasy

    Heidi

    MORE IDEAS FOR YOU

    • Recipes
    • DIY & Crafts
    • Holidays
    • Parties & Gifts
    • Printables
    • Tips & Tricks

    Reader Interactions

    • Facebook
    • Instagram
    • Pinterest
    • YouTube

    About Heidi

    Hi! I’m Heidi, the sometimes scatterbrained, but always creative mind behind One Creative Mommy. I'm a retired teacher, wife, and mom of three beautiful teenage girls and one adorable fur baby. In my spare time, I love to share my ideas (mistakes and all) with anyone who will listen.

    Learn more about me →

    Comments

    1. Misty

      June 07, 2012 at 1:54 pm

      This would be great for my kids! Thanks so much for linking up to Ta-Da Tuesday
      ~Misty
      413 Sparrow Lane

      Reply
    2. Kadie

      June 13, 2012 at 2:32 pm

      Great idea!! Thanks for sharing with us at Link It Up Thursday.

      Reply
    3. Kathie

      August 10, 2012 at 12:28 pm

      Genius! I have seen those but never thought about using them in this way. Thanks for sharing at Gimme Five For Friday!

      Reply

    Leave a Reply Cancel reply

    Your email address will not be published. Required fields are marked *

    Primary Sidebar

    Hi! I’m Heidi, the sometimes scatterbrained, but always creative mind behind One Creative Mommy. I'm a retired teacher, wife, and mom of three beautiful teenage girls and one adorable fur baby. In my spare time, I love to share my ideas (mistakes and all) with anyone who will listen.

    More about me →

    Subscribe

    Popular

    • Olaf Sock Snowman Tutorial
    • Frozen Olaf Valentines {Free Printable}
    • Make your own storage lockers! {Perfect for kids}
    • 27 Creative Classroom Door Decorations for Valentine's Day

    Save Money

    Footer

    Privacy Policy

    Footer

    ↑ back to top

    About

    • Privacy Policy
    • Printables Terms of Use

    Newsletter

    • Sign Up! for emails and updates

    Contact

    • Contact

    As an Amazon Associate I earn from qualifying purchases.

    Copyright © 2022 OneCreativeMommy

    »
    «