

Are you ready for summer? School is already out in my neck of the woods, and we are preparing for summer travel. We've got a big trip planned, and it includes a trip on an airplane with very limited luggage space. We're getting creative about what we are taking on our trip. Since necessity is the mother of invention, I've reinvented the quillow and added a handle to create the perfect travel blanket. And the best part? It doesn't take up any space in your luggage!
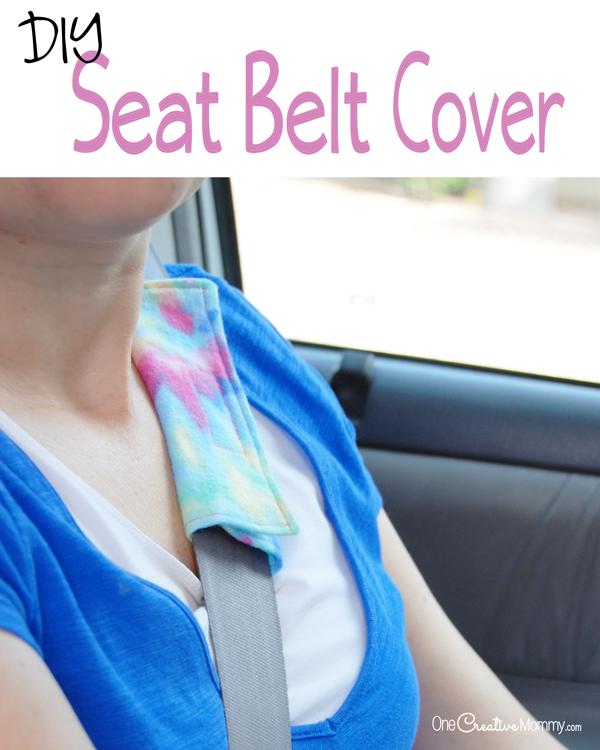
RELATED: Seat Belt Hack, Best Travel Hacks for Families
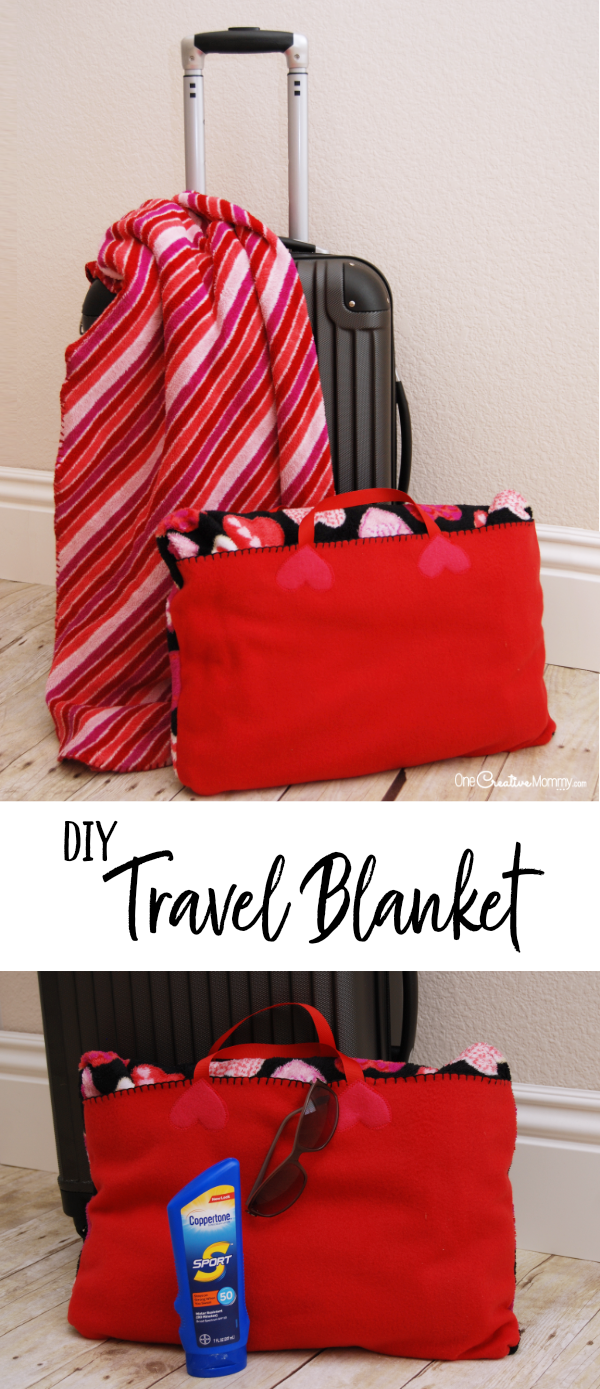
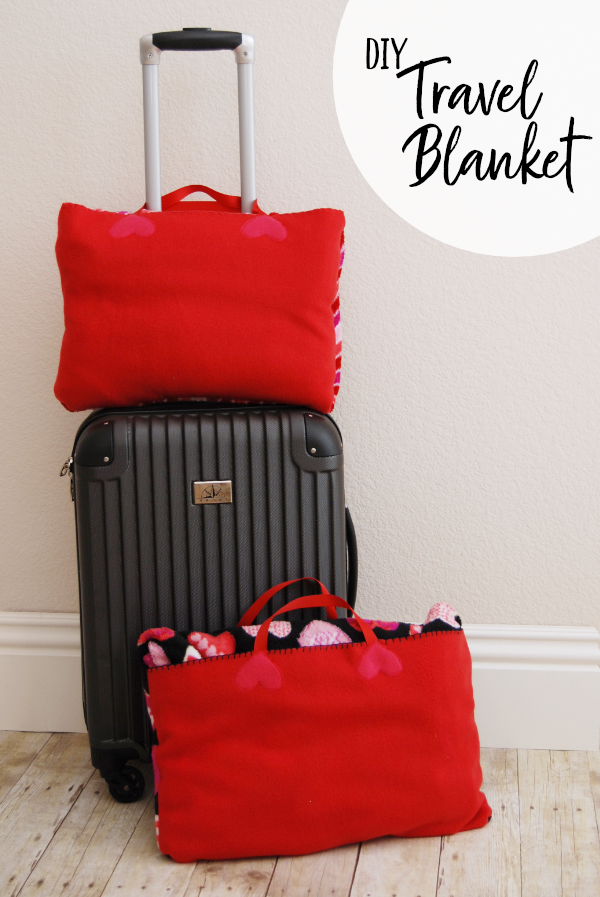
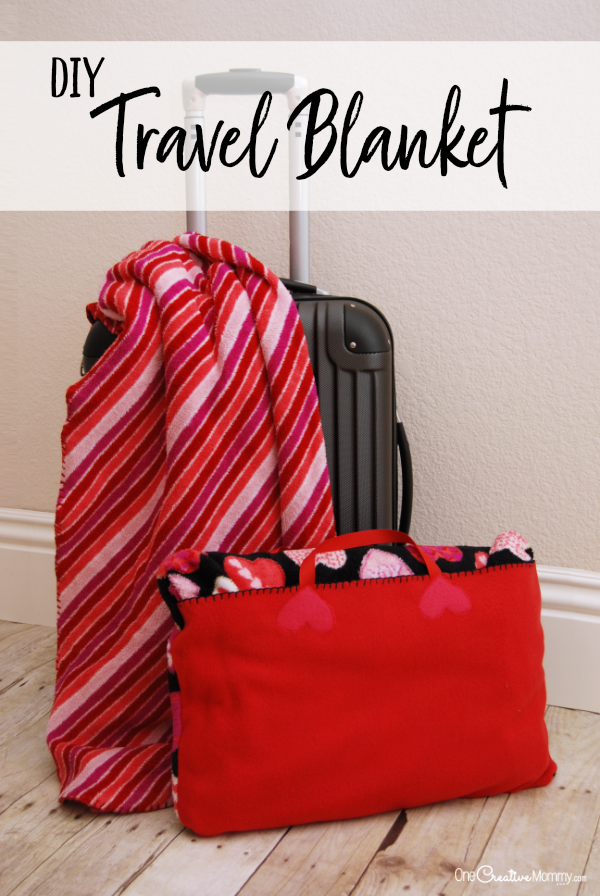
How can this blanket possibly not take up any space in your luggage? It doesn't go inside your suitcase, it hangs on the handle. Just slide the blanket handle over the handle of your carry on, snap on your travel pillow, too, and you're all set to go. Total comfort on your long plane ride, and you still have all of your carry-on space to use for your necessities.
Ready to learn how to make it? I've created a step-by-step tutorial video to show you how it's done, and I'm including the step-by-step written instructions as well. Whether or not you prefer a video or a written tutorial, I highly suggest you watch the 1-minute quick video (below), just to get an idea of how the project comes together. The full video with verbal directions is longer and more detailed.
Travel Blanket Materials
![]()
Here's what you'll need to turn your blanket into a travel blanket:
- A blanket of any size (I've used a kids-size blanket for my demonstration. They are a great size for me and my three daughters. I cut a piece of scrap fleece for my husband's blanket to make his a little bigger.)
- A piece of scrap fabric for the pocket (A little bigger than the size of the blanket when it is folded up.)
- 4 small fabric scraps to create patches over the ends of the handles
- Ribbon for the handles
- Embroidery floss and needle (Optional)
- Pins
- Measuring tape
- Fabric scissors
- Sewing machine and thread
Travel Blanket Instructions
- Gather your materials and fold your blanket into thirds to make a long, skinny rectangle. Fold that rectangle down four times. That will be the size of your finished travel blanket when it is folded inside the pocket.
- Lay your scrap of fabric on top of the blanket and cut it down to make a pocket. Make it about ½ inch wider than the folded blanket on the sides, ½ inch longer on the bottom, and about 1 ½ inches shorter than the folded blanket on the top.
- If you would like your pocket to have a fancy edge, sew a blanket stitch around the entire perimeter of the pocket using the embroidery floss. (I used the blanket stitch on the kids' pockets because their blankets had the same edge. I did not use any edge on my husband's pocket because his blanket did not have an edge. It's up to you how fancy you'd like the pocket of your travel blanket to look.)
- The Handles: Hold your finished pocket up to the handle of your luggage and use your tape measure to decide the length of your handle. (Hold the end of the tape measure on the pocket, wrap it around the handle and back to the pocket.) Cut two ribbons to the correct size.
- Center one ribbon on the front of your pocket while making sure the ends of the ribbon are far enough apart to go over your luggage handle. Pin the ends in place and stitch them down with the sewing machine.
![]()
- Cut four patches of any shape to cover the ends of the handles. (I used hearts to match the blankets, but you can use any shape.) Pin one patch in place over each end of your first handle. Using a zigzag stitch on your sewing machine, stitch around the entire edge of the patches.
- Open the blanket on the floor with the nicer side of the blanket facing up. Center your pocket along the bottom seam of the blanket with the patches and handle (the top of your pocket) facing toward the blanket, and the bottom of the pocket even with the bottom of the blanket.
- Place your second ribbon on the blanket directly under the pocket handle and pin the ends in place. The handles should match as exactly as you can. Sew the ends of the handle down, place the pocket back on the blanket with the handles together, and lay out the second set of patches. Make sure they line up with the first set, pin them in place, and stitch them on with a zigzag stitch.
![]()
- Place the pocket back on the blanket with the handles together. Remeasure to make sure that the pocket is centered. Pin the sides and bottom of the pocket to the blanket and straight stitch along those three sides. You're finished with the sewing.
- Now lay out your blanket with the pocket on the underside. Fold the blanket into thirds. (The pocket should now be at one end of a long rectangle.) Starting at the end opposite the pocket, fold the blanket down four times. Flip the blanket over, reach your hand into the pocket, and turn it inside out.
Viola! Your travel blanket is complete and ready for your next trip!
I'm so excited to use these blankets. We don't want to check any bags, and the carry-on size just keeps getting smaller and smaller. These travel blankets will really help us save some much-needed space, and they're so much more comfortable and warmer than those cheap airline blankets.
Too busy to make your own? Check out these travel blankets from Amazon:
Thanks for stopping by today. Check out more tutorials and tips by clicking on the images below.


Saurav Purkayastha
Great idea, I will try it before my next travel.
Amber Myers
I love this! I always get cold when I travel, so this blanket would come in handy.
Hollie
Whoa this is cool. I’ve never been good at making anything home made but I feel like this would be interesting to make. I get cold everywhere. Q
Caitlin + Dani
This is the best idea! Stay warm and travel often.
Patricia-Ann Que
i have actually never heard of a travel blanket before! but after seeing this, i can see how practical and comfortable is this! and love the various designs too, will surely check it out!
Lifwwithzg
Best diy i read today. Its easy to follow too. I'll try to make one for my daughter. Thank you for sharing!
Tara Pittman
This is a useful item for traveling. I would definitely use this when I travel by plane for comfort.
Heather Reed
Very cute!! I’d love to take this and make it a weighted blanket! My daughter needs/wants one so badly!
LiveLoveAndAdventure
What a great idea! So creative :-) This would be perfect on a plane ride since they dont give out blankets anymore!
Ally
The last time I travelled my blanket took up so much room in my bag! I will definitely have to look into getting this.
Noelle Lynne
Wow what a super cute idea for a travel blanket, love that it just hooks onto your suitcase! Going to forward this to my friend who l0ves crafting and traveling, so perfect for her.
Julia Day
Great idea! I hate plane rides, and I always feel like it's so darn cold! This is a cute way to bring something comfortable with you while traveling.
What Corinne Did
Oooh this is such a nice DIY idea! I love it! And so practical! Perfect for travel! I love that you can make it how you like!
Dalene Ekirapa
Wow! That travel blanket bag is so cool! I love its colour and even the shape you chose. Would be a perfect solution to make good use of the many blankets lying idle in my wardrobe.
Victoria @DazzleWhileFrazzled
Cute idea and perfect for kids. Love anything with fleece! Visiting from BFF party.
David Allen Elliott
That's a cute travel blanket. If my daughter and I get to do some traveling in the near future, I will have to try making this with her. She would have fun and it would be such a great thing to have.
Elizevent
Great stuff. I like projects like this one a lot. Adding it yo my projects to do list. Thank you.
Laura
This is super cute and such a great idea, and hack for being able to take a blanket without it taking up space!
Benish Ali
so cute and doesn't even take up space.
Connie Dews
Thank you so very much for the tutorial/instructions. My husband had to be moved to a nursing home. He has vascular dementia and is on dialysis. I always brought him a blanket when I took him but I'm not sure the nursing home is doing it every time or even at all. So I wanted to make one I could be sure the dialysis unit would use for him but would be able to be stored out of the way on the days he is not there. And your idea is perfect. Thank you again.
Heidi
Hi, Connie. I hope this works for you. I would imagine that Covid has made your difficult situation even tougher. What a sweet idea to make your hubby a special blanket.