
Since my favorite color is green, St. Patrick's day is right up my alley. Not only do I get to speak with an Irish accent all day (I know--I'm a little nuts sometimes), but I get to wear my favorite color and lots of it! Unfortunately, the uniform colors at my kids' school do not include green. They have to show their "Irish" spirit in other ways. We had so much fun with our Valentine hair style last week that I decided to create this shamrock St. Patrick's day hair!
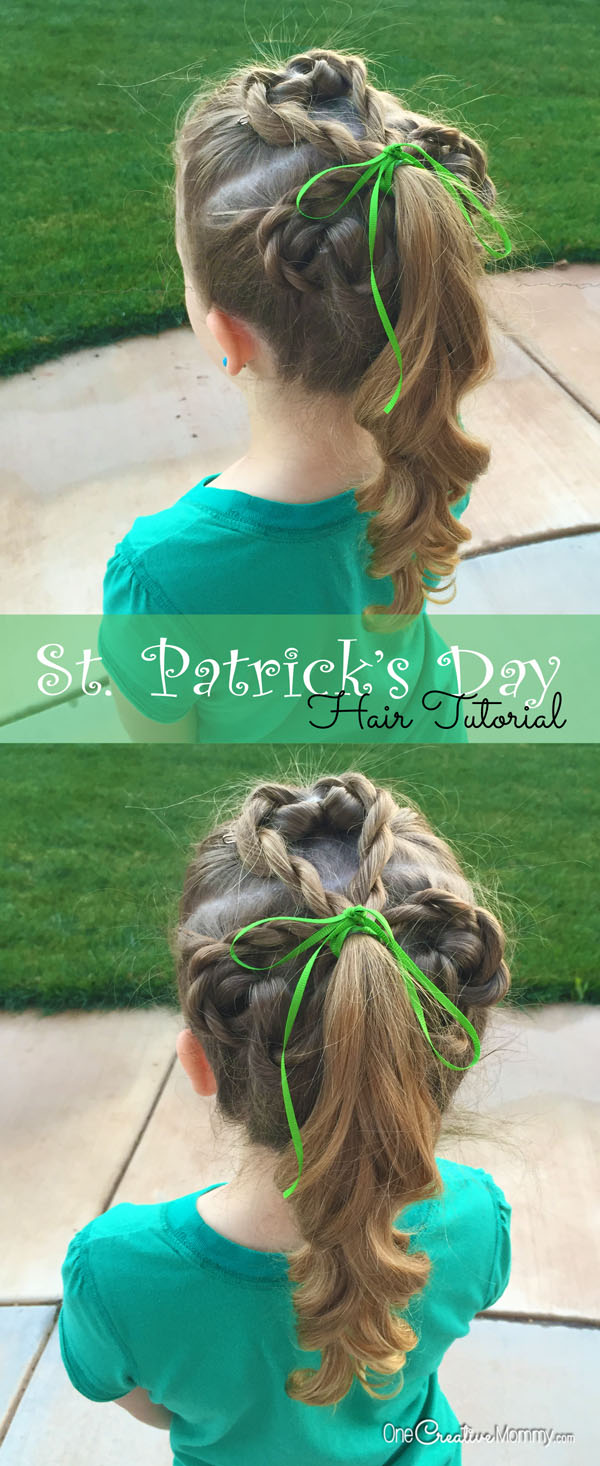
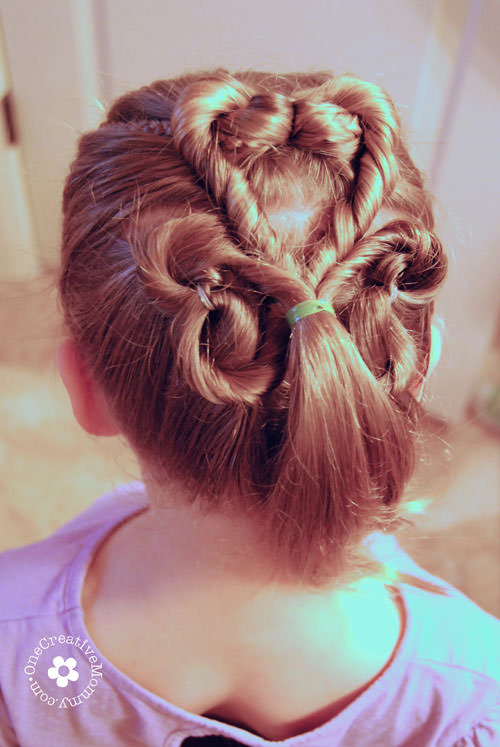
*Updated 3/17/16* It's been two years since I originally posted this hairstyle. Before I sent Lu off to school today, I snapped a couple of quick pics of her St. Patrick's day hair so that I could update the old pictures in this post. (The new picture is posted above.) The style is almost exactly the same, but since her hair is much longer, the look is even more fun. Read to the end to find out how to get the subtly different look.
Shamrock Hair Style Tutorial
What do you think? I know it looks complicated, but it's a lot easier than it looks! Here's how it's done:
Optional--If your child has bangs and you want them pulled back, begin by braiding their bangs with with some longer hair from the sides so that it will stay in the top ponytail. Once you've secured the ponytail, remove the elastic bands from the braids and unbraid the hair that is hanging loose.
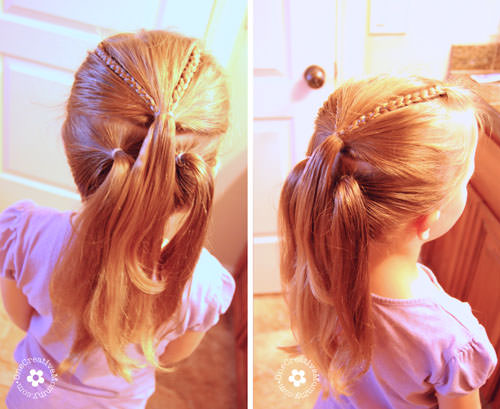
Step 1--Divide the hair into three sections (one on top and two on the bottom) and secure them with elastic bands. (Don't secure them super tight. You will need them a little loose.) Put the elastic bands as close to where the three sections meet as possible. Unless you want the shamrock to sit on top of your daughter's head, the top section will be larger than the other two.
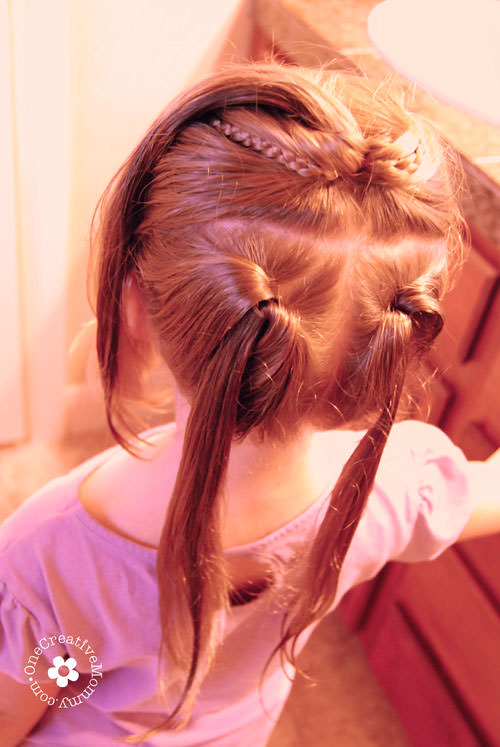
Step 2-- Starting with the top section, use your fingers or a comb to split the pony tail into two parts (under the hair band). Flip the ponytail under and up (through the part you just created) toward the top of the head. (This is the opposite of the way you would normally flip through for other styles.) Do the same with the bottom pony tails, but flip them over, then under the elastic band so that the hair hangs down the neck. (This is the way you would normally flip through for other styles.)
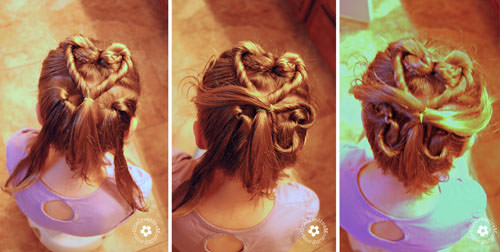
Steps 3-5--Create a heart out of each pony tail. Start with the top heart. Stand behind your child and divide the top pony tail into two equal sections of hair. Hold one section in each hand. Twist the hair in each hand toward the outside. Shape the strands into a heart and fasten the bottom with a hair band. Repeat on the other two sections of hair.
This time, you are creating upside-down hearts. To create these, move in front of your child so that you are facing her. This will help get the hearts in the right direction. To create the heart on the child's right, stand in front of her left shoulder. To create the heart on the child's left, stand in front of her right shoulder.
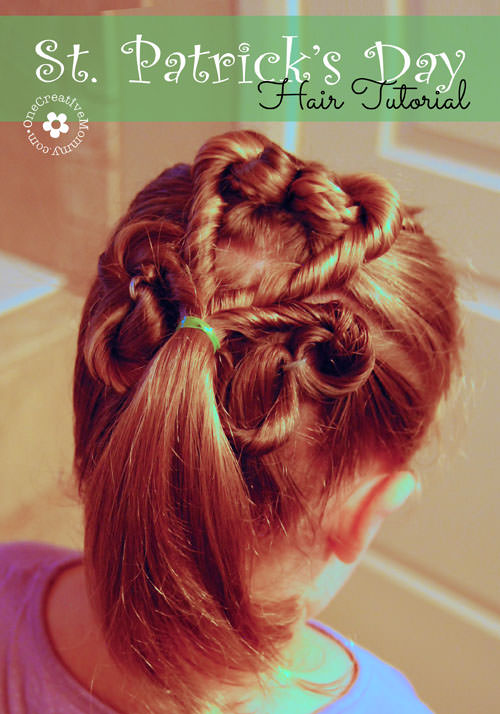
When you are finished, you should have three hearts, each secured with it's own elastic band.

Step 6--Gather all three hearts into one ponytail and secure it with an elastic band. Carefully remove the three original elastic bands securing the individual hearts and adjust the hearts as necessary.
That's it! You can braid the hair that is hanging down, or just leave it as is.

Although this St. Patrick's day hair style looks difficult, it is actually pretty quick. If you plan to do this style for school, here are some tips to make it go faster:
The longest step--believe it or not--is dividing the hair into sections. I suggest that you do this the night before. If the hair is messy in the morning, quickly redo each pony tail one at a time. (Once it's already been divided, it's simple to redo.)
If the hair tends to have fly aways, it is easier to create the hearts when the hair is slightly damp. I used a spray bottle and mousse to dampen each section right before working with it.
What do you think? Will you try it? I'd love to see a picture if you give it a shot!
***
*Updated* If you prefer the look of the updated image, here's what I did differently:
First, I did a better job of dividing the hair into equal-sized sections. In the original pictures from two years ago, the section from the top of the head was too large, making the top heart a little too big. When dividing the hair into sections, use the new image as a guide, not the old one. It works much better!
Second, I changed steps three through five. Instead of twisting the hair on each side of the heart, I divided each side of the heart into two sections and twisted the pieces together, creating a braided look. (You could also just braid each side.) I needed a few bobby pins to hold the hearts in place, but I like this look much better.
Third, Lu's hair is almost to her waist now. For this style, the longer the hair, the better!
***
I love this holiday so much that I've teamed up with six fantastic bloggers for a "Luck of the Irish Week!" All week long, we'll be sharing ways to celebrate with food and crafts. You'll find links to their projects at the end of this post.

And now . . . don't forget to check out these other posts for Luck of the Irish Week! (I have no idea why some of these links are appearing as crossed out! I'm trying to figure it out. There is nothing wrong with the links--just a computer glitch.)
Cranberry Almond Soda Bread from the Bitter Side of Sweet
Kiss Me, I'm Irish {Free Printable} from Clarks Consensed
Corned Beef Hash from the Plaid and Paisley Kitchen
Shamrock Cupcakes from Organized Island
Lucky Bingo Printable from Say Not Sweet Anne
Leprechaun Lime Rice Krispy Treats by a Pinch of Glitter
Bailey's Irish Peanut Butter Blossoms by From Gate to Plate
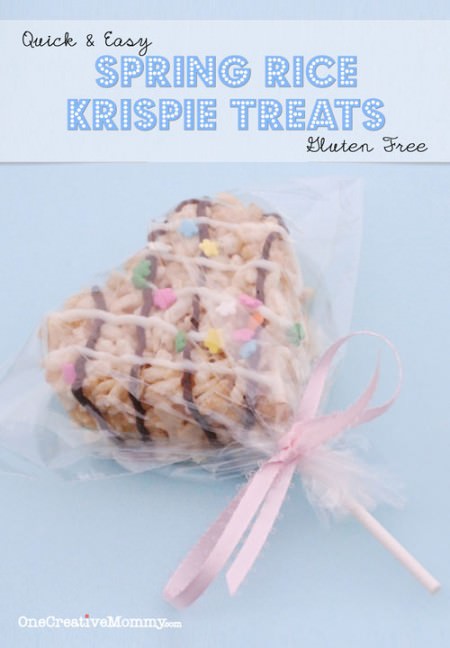
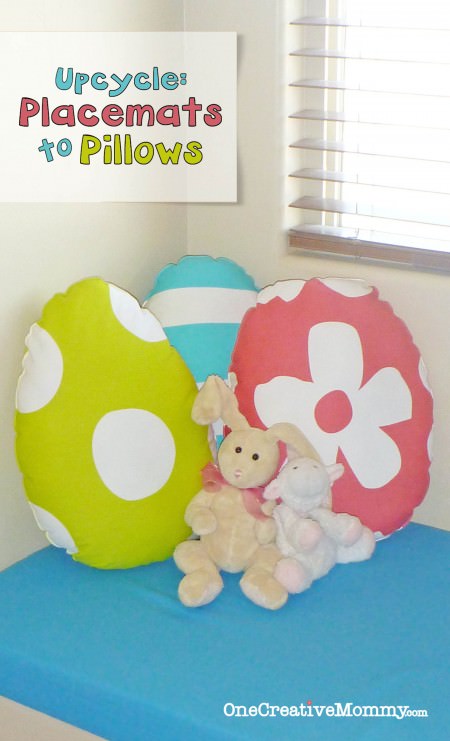
I'm so glad you stopped by today! Are you ready for Spring? Check out these ideas (images are linked):


I like to link up here.


Nancy P.@thebittersideofsweet
This is SO cute Heidi! I am going to need to try this on my girls!
Heidi Fowler
Thanks, Nancy! I'd love to see how it turns out!
Chandra@The Plaid & Paisley Kitchen
I wish I had long hair so I could wear these cute braids!! Really Cool!! Thanks for being a part of Luck of the Irish Week!
Heidi Fowler
Thanks so much, Chandra! Have a great week. I look forward to seeing the rest of your ideas for our Luck of the Irish week!
Lauren M
Adorable!! Now I need to go find someone to try it out on :P
Heidi Fowler
Thanks, Lauren! Just make sure it's not a total stranger! (I had a funny image of you standing on a corner trying to talk people into letting you do their hair!) :)
Lauren M
HAHAHA... Too funny!! That might happen, but it wouldn't be done sober at least :P
Theresa @DearCreatives
If my daughters hair was longer I'd love to try this. Pinned for later & shared. Happy St. Patricks Day early ;)
Heidi Fowler
Thanks, Theresa! My girls didn't have much hair at all until they were about 3. It's so nice to finally be able to style it!
Kayla
Alright. That's it. Heidi, will you please come do my hair? Its getting longer and all I ever do is put it in a pony. I think about doing super cute stuff like braids and twists, but I can't see the back of my head and my arms get tired. Please? will you do it? LOL!
Heidi Fowler
Sure, Kayla! Any time! :)
Lori Whicker
This is so darling! I don't have any girls to do this on, so I'll have to save the idea. They would be the cutest one in the whole school!
Heidi Fowler
Thanks, Lori. I just hope I have the energy to do it before school! Mornings are so hard!
Raquel
This is so cute Heidi! Very creative and cute!
Heidi Fowler
Thanks, Raquel!
Crystelle
This is very cute!!! Do you think I can talk my 12 year old into this? She might just go for it!
I will keep the quick tips in mind.... :)
:)
xx Crystelle
Crystelle Boutique
Heidi Fowler
If you can talk her into it, will you please ask her to call my 12 year old and talk her into it? She won't let me touch her hair!
Crystelle
It's a deal!!
Katie @Clarks Condensed
So, I don't have any girls, but this is so, so cute! Definitely storing it away for if I have a daughter some day :)
Heidi Fowler
I used to do the same thing with boy ideas, Katie. I never got any boys, though! I'll just have to wait for grandchildren. I hope you don't have to wait that long!
Carrie Groneman
Stopping by from Adorned Wed Party. I LOVE the shamrock hair!!! That is so clever and just cool! Carrie, A Mother's Shadow
Heidi
Thanks so much, Carrie! It was really fun to do.
Bonnie @ Mom's Lifesavers
You are so talented! If I could only get my daughter to sit still .... I hope to try this for St. Patrick's Day - thank you for the tutorial! #foodiescraftiessoiree
Heidi
You're so sweet, Bonnie! I find that an iphone or a video work wonders for getting kids to sit still!
Cathy
Hi,
Just wanted to let you know I am sharing your wonderful post tomorrow in my "100 Something Green St. Patricks Day RoundUp" http://wp.me/p466oG-11f with a link back to your original post plus pinned to my St. Patricks Day Board! Have a terrific weekend!
Cathy from APeekIntoMyParadise.com
Heidi Fowler
Thanks so much, Cathy! I'm honored.
Meredith@A TIPical Day
Very cute hairstyle. My DD needs to grow her hair back out so it is long enough for me to do this! :)
Diane Roark
Wow! What a great idea for doing hair. It is so cute! I bet everyone at school wanted you to do their hair.
Thanks for sharing at Wonderful Wednesday blog hop. I pinned this page.
Blessings,
Diane Roark
recipesforourdailybread
Lucy
This is seriously so cool!! I wish I could get my kids to sit still long enough to do something like this. Thanks so much for sharing at Saturday Dishes. Pinning!!
Marilyn
Heidi, I have no idea how you dream up these amazing hair styles for you girls...you are AMAZING!