• Skip to primary navigation
  • Skip to main content
  • Skip to primary sidebar
  • Skip to footer
onecreativemommy.com
  • DIY/Crafts
    • DIY for the Home
    • DIY for the Garden
    • Crafts for Kids
    • Sewing Projects
    • Felt Food Tutorials
  • Parties/Gifts
    • All Party Ideas
      • Frozen Party
      • Harry Potter Party
      • Spy Party
      • Un-Slumber Party
      • Minion Party Ideas
      • Art Party
      • Princess Party
    • All Gift Ideas
  • Holidays
    • Valentine's Day
    • Halloween
    • Christmas and Winter
    • Thanksgiving and Fall
    • Fourth of July
    • New Year
    • Easter and Spring
    • St. Patrick's Day
    • Mother's Day
    • Father's Day
  • Recipes
    • Gluten Free
  • Tips & Tricks
    • Organization Tips
    • Cleaning Tips
    • Parenting Tips
    • Back to School
    • Cooking Tips
    • Gardening Tips
  • Printables
    • Bingo Games
    • Lunchbox Printables
    • Educational Games
    • LDS Printables and Lesson Ideas
  • Navigation Menu: Social Icons

    • Facebook
    • Instagram
    • Pinterest
    • YouTube
menu icon
go to homepage
search icon
Homepage link
  • Home
  • DIY & Crafts
  • Parties & Gifts
  • Holidays
  • Recipes
  • Tips & Tricks
  • Printables
    • Facebook
    • Instagram
    • Pinterest
    • YouTube
  • ×

    Home » DIY & Crafts » DIY for Kids

    Easy DIY Tooth Fairy Pillow

    Published: Jan 29, 2021 by Heidi. This post may contain affiliate links 10 Comments

    Do you have Tooth Fairy trouble at your house?  Do teeth sometimes fall off the bed before she arrives?  Or, are your kids such light sleepers that the Tooth Fairy can't seem to find their teeth without waking them up?  Do the kids sometimes wake up to find their tooth gone, but the money nowhere to be found because it fell on the floor or behind the bed?  I've got an easy solution for you that the kids will love:  an easy DIY Tooth Fairy Pillow!

    No more lost teeth or coins!  Make things simple for the Tooth Fairy with an Easy DIY Tooth Fairy Pillow!  {OneCreativeMommy.com}

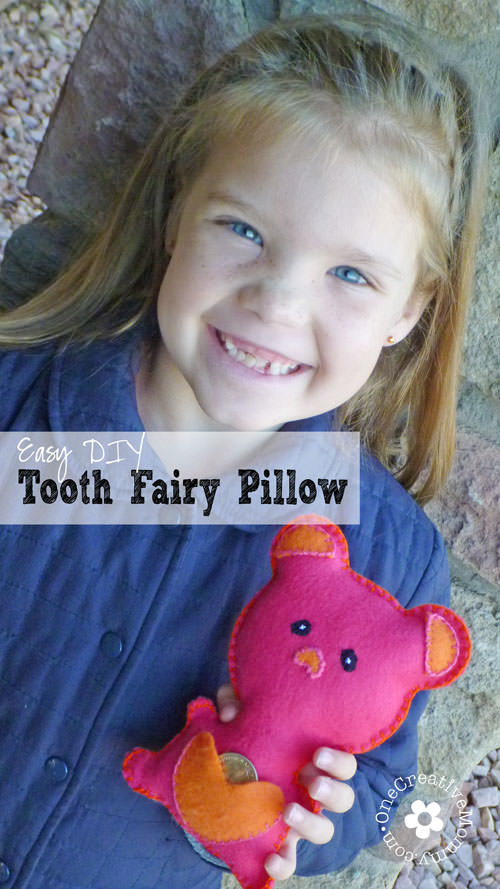
    No more lost teeth or lost coins!

    Seriously, this project is so easy that I did it while the kids were getting ready for bed.  (It probably took less than an hour--but that will depend on your blanket-stitching skills.)

    Step 1--Find a pattern

    Go online and find a simple shape you'd like to use for your pillow.  I used a really simple outline of a bear.  (I would recommend choosing something with larger hands and feet.  The hands and feet on mine don't hold the stuffing very well, so they are pretty flat.  The kids don't mind, though.)  Find a clip art image and enlarge it as much as you can on an 8.5 x 11 sheet of paper.

    No more lost teeth or coins!  Make things simple for the Tooth Fairy with an Easy DIY Tooth Fairy Pillow!  {OneCreativeMommy.com}

    Step 2--Cut out the basic shapes

    Trace and cut out the basic body shape on two pieces of felt.  Cut out a heart and other embellishments on a coordinating color of felt.

    No more lost teeth or coins!  Make things simple for the Tooth Fairy with an Easy DIY Tooth Fairy Pillow!  {OneCreativeMommy.com}

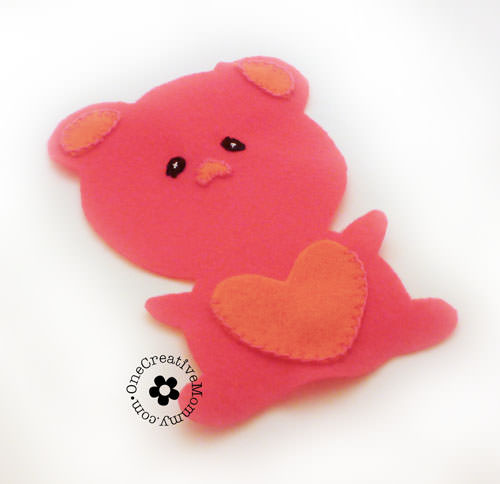
    Step 3--Stitch on the embellishments

    Using a basic blanket stitch, attach the bottom two-thirds of the heart to one piece of felt.  Stitch on the rest of the embellishments.  (I added a simple white x to the eyes to give them more depth.)

    No more lost teeth or coins!  Make things simple for the Tooth Fairy with an Easy DIY Tooth Fairy Pillow!  {OneCreativeMommy.com}

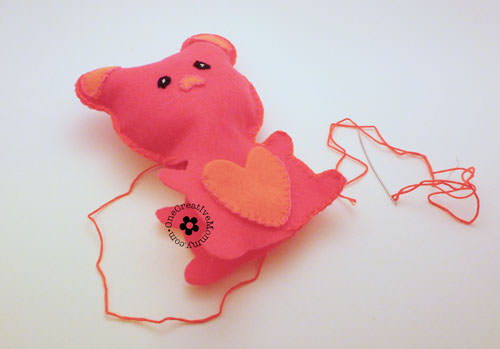
    Step 4--Stitch and stuff

    Lay the two body pieces of felt on top of each other (wrong sides facing in--you will not be turning this inside out).  Using a basic blanket stitch, sew two-thirds of the way around the outside edge of the body (leaving a hole large enough to add stuffing).  Stuff the body with batting, fabric scraps, or whatever you have on hand.  Seal the hole by continuing your blanket stitching.

    No more lost teeth or coins!  Make things simple for the Tooth Fairy with an Easy DIY Tooth Fairy Pillow!  {OneCreativeMommy.com}

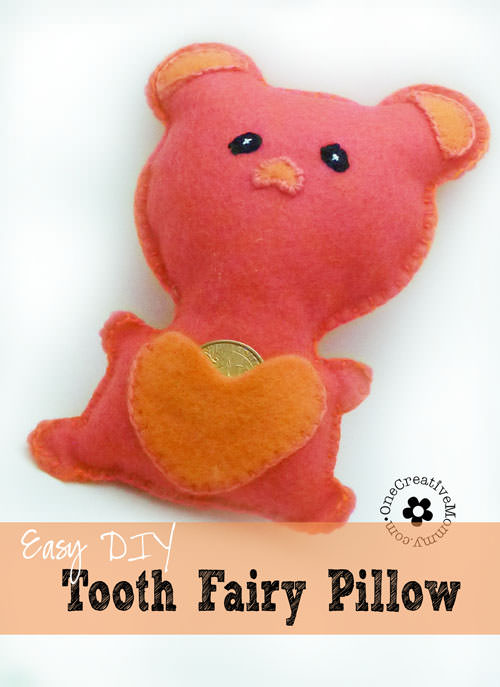
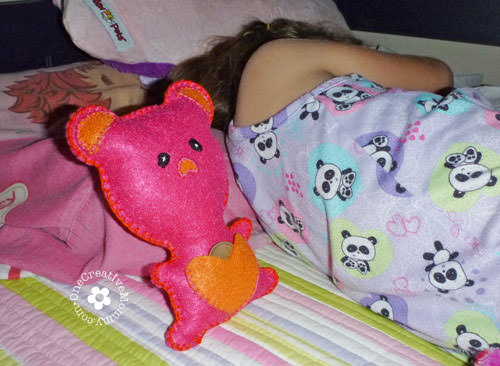
    Your Tooth Fairy Pillow is done!

    Now, here's the best part . . . Let your child put his or her tooth inside the pocket (we put ours in a baggie first).  Place the pillow somewhere in the bed where the Tooth Fairy can easily find it.  In the morning, the tooth will be gone, and the Tooth Fairy will have left something special in it's place!

    No more lost teeth or coins!  Make things simple for the Tooth Fairy with an Easy DIY Tooth Fairy Pillow!  {OneCreativeMommy.com}

    Because we want the Tooth Fairy Pillow to be something special, it only comes out when someone has lost a tooth.  The kids are always excited when they get to use it.

    So what's your best Tooth Fairy mishap story?  My oldest once searched all morning for her coin, only to find it later in her shoe!  Clumsy Tooth Fairy!

    Thanks for stopping by today!  I hope you'll be back soon.

    Heidi

    MORE IDEAS FOR YOU

    • Recipes
    • DIY & Crafts
    • Holidays
    • Parties & Gifts
    • Printables
    • Tips & Tricks

    Reader Interactions

    • Facebook
    • Instagram
    • Pinterest
    • YouTube

    About Heidi

    Hi! I’m Heidi, the sometimes scatterbrained, but always creative mind behind One Creative Mommy. I'm a retired teacher, wife, and mom of three beautiful teenage girls and one adorable fur baby. In my spare time, I love to share my ideas (mistakes and all) with anyone who will listen.

    Learn more about me →

    Comments

    1. Brenna

      March 23, 2014 at 8:24 am

      I have been looking for a tooth fairy pillow for my son! Most are too girly, but this would be easy to change the colors and make it appropriate for a little boy! Thanks.

      Reply
      • Heidi

        March 23, 2014 at 10:30 pm

        Glad you like it, Brenna! You could easily make a "boy" pillow.

        Reply
    2. Cari

      March 28, 2014 at 7:05 am

      That is adorable! I don't sew, and I think I might be able to do that :)

      Reply
      • Heidi Fowler

        March 28, 2014 at 1:38 pm

        Thanks, Cari! If you can sew a blanket stitch, or even just a whip stitch, you can do it!

        Reply
    3. Kathleen @ Fearlessly Creative Mammas

      April 07, 2014 at 9:54 pm

      Too cute! My grandson lost his first two teeth not too long ago. This would be a great thing to make him and the other grandkids too.

      Reply
      • Heidi Fowler

        April 15, 2014 at 11:37 pm

        Thanks, Kathleen. It's a really easy project. (The kind I love!)

        Reply
    4. Angela @Little Blue's Room

      April 09, 2014 at 6:39 am

      Love, love, love! I (oops, I mean the Tooth Fairy) made a little bag for my son but I love this idea and I have to make one for a friend's daughter. I'm so taking this idea (hope you don't mind).

      Reply
      • Heidi Fowler

        April 15, 2014 at 11:38 pm

        I don't mind at all. I'd love to see how it turns out!

        Reply
    5. kelsea ford

      December 03, 2014 at 3:00 pm

      cute I'm going to make this for my sisters

      Reply
      • Heidi

        December 05, 2014 at 7:40 pm

        What a nice sister you are, Kelsea! I hope they love it.

        Reply

    Leave a Reply Cancel reply

    Your email address will not be published. Required fields are marked *

    Primary Sidebar

    Hi! I’m Heidi, the sometimes scatterbrained, but always creative mind behind One Creative Mommy. I'm a retired teacher, wife, and mom of three beautiful teenage girls and one adorable fur baby. In my spare time, I love to share my ideas (mistakes and all) with anyone who will listen.

    More about me →

    Subscribe

    Popular

    • Olaf Sock Snowman Tutorial
    • Frozen Olaf Valentines {Free Printable}
    • Make your own storage lockers! {Perfect for kids}
    • 27 Creative Classroom Door Decorations for Valentine's Day

    Save Money

    Footer

    Privacy Policy

    Footer

    ↑ back to top

    About

    • Privacy Policy
    • Printables Terms of Use

    Newsletter

    • Sign Up! for emails and updates

    Contact

    • Contact

    As an Amazon Associate I earn from qualifying purchases.

    Copyright © 2022 OneCreativeMommy

    »
    «