
We have an addiction at my house. It's Legos. My kids cannot get enough Legos! I have finally put my foot down and said no more, but I still need a place for the kids to play with the Legos they already own. We've always wanted a Lego table, but we don't have the space to dedicate to such a big piece of furniture. I found the perfect solution with this portable DIY Lego table. Keep reading to find out how you can turn any surface into a Lego station (in just minutes)!
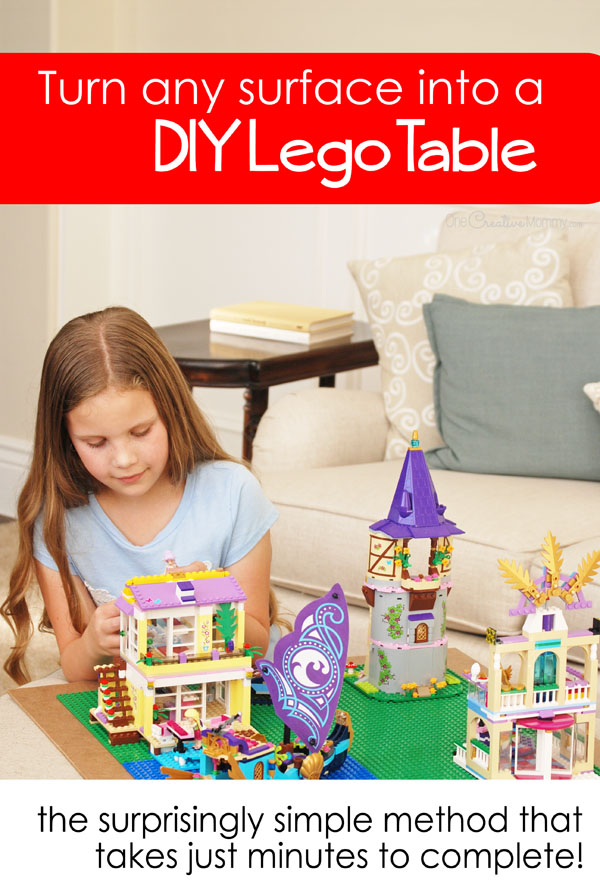
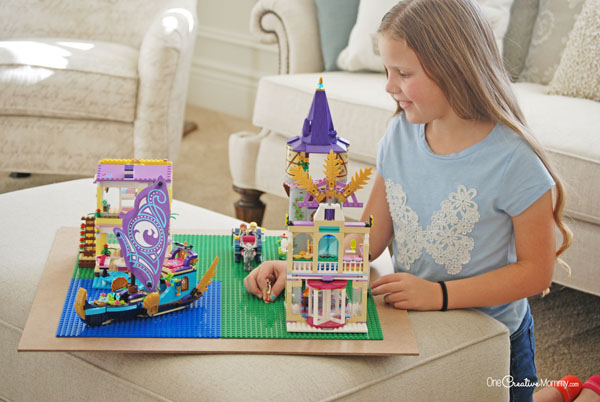
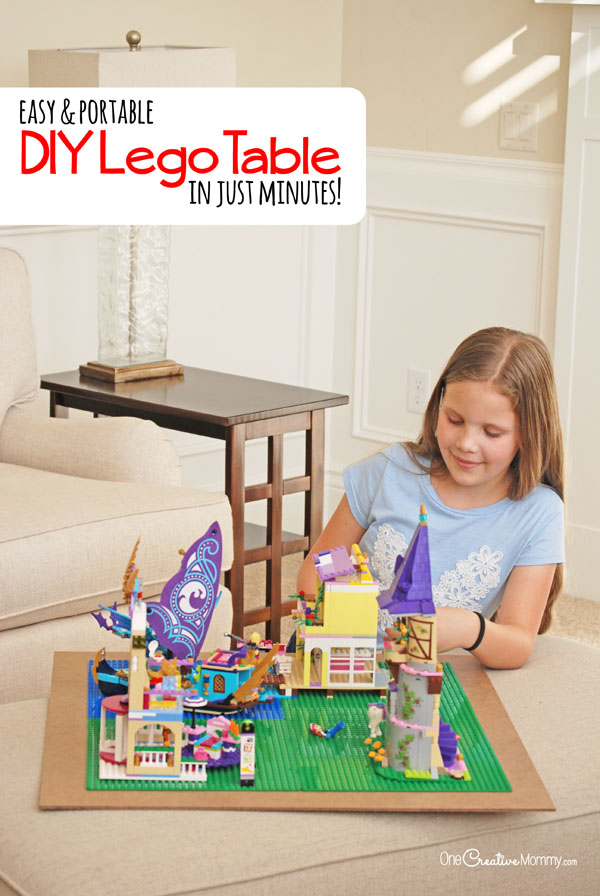
This DIY Lego table turns any surface--the floor, an ottoman, or the kitchen table--into a Lego play station. When it's not in use (and the Legos are removed), it slides under a bed or fits behind a couch or dresser. When the kids are ready to play and build, they simply pull it out and instantly turn any spot into a Lego table.
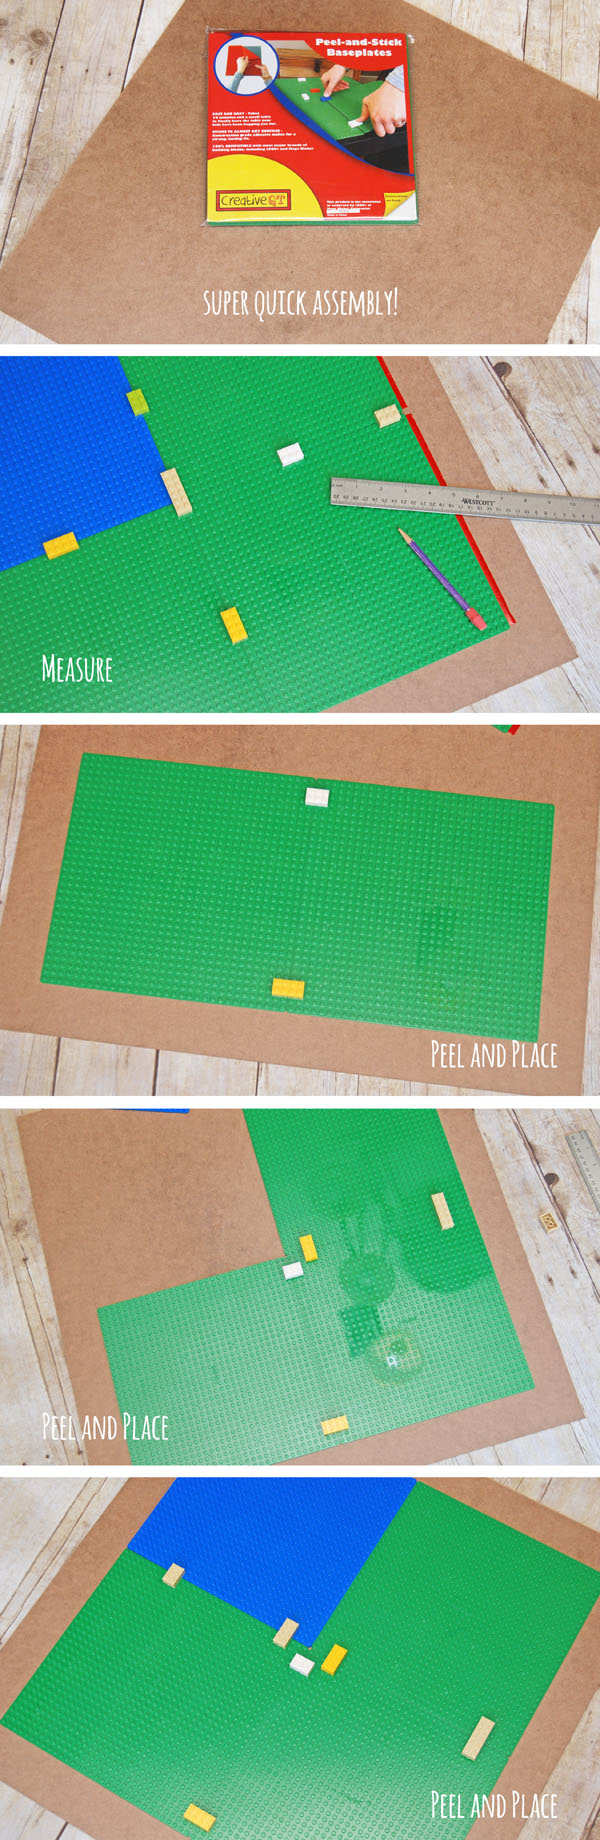
So, what's my Lego table solution? I turned a 24 x 24-inch piece of hardboard into a portable Lego station with these super cool peel-and-stick Lego compatible base plates from Creative QT. The construction-grade adhesive allows you to turn any surface into a Lego surface without messy glues. How cool is that?
Thank you to Creative QT for sending me base plates to complete my project and for sponsoring this post. All opinions are my own. (Remember, I only endorse products that I know my readers will enjoy, and this is definitely one of them!)
Make your own DIY Lego table in minutes!
Ready to make your own portable Lego table? Once I had my board cut, my table was finished in less than fifteen minutes! (My second table took about five minutes.)
Materials:
- Hardboard (also called masonite) cut in a 24 x 24 " piece. I chose that size so that there was a border around the base plates for extra playing space. (Hardboard comes in two different thicknesses. I chose the thicker piece for extra stability, but now that the project is finished, I'm sure the other thickness--which is less expensive--would work fine, too.)
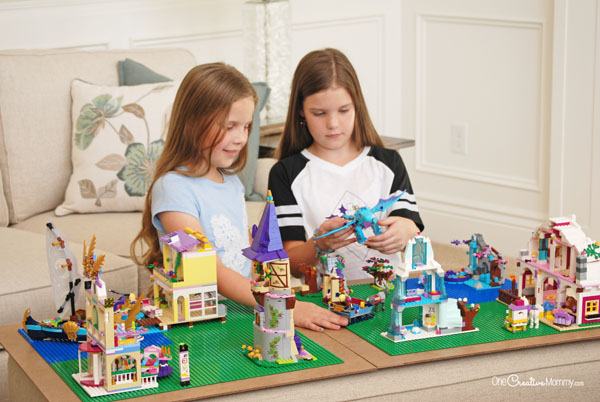
- 1 package of peel-and-stick Lego compatible base plates. I was making two tables, so I used two packages. One green pack, and one blue and green pack. That gave me three green (grass) squares and one blue (water) square for each table.
- Ruler and pencil
- Several Lego bricks
Instructions:
Follow the directions on the package to create your table.
- Lay out your base plates and link them together with Lego bricks to get the exact size of your future playing surface.
- Using a ruler and pencil, place the layout on your board and trace around the outside edges to mark where you will place your plates. (I measured two inches in from every edge to make sure my square was centered.)
- Carefully follow the directions on the package to remove the backing and place your base plates. (The directions are very well written, so I won't try to write my own.)
That's it! You're done. You don't even have to wait for glue to dry or anything. Your table is ready to use and enjoy. No mess and no cleanup. Just a quick and easy project.
Have fun!
I love that my kids have a Lego table where they can permanently create a Lego city, but it does not take up their whole room or playroom. If they want to keep their Lego buildings up, they just push the board into a corner of their room until they want to use it. If they're done, they can put the Legos away. (Somehow I doubt they'll ever put them away! Would you?)
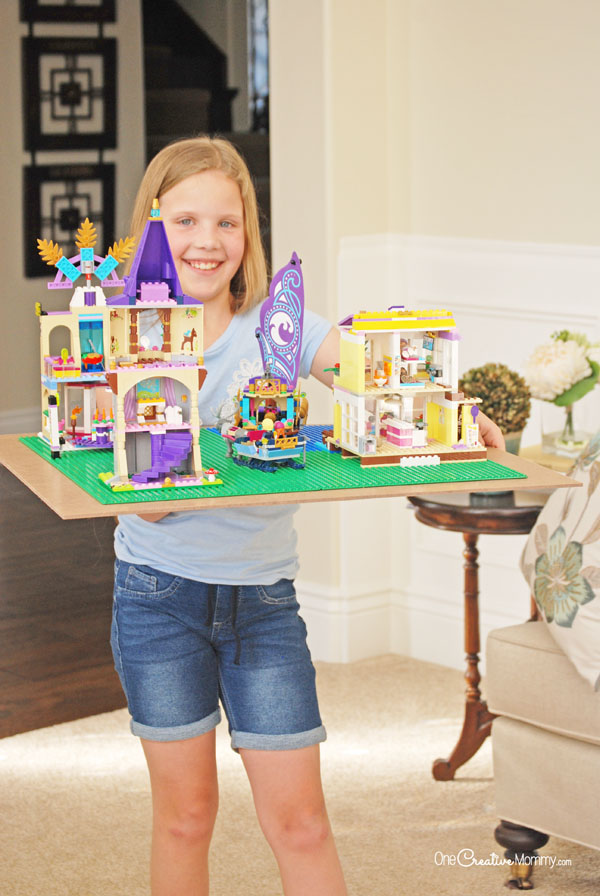
My girls can easily take their whole Lego city to another room for a play date. How cool is that?
If you're still wondering what to do with the rest of the Lego disaster -- those Lego bricks and projects that always seem to be "in progress" and scattered all over the house -- check out out our cool Lego trays.
Thanks for stopping by today. Be sure to check out more of my ideas by clicking on the images below. The images are linked to posts.


Jennifer
That's pretty great! Legos are great fun, but only when you have a good surface to work with. I love this idea.
Heidi
Thanks, Jennifer. This will definitely make a difference at our house.
Leah
That is a really great idea! My son is a bit older now, though he does still pull out the Legos from time to time, but the one thing I always wished I had gotten him when he was little was a Lego table. I'll have to show this to my brother. My nephew is all about Lego's right now!
Heidi
Thanks, Leah. I've never had enough room for a Lego table, so this is a great solution for our house.
April J Harris
Lego was hugely popular in our house when my son was growing up too. This would have been so handy! Love how you can make any surface into a fun play area just like that!
Heidi
Thanks, April. Those tiny Legos end up everywhere without a good surface to work on. I'm hoping this makes a big difference.
Audrey McClelland
That is an awesome idea. It's much easier to build when you have a mat like that so the base of what you're making stays still. I'll have to do this for the kids.
Heidi
Thanks, Audrey. I hope it works well for you. The self-adhesive base plates are really great. There's no mess, and the project goes together really quickly.
Jacqui Odell
I love this idea! My son is HUGE into Legos!
Heidi
Thanks, Jacqui. It's so hard not to keep buying and buying!
Jenn
My kids and their LEGOs are out of control! I need to do this ASAP!
Heidi
I know just how you feel. It's so easy to get addicted to Legos. This makes things so much better!
Annemarie LeBlanc
I am way past the "picking up the LEGO pieces" stage. (Thank goodness!) Anyway, I think this DIY LEGO table is a great idea. I'll share this with my sister. Her children are still into LEGOs and this will help a lot.
Heidi
Thanks, Annemarie. I think it will be a long time before my kids are out of this stage. Legos are just too fun!
Marcie W.
What a great idea, especially since it is portable and can travel along with any LEGO lover. I can see something like this being ideal for my dad and his puzzles too.
Heidi
Thanks, Marcie. I actually have a plain board that we use for puzzles. My boards like this were originally drawing boards from when I taught art. They have evolved into other uses.
Carrie
Such a great idea! I really need to do this for our son. He has a ton of legos!
Heidi
Thanks, Carrie. It's done so much to contain the mess!
valmg @ Mom Knows It All
This is a terrific idea! When my oldest was young the Legos were everywhere, this would have been a great way to keep the playing surface in one place.
Heidi
Thanks, Val. I wish I would have thought of it sooner! It would have saved a lot of headaches.
GoMama247
This is really a great DIY. Simple and amazing. I loved it.
KJ
Great ideas--always helpful when trying to raise little ones and keep life simple