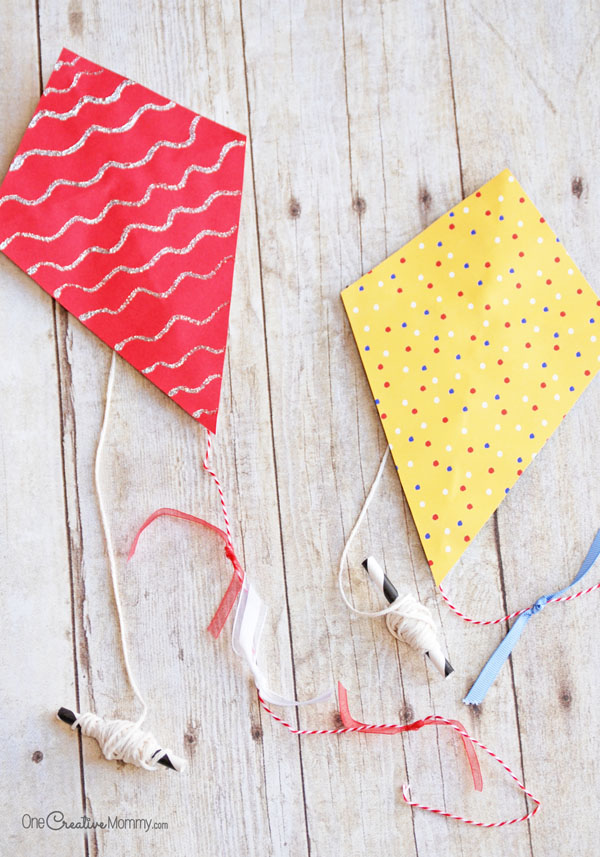
Are your kids dying of boredom this summer like mine? I'm not ready to send my girls back to school yet, but I am in desperate need of some more things for them to do! Today, we made these adorable mini paper kites. They're quick and easy enough for your youngest crafters. Depending on age, the kids can make these kites as simple or as fancy as they'd like. Get ready for a fun and easy boredom buster!
RELATED: Tin-Can Stilts, Pet Rock Tic-Tac-Toe, 40+ Projects to Make with Your Kids
Mini Paper Kites Tutorial
That smile says it all. When I took Lu out to take pictures tonight, she said, "Mom! These are really fun!" (Just what I hoped to hear.) And, if you're wondering how hard it is to take pictures of a kite that's held by a fast runner, I'll tell you. It's nearly impossible!
I love this project because I had most of the stuff on hand already. I hope you do, too!
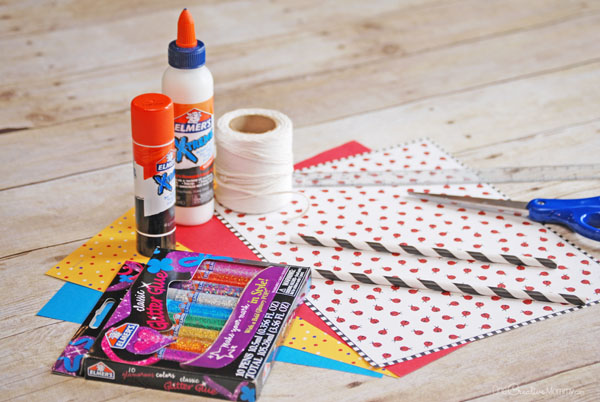
Materials:
- Coordinating craft paper (any 8.5 x 11" paper will work)
- Paper straws (2 per kite)
- String or twine for the kite string (at least 25-30" long)
- Light-weight string, twine or decorative ribbon for the tail of kite (at least 20" long)
- Decorative ribbon scraps
- Elmer's X-treme School Glue Stick (I love this because it's much stronger than the regular glue stick)
- All purpose glue (I used Elmer's X-treme School Glue)
- Glittler glue for decorating (optional)
- Scissors
- Pencil
- Ruler
Directions:
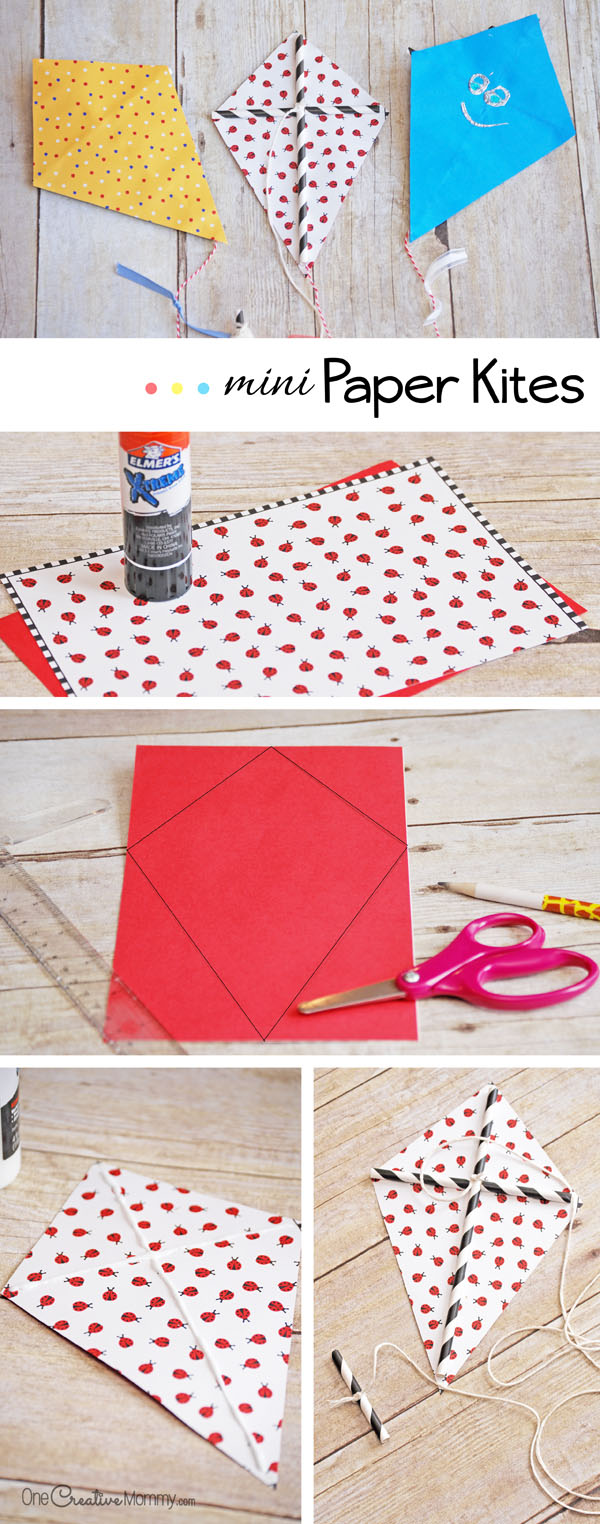
- Choose two coordinating papers, and cut them both in half along the longest edge. (The size is now 5.5 x 8.5".)
- Using a very strong glue stick, cover the back of one sheet with glue and place the other color on top. Smooth the page down, and make sure there are no bubbles.
- Using a ruler, measure and mark a spot at the top and bottom of your paper at 2.75". Measure and mark the long edges at 3". Use a ruler to connect the four marks and draw lines to make the kite shape.
- Cut out the kite.
- Cut a length of twine or string, and tie one end to a paper straw about ⅔ of the way down. Cut the second straw into thirds to get three pieces. (They don't have to be exactly even. Just eyeball it.) Tie the other end of the twine to the middle of one of the paper straw pieces. This will be the kite handle.
- Add a drop of glue onto the knot you tied on the handle so that the string won't slide off of the handle.
- Place the side of the kite that you want to be the bottom (the side that will hold the paper straw frame) face up on the table. Using a ruler and a pencil, connect the corners to draw a cross. Squeeze a bead of craft glue along the cross.
- Place the straws into the glue to form your kite frame, and allow the glue to dry for a few minutes. (Try to get the knot of the twine about even with the center of the cross before you press down the straw.)
- Cut a 20" (or longer) piece of light-weight ribbon or string to make the kite tail. Thread it through the long straw, and add a bead of glue at the top of the straw to keep the string from falling out.
- Tie a few decorative ribbons to the tail, and allow all glue to dry completely.
- Optional--Decorate with glitter glue. (My kids loved that part! They gave their kites faces.)
Now, send the kids out to test the kites! Sure, the kites will fly higher on a windy day, but don't let no wind deter you. No wind just means that the kids get a lot more exercise running around! My daughters loved spinning and running around with their paper kites. Have fun!
Thank you to Elmer's for sponsoring this post. Elmer's provided the glue, but the idea and opinions are mine.
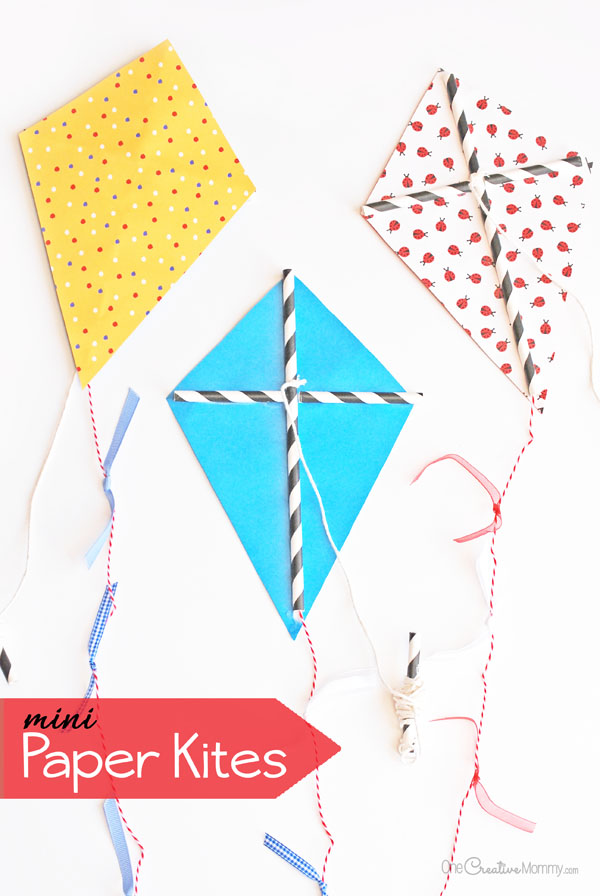
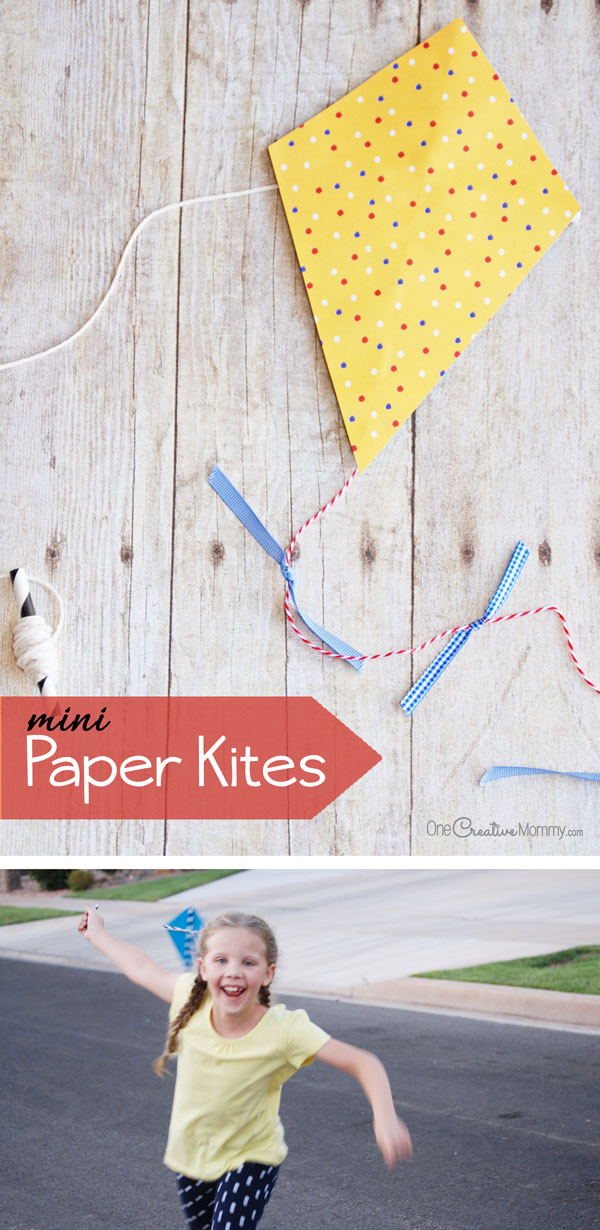
Thanks for stopping by today. Looking for more boredom busters? Check out some of these ideas by clicking on the images below.





Kerry
Your ideas are so clever, and the kites turned out really cute! Your girls are so lucky to have such a creative mom.
Heidi
Thanks, Kerry. What a sweet thing to say. The kites were really fun.
Judith
My nieces and nephews would love these! This looks like an excellent beach day activity. Thank you for sharing!
Heidi
Thanks, Judith. They would be fun to play with at the beach. (As long as they don't fall into the water!)
Claudia
Really great idea..If my little girl wasn't only 3 months old I'd definitely be trying some of these! I love the kites, I remember doing them as a child! I was brought here by the Link party on a bowl full of lemons hoping to find new bloggers to follow and I am really enjoying your site!
Heidi
Thanks, Claudia. I'm glad you stopped by. Just wait. Soon you'll get to do all sorts of fun things with your little one. They grow up fast!
Gina Marie
I love this project! Anything that will get my kiddos to stop saying "I am bored" is awesome! Thanks for sharing!
Gina Marie from Always Savory
Heidi
I'm with you, Gina. I'm so tired of hearing, "I'm bored!" It must be time for school to start again!
Noa Ambar Regev
These are so cute and fun! I love how you can use different colors and patterns to make them.
Heidi
Thanks, Noa. Every kite is definitely unique. I love seeing what my kids choose.
Emma
Love it!!!
Emily
Does it ave to be paper straws or would plastic straws or Popsicle sticks work?
Heidi
Plastic straws might work--if you can get the glue to stick. Most glues will peel right off of the plastic. You can use popsicle sticks as long as you are able to cut them in half. Also, with popsicle sticks, you won't be able to thread the string through a straw, so you'll have to attach the tail with glue instead. Good luck. I'd love to hear how it works if you try something different.
Anubha
Why are you cutting the kite in half ?
Heidi
Don’t cut the kite in half. Cut the letter-size (8 1/2 x 11”) paper in half to get the right size for a mini kite. You will only use half the sheet of paper for one kite. Have fun!