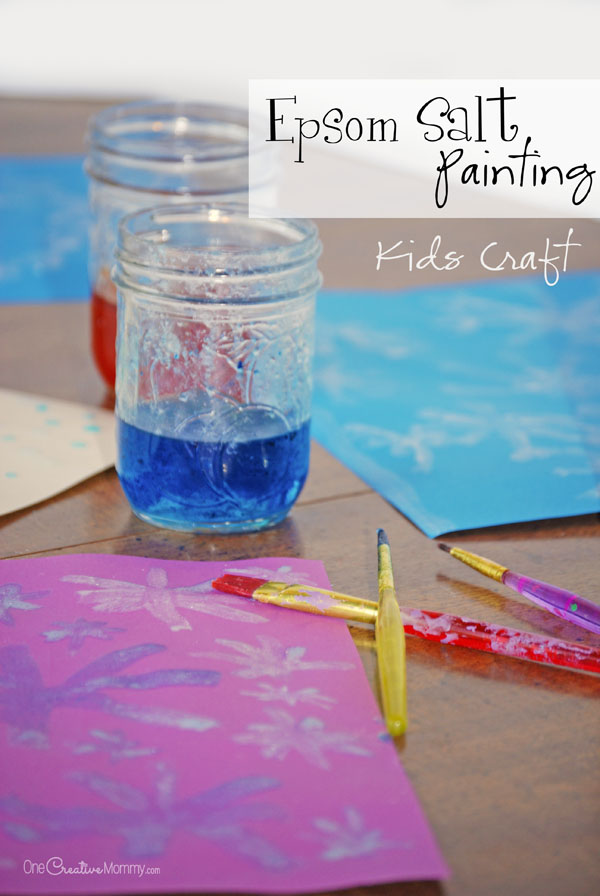
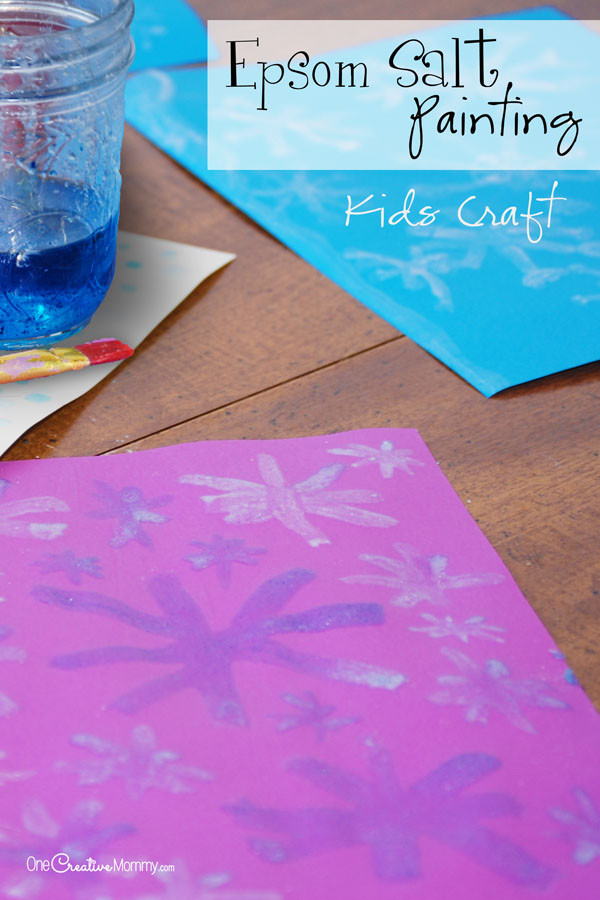
Who's up for some kids' science? With the kids out of school for the break and many of you snowed in, here's a fun activity to bring crystals inside--but not the cold. Wow your kids with Epsom Salt Painting. In the beginning, the colors look like watercolors, but as the paint dries the kiddos get a fun crystal surprise!
The girls and I had such a good time with this project. And, besides the Epsom salt, I had everything else I needed in the cupboard. I must admit, though the painting was fun (when's the last time you picked up a brush and painted with your kids), the coolest part was watching the kids discover the changes taking place in the paint as it dried. They were like little inquisitive scientists.
Why is the paint changing color as it dries, Mom?
Look, Mom! There are crystals on my paper!
How come the clear paint turned white, Mom?
Why is the paint in the jar getting thicker as the water cools, Mom?
Look, Mom! My paint dried shiny and sparkly!
With Epsom salt painting, the real fun comes in watching for changes! It was awesome! (I was pretty excited to see what would happen to my painting as it dried, too!)
It doesn't take many materials to make this fun project, but it may get a little messy. Ready to try it? Let's get started.
Epsom Salt Painting
RELATED: How to Make Crystals: Science for Kids
Materials:
- Heavy paper (lightweight paper will curl up as the paint dries)
- Epsom Salt
- Water
- Food coloring (optional)
- Paint brushes of various sizes (the solution will wash out of the brushes, but I still wouldn’t use your best brushes)
- Small jars or plastic cups
Directions for white paint:
Pour one cup of boiling water into your jar or plastic cup.
Add 1 cup of Epsom salt, and stir until it completely dissolves.
Paint your designs onto dark-colored heavy paper.
Directions for colored paint:
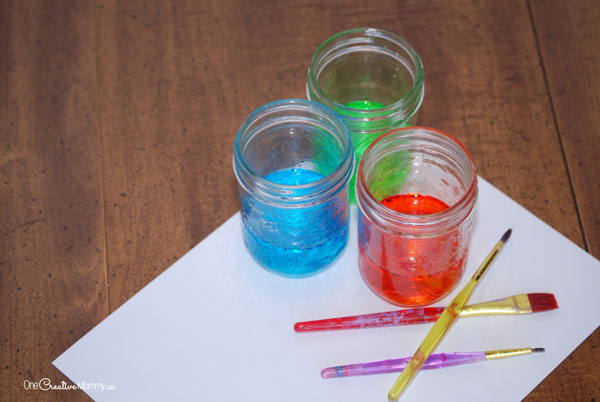
Pour one cup of boiling water into each of your containers.
Add a few drops of food coloring to each container. (Keep adding color until you like the result.)
Add 1 cup of Epsom salt to each container and stir until dissolved.
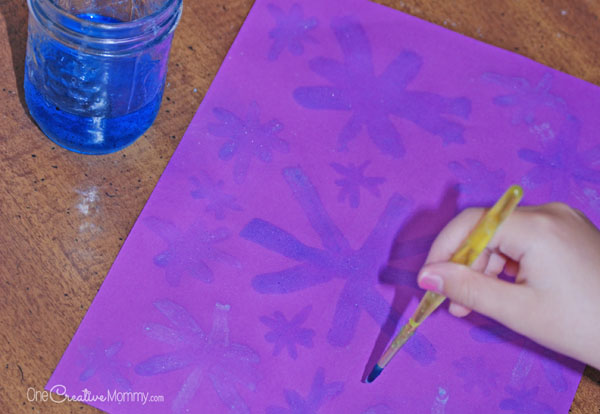
Paint your designs on white or colored paper. Experiment!
We originally planned this activity to go with our Frozen party, so we definitely had snowflakes on the brain! The more we painted, the more we tried new things. As we painted, we discovered some cool things. We won't tell you about all of them, though, because it's fun to discover them for yourself. Here are some things to think about and try as you paint and experiment:
- Why do you think the clear paint turns white when it dries?
- What will happen if you paint on paper that has a texture?
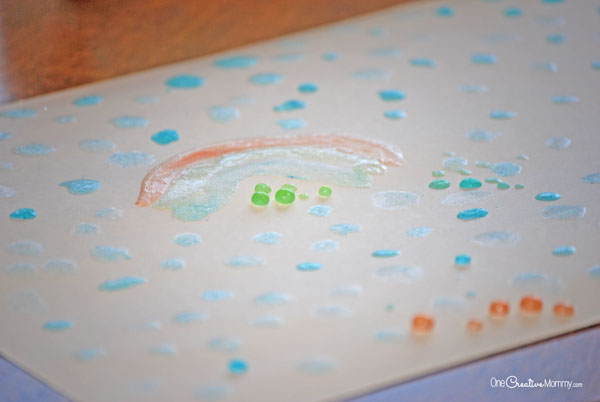
- Can you make paint bubbles that sit on top of the paper? (See the image above.)
- Why do you think the colored paint dries shiny and sparkly, while the white paint does not?
- Why do you think the thin paper curls as the paint dries?
- Why do you think the paint gets thicker as the water cools down?
- Why do you think the paintbrush gets clogged up the longer you paint?
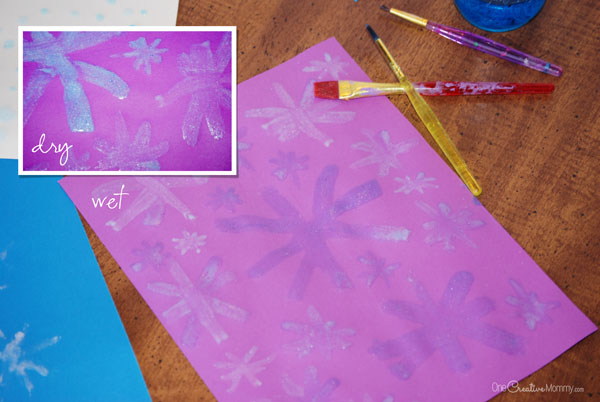
I hope you and your kiddos have a lot of fun! Above is my favorite effect. The paint got shiny and puffy as it dried on this colored printer paper. (So cool!)
This was a pretty fun project to do with the kids. I had a great time joining the girls and doing some painting, too! It's definitely nice to let the dishes stay in the sink, forget about folding laundry, and sit down and enjoy some creative time with the kids. Try it!
This post originally appeared on Juggling Act Mama.
Thanks for stopping by. Stick around and browse some other fun projects while you're here. Click on the images below to visit the posts.





linda spiker
Really cute and creative craft! Budget friendly too!
Heidi
Thanks, Linda. It's a fun one to do with the kiddos on a cold winter day.
John
I got Epsom Salt ready to use in my garden, tomatoes love it. Never thought about using to paint. Cool ideal, will try this out with my kids, sound like you had a ball experimenting. Thanks for a great tip how to spend a rainy day with the kids!
Deb
Thank you very much for sharing! I have had my students dip their hands in an epsom salt solution and then put their handprints on black construction paper. I love the idea of painting in colors!
Emily
Thanks so much! About how long would you say this takes to dry? Thinking if doing it for a preschool birthday that’s two hours total…
Heidi
Hi, Emily. It’s been 8 or 9 years since I did this activity with my kids, and I honestly don’t remember how long it took the paintings to dry. I imagine it will depend on how warm your house is and how much water ends up on the page.
Based on my experience as a teacher, each kid’s painting will probably dry differently. Some kids put a ton of water on the page, and some use very little.
I would suggest trying it out ahead of time. If it’s warm enough, you could put the pages outside to dry. Just be careful not to bleach them in the sun, and be sure to use something to hold them down.
You can always send them home partially wet.