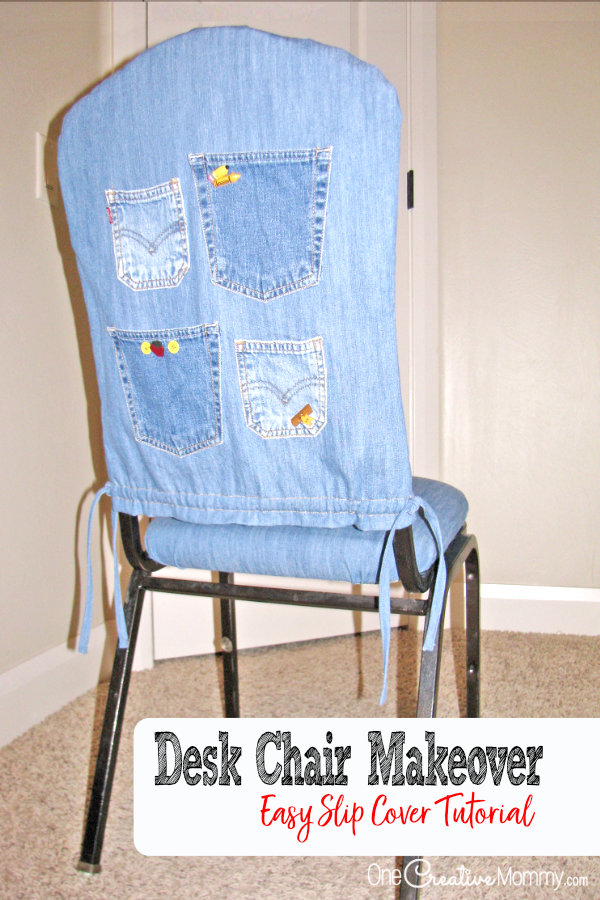
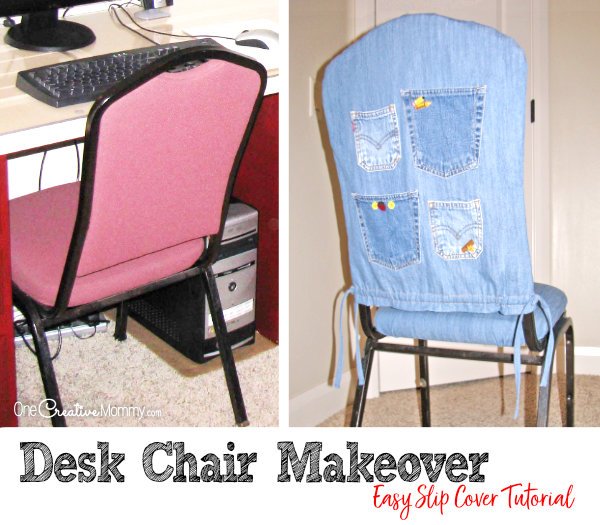
Everything is better with a little love, and these recycled desk chairs that I bought from a hotel are no different! I added recycled jeans pockets to simple slipcovers and created something fun to go with our new family computer desk. Check out my desk chair makeover!
From Boring to Fun
Related: DIY Lockers for Kids, Felt Finger Puppets Craft
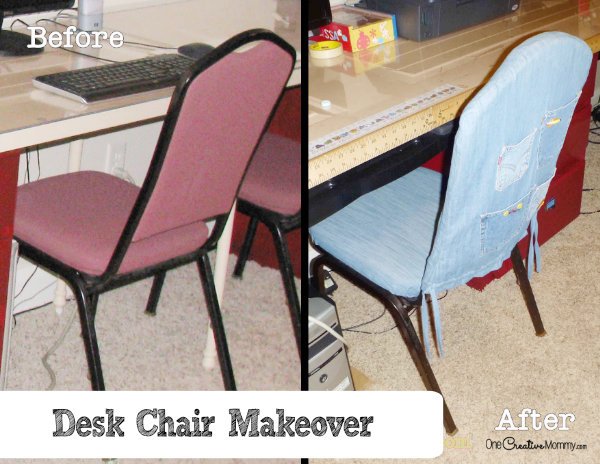
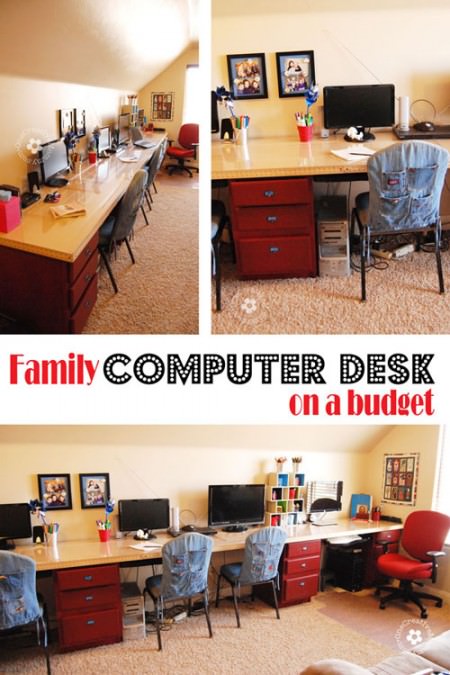
About the time I finished the desk, I found a hotel that was selling its convention chairs for $5/each. Although I wanted adjustable chairs, it was hard to resist that kind of price tag, and it was surprisingly easy to convert the pink chairs into something that fit the design for our new den.
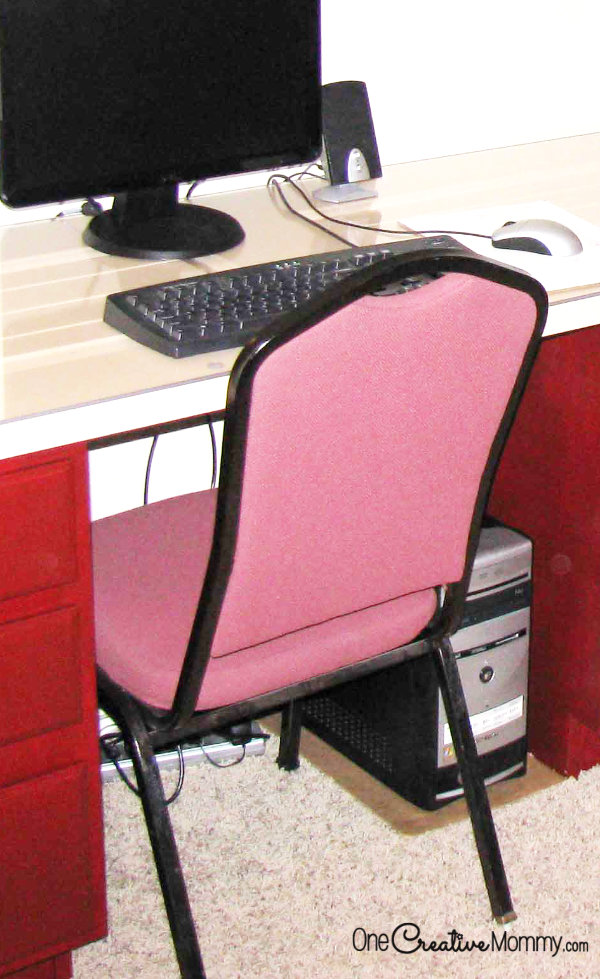
I forgot to take a before picture, so this is the best I can do. Notice how fabulously the lovely pink fabric clashes with the red drawers. I know what you're thinking. . . . I should've just left them pink, right? ;]
These chairs were so easy to cover! To cover the bottom, I just removed the seat and stapled new fabric over the old.
Directions
To cover the top, I traced the outline of the back of the chair onto a wallpaper scrap, enlarged it by an inch around the edges and a added a lot of extra length on the bottom. Using that pattern, I cut two layers of fabric to match, sewed the pockets on one side, and stitched the two sides together with right sides facing in (pockets were facing in).
To make the drawstring hole, I turned the cover right-side out, folded the fabric under and up to the desired length, and stitched two rows of stitching all the way around the bottom. (Making the drawstring ties was a bit harder, but you could just use ribbon.) Last, I ripped out the side seam between the two rows of stitching and threaded in the ties. Easy, easy, easy!!! (I added the buttons once I was all finished.)
The Finished Products
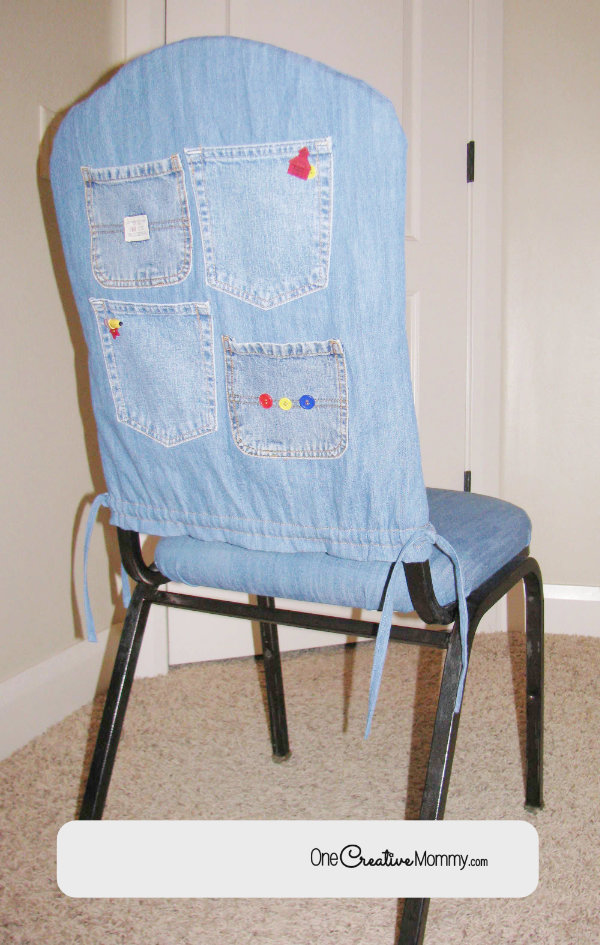
*Please excuse the weird white spot on each image. I updated the old images, but I couldn't find the originals. I had to cover up my old watermark, which was huge and so tacky!
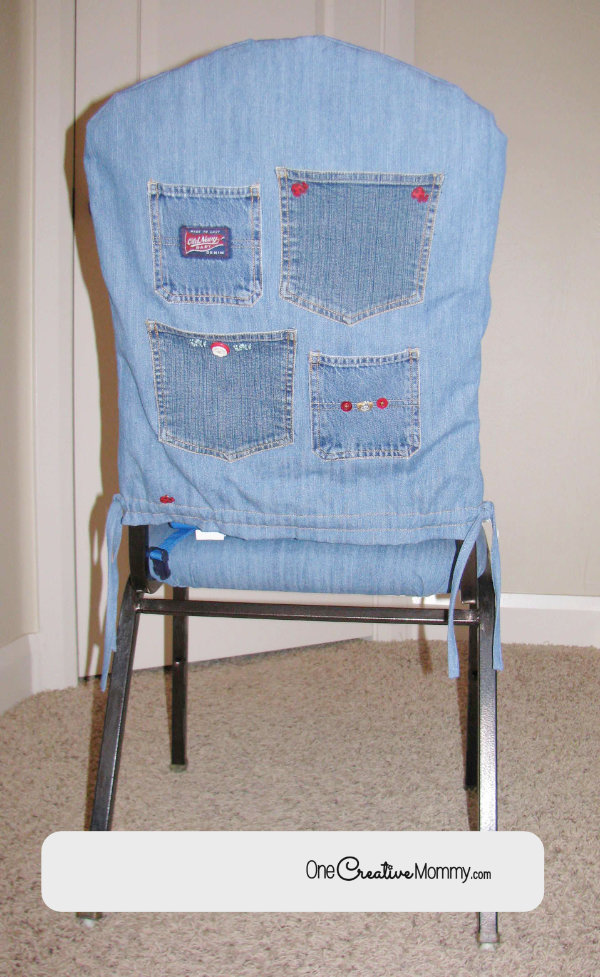
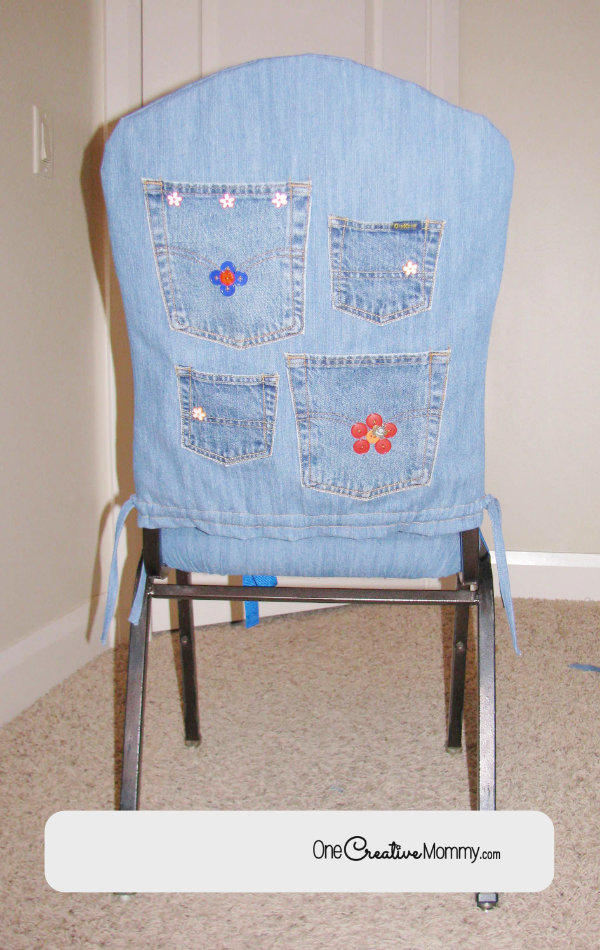
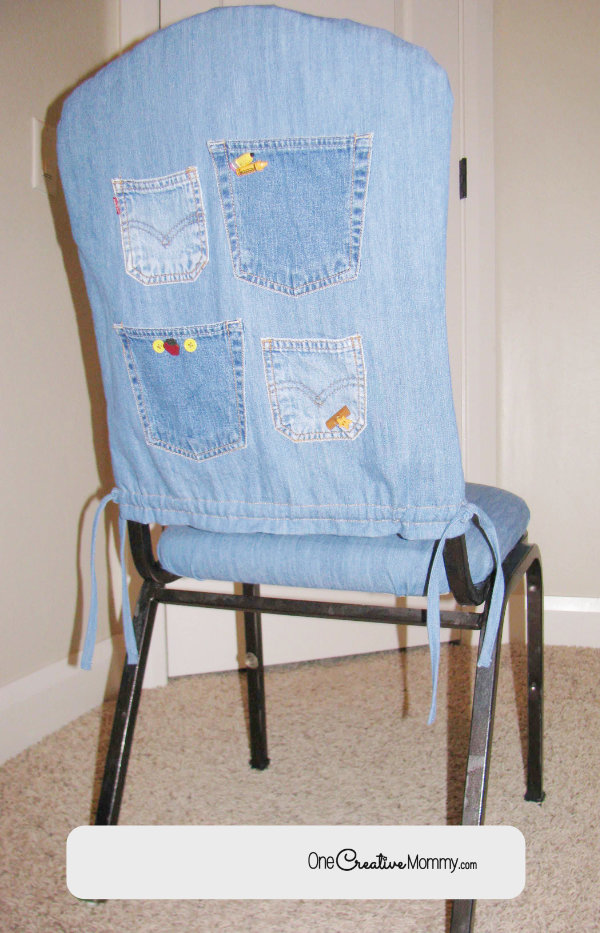
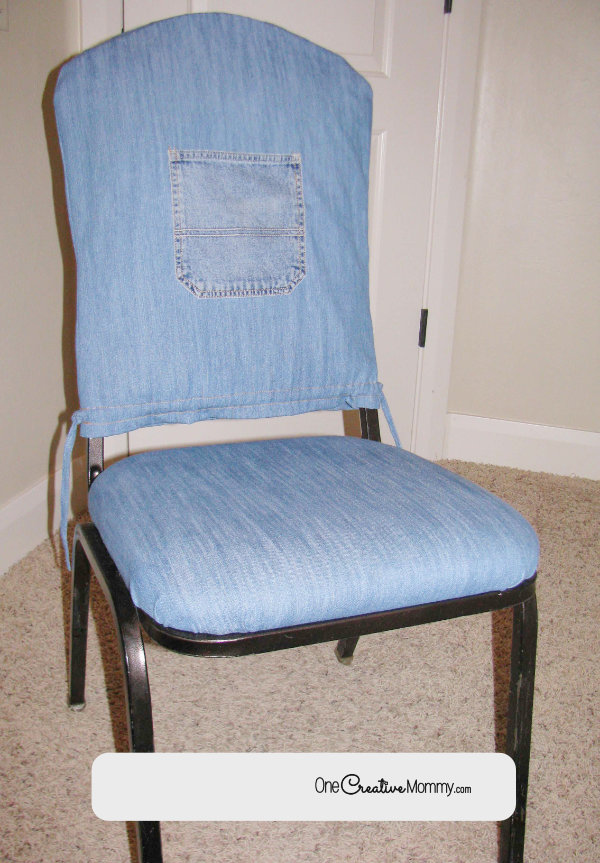
Since my chair sits in a corner instead of at the desk (I use a rolling chair), I put a pocket on the front, just for fun.
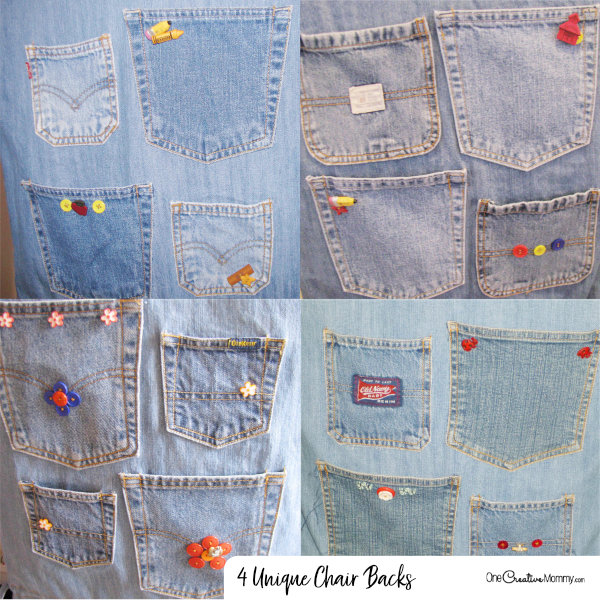
I often save jeans in case I want to make a jean quilt. They came in handy when I was looking for pockets! I didn't have enough, but I found more pairs for about a quarter each at a garage sale. Everyone chose their own buttons, so each chair has a slightly different theme.
Suggestions for Your Project
Once the kids sat down at the desk to use their computers, we discovered a new problem--the chairs were too short! After brainstorming multiple possibilities to raise the chairs, I took a simple way out and purchased booster seats at garage sales for about $1 each. (Much cheaper than the chair risers I was thinking about buying or making.) (Since completing this project, the girls have grown enough that they no longer need the boosters.)
If you take on a project like this, I suggest applying a fresh coat of spray pain to the chair form while you have the cushion removed. I skipped that step because I was in a hurry, but I'm sure it would have made the chairs look even better. I'll be sure to do that next time I update the chairs.
When it comes to planning how much fabric to buy, I'm fabric-challenged. I always end up with way too much! Two years later, I have thought of something to do with the extra fabric. Stay tuned! *Ha! I'm updating this post 7 years later, and I have no idea what that planned project was. Obviously, I never finished it!
Need more DIY? Check out some of my favorites. Images are linked.
Click here to see all the fantastic sites I like to link up with each week.





Marilyn
LOVE the pockets!
Kadie
How fun!! The pockets are so cute! Thanks for sharing with us at Link It Up Thursday.
Misty
What a great idea, how perfect to make one for each of my boys and put their crayons and such in the back pockets! Thanks so much for linking up this project to TA-DA TUESDAY as well!
~Misty
413 Sparrow Lane