The 2019 Mutual Theme is "If Ye Love Me, Keep My Commandments." What a great focus for the youth this year! (Mutual is the name of the youth organization for boys and girls 11-18 in the Church of Jesus Christ of Latter-Day Saints.) A few weeks ago, some of the young women asked me to do a craft night with them, and their leaders requested a craft that would highlight this year's theme. I searched the web, and I didn't find any crafts for this year. Of course, I was up to the challenge to create my own, so this fun string art project was born!
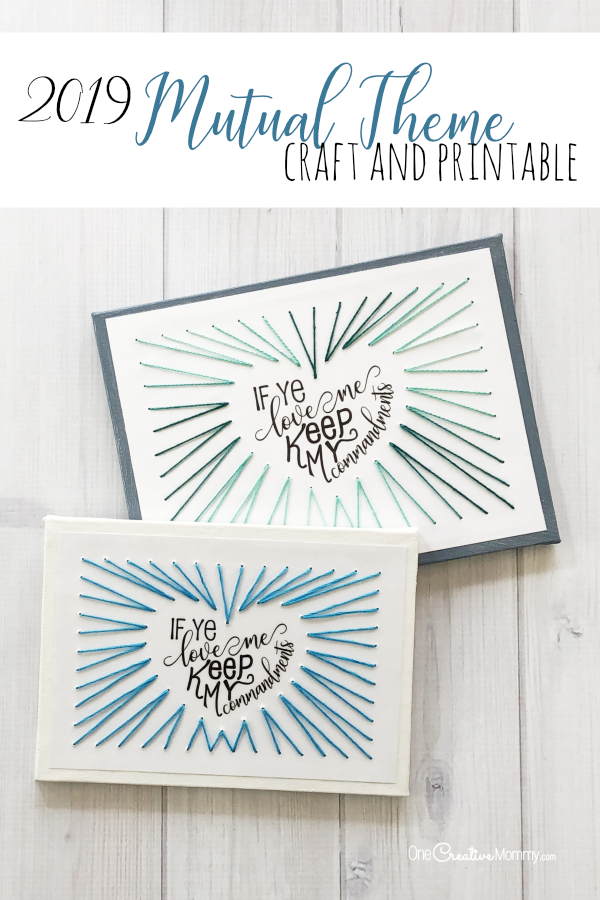
String Art Craft for the 2019 Mutual Theme
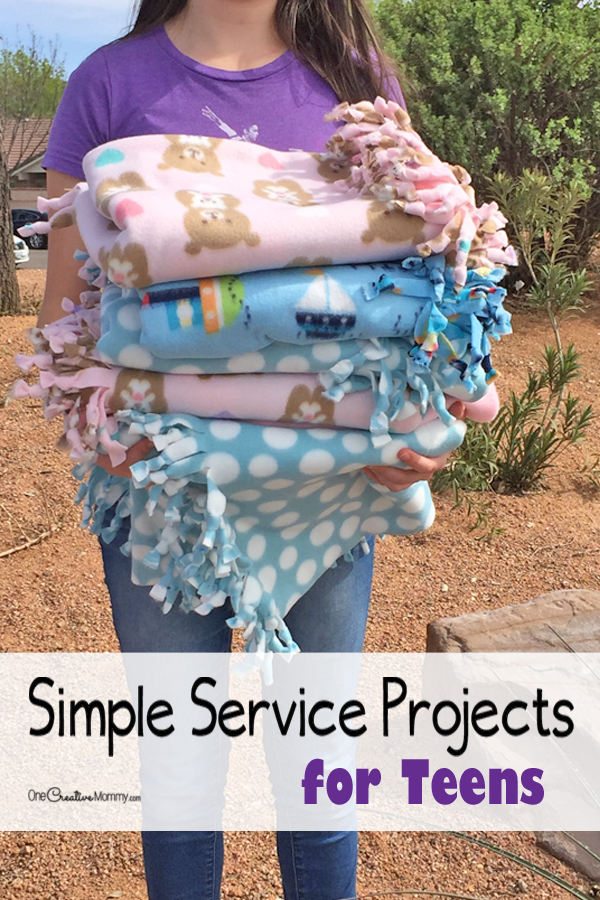
RELATED: Speed Friendshipping Game for Teens, Simple Service Projects for Kids
The best way to learn how to make this craft is to see it demonstrated, so I created a video for you. I've got you covered with written directions, too, if you'd rather read.
Materials Needed

- Mod Podge Matte Finish
- Acrylic Craft Paint
- 2 Foam brushes
- 4 ½ yards of embroidery floss
- Sharp Tapestry Needle
- 5x7 or 6x8 canvas (I got mine at the Dollar Store
- A piece of waxed paper
- Printable (available at the end of the post)
*This list contains affiliate links. If you make a purchase, you still get the same low price, but I may receive a small commission.
Directions
Using a foam brush and acrylic craft paint, paint the sides and a 1-inch border on the top of the canvas. The rest of the top will be covered by the printable. (If you want this project to be completed in under an hour, skip this step and leave the canvas white.)
Once the paint dries, use a second foam brush (or wash out the first one) to liberally cover the back side of the printable with Mod Podge. Be sure it goes all the way to the edges.

Now, carefully lay the printable onto your canvas and center it as best as you can. Rub gently from the center to the edges to remove the bubbles. Flip it over onto a piece of waxed paper and smooth again from the inside of the frame. Again, start from the middle and work your way out. Flip it back over and make sure that all of the edges are sticking.
Finally, paint Mod Podge over the top of the image, covering the entire front of the canvas. Once it’s all painted on, drag your brush horizontally across the whole canvas, and then vertically. When the Mod Podge dries, it will make the finish look like the weave of canvas.
Allow the canvas to dry for 20-45 minutes. (Dry time will depend on the temperature and humidity of your room.)
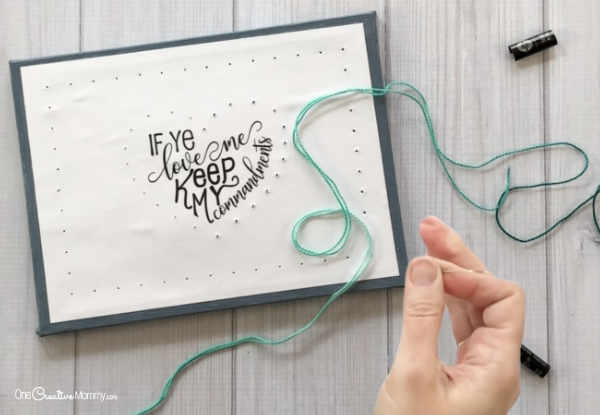
Using your needle, pierce a hole through every black dot on the page.
When you finish punching your holes, you’ll need about 4 ½ yards of embroidery floss to complete the project on the 6x8 canvas. Depending on how you stitch, you may use less. In my tutorial, I used a lot more floss than I needed to. When I did this project with the youth, many of the girls stitched in a different way, and they used a lot less floss. Sorry I didn't take a picture of the back of one of them. The girls each used half of an 8.75-yards string. Depending on how they stitched, some had more left than others, but they all had more than enough.
Now, to begin stitching, cut your length of floss into a manageable length, thread your needle and tie a knot at the end of the floss. Don't double up the thread. Only tie a knot in one string.
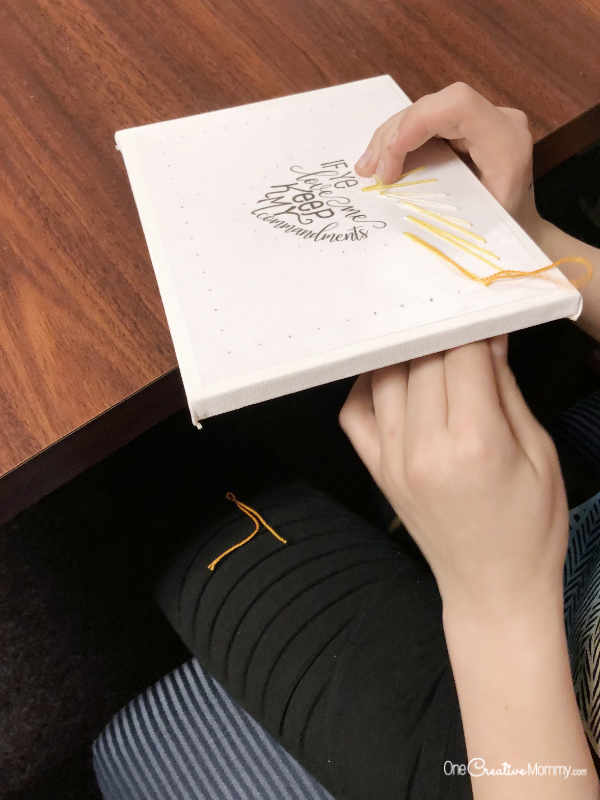
Begin by coming through the back of the canvas into the top center of the heart. (You could start anywhere, but it’s easier to center the design if you start in the middle.) Stitch across the top to the outside hole. Then stitch back through the center dot again and across to the next outside hole to create a v shape.
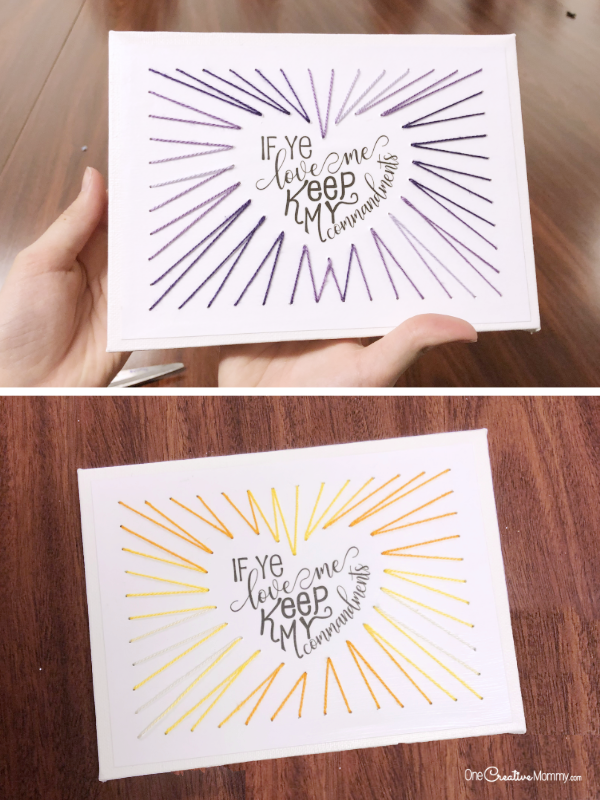
Now move to the next hole along the heart and create another v shape. Continue creating V shapes all the way around the design. Because the holes come out uneven, you will need to connect three V shapes at some point in the design. I like things to be symmetrical, so I connected the Vs at the bottom of the heart. Some girls chose to do it at the end, instead. Here's a picture of both designs so you can choose what you like best.
How to deal with tangles and other tricks
It is easy for such a long piece of floss to get tangled. To avoid tangles, pull the floss through slowly When the floss won’t pull through, it doesn't mean your thread has a knot. It just means that it has gotten a little twisted or tangled. Stop pulling, flip the canvas to the side with the tangle, and gently pull the floss away from the hole. That should be enough to untangle it.
Whatever you do, don't keep pulling the floss when it gets tangled. That will create a tight knot that will be difficult to untangle.
As you stitch, be sure to pay attention to the tail of the floss (the part of the string that is doubled over the needle. You will periodically need to gently pull more floss through the head of the needle (shortening the tail) to make sure that you don’t accidentally stitch with your floss doubled. Trust me. It's really annoying to run out of thread when this happens.
When your floss is close to being too short to continue stitching, tie it off on the back with a double knot.
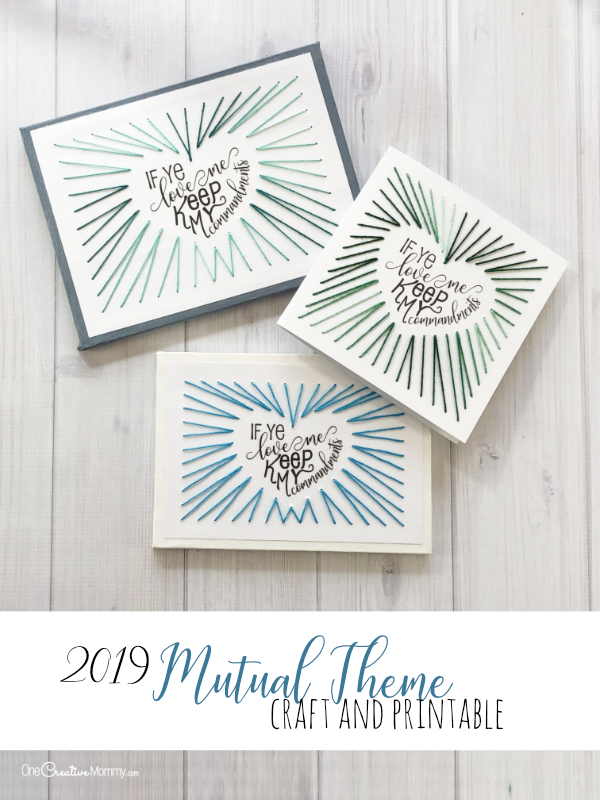
That's it! Your project is complete and ready to display.
Download the printables
Click the download button below to download the 8x6 printable.
Click the download button below to download the 5x7 printable.
Tips to adapt this for 1-hour activity
If you are a kid wanting to make this project for your room, the above instructions are all you need. However, if you are a leader trying to adapt this or a 1-hour activity, you're probably scratching your head trying to figure out how this could be done in an hour. The answer is that it can't.
If you want to do this in 1 hour, you'll have to do a little bit of prep work before the activity. Here's what I did:
Because the dry time is what sends the project over an hour, we skipped the painting step, and I mod podged (is that a real word?) the printables onto the canvas ahead of time. When the girls got to the activity, they each had a prepared canvas all ready for them. After a quick demonstration and some tips, all they had to do was poke the holes, cut their floss, and get sewing.
Be sure you have enough sharp needles. I had some blunt and some sharp. I planned to bring pins for the girls with blunt needles to use for hole-poking, but I forgot them. They had to share needles, and that added a lot of time to the project.
If you want this to be a 2-day activity, have the girls do the painting and Mod Podge the first day, and the rest the next day. You might need extra things to take up time on day 1.
Bonus Greeting Card Printable
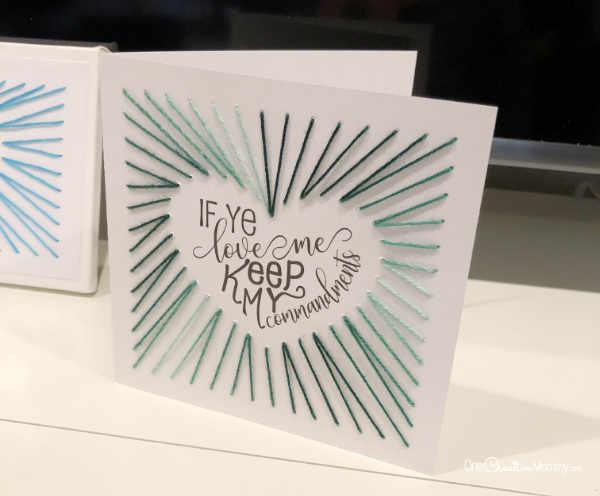
Before I found the canvases, my original design for this project was square. I love the design best as a square, but I couldn't find any square frames inexpensive enough for a huge group of girls. Instead, I tested it out as a greeting card. I love the way it looks. If you want to try it, I'm including that printable as well.
Click the download button below to download the greeting card printable.
Look for many of the products I used here (Affiliate links):
Other ideas you might like
Thanks for stopping by today. Check out the projects below by clicking on the images. I think you might like those, too! Have a great week!




Jenna Dean
I absolutely love this project!! Is there any chance you could make a similar printable for the 2021 theme?? I would appreciate that!!
Heidi
Hi, Jenna. I'm glad you like this project. Here's a really quick version for 2021. https://onecreativemommy.com/wp-content/uploads/2021/01/a-great-work-2021-printable.pdf
Michelle
Hi, I love this craft and was wondering if you have one for this years theme "Trust in the Lord"
Thanks
Heidi
Hi, Michelle. Are you looking for the same thing—the heart, but with Trust in the Lord inside?
Michelle
Yes I am. Thank you
Heidi
Hi, Michelle. Here's a version for the 2022 theme. Have fun! https://onecreativemommy.com/wp-content/uploads/2022/03/trust-in-the-Lord-2022-printable.pdf
Michelle
Thank you so much!! I really appreciate you helping with this!!
Heidi
You’re welcome. Have fun with the project!