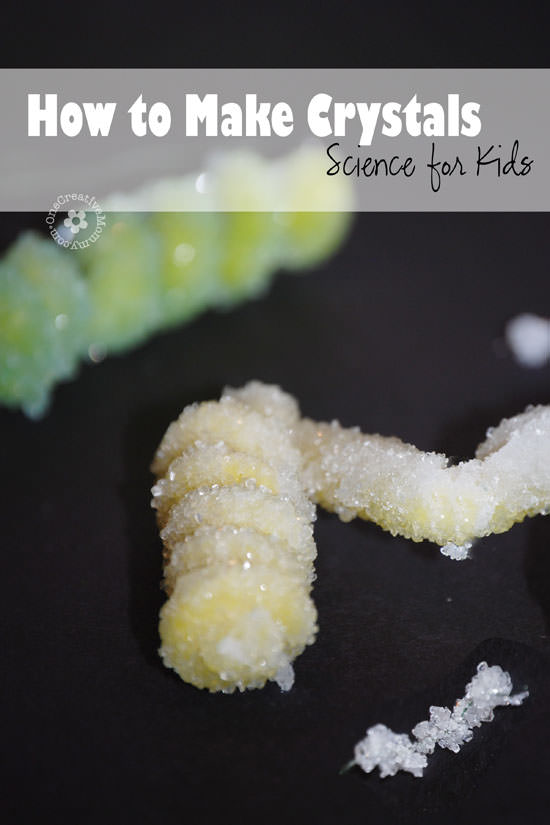
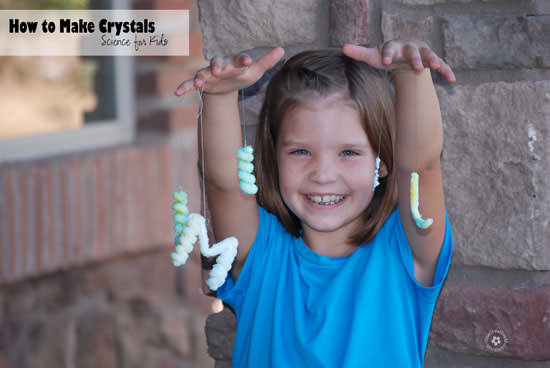
Have I got a cool project just for you! Today, I'm teaching how to make crystals. Get ready to wow your kiddos with this fun science experiment that's perfect for kids!
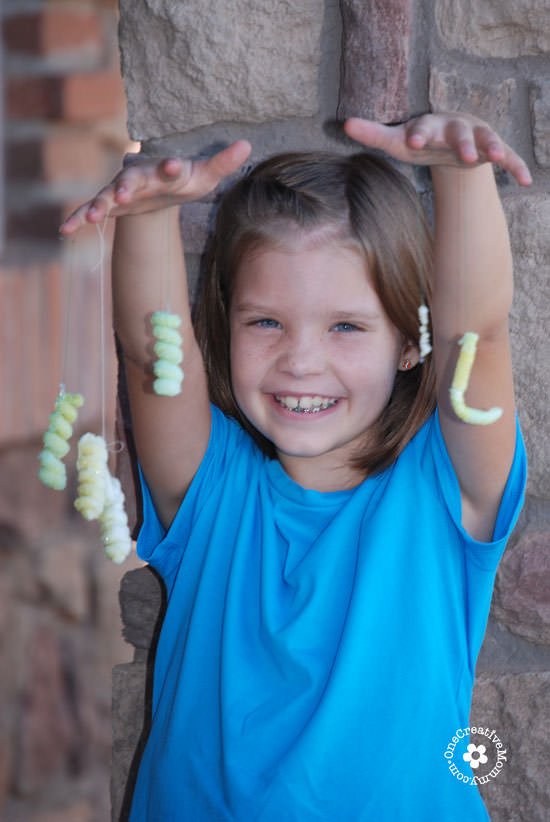
Last week, my oldest had a friend over, and they were BORED! I invited them flip through a book of science experiments, and they chose one on how to make crystals. My youngest quickly got involved, too. (I mean, really . . . who can resist crystals?)
This project is sooo easy, and you only need a few things that you probably have already.
RELATED: 40+ Crafts to Make with Your Kids, Splash Art
How to Make Crystals
Ready to get started. Check your cupboard. I bet you probably have most of these supplies on hand.
Materials:
- Pipe Cleaners (also called Chenille Stems)
- Borax Laundry Booster
- Food Coloring (optional)
- Water
- A large jar (or jars)
- String or thread
- Pencils or pens
Directions:
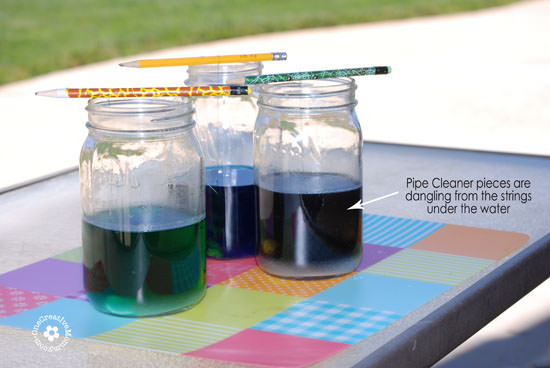
- Boil enough water to fill all of your jars at least half way. (We used three jars so that we could try out three different colors.) Carefully pour the water into the jars.
- Optional--Add a few drops of food coloring to each jar. (We used blue, green, and purple.)
- Add borax to the jars (about ¼ cup at a time) until the borax no longer dissolves. Stir in the borax each time you add more.
- Bend the pipe cleaners into fun shapes. The shape must fit completely under the water without touching the bottom of the jar. If the pipe cleaner touches the bottom or side of the jar, the crystals that form on the bottom and sides of the jar will attach the pipe cleaner and trap it in the jar. (We learned that the hard way! We had to pry some shapes out with a knife.) You can put more than one shape in a jar, but they should not touch each other, or they will stick together.
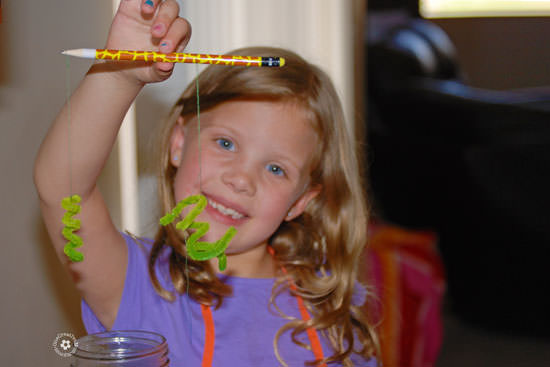
- Tie each shape to a string. One end of the string will attach to the shape, and the other will attach to the end of a pencil or pen. Adjust the length of the string so that the shape does not touch the bottom of the jar.
- Immerse your shapes into the water in the jars, leaving the pencil or pen resting across the top of the jar.
- Finally, set your jars somewhere where they won't be disturbed, and try to resist checking on them for 12 hours or so. (We left ours overnight.)
- When the time is up, gently lift the pen or pencils and check out the magic! (If your shape stuck to the bottom or the edge, carefully dump out the extra water and pry the shape out with a knife. Our "M" shape broke off the string and stuck to the bottom, but it still came out great.
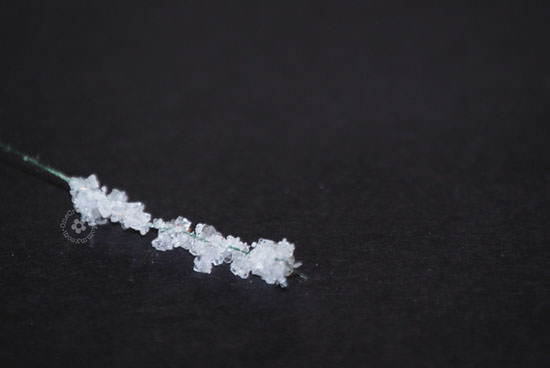
You may get a bonus surprise. When the string broke on the "M," the empty string was left dangling in the water. Check out the beautiful crystals that formed on the string! I think it just might be my favorite.
Thanks for stopping by today. You might like some of these ideas for kids, too. (Images below are linked to posts. Click on the image to visit the post.)





Karen Ostrom
I've made both, I love churn ice cream with an old crank ice cream maker, and I've used an ice cream maker.
My favorite is always vanilla because you can put so many other toppings on it
Heidi Fowler
I've never used an ice cream maker either, but it sure sounds convenient! Good luck!
Krista
Super fun! I can't wait to try these with my kiddos!
Heidi Fowler
I hope they like them, Krista! Mine sure had fun.
Marcy
I made ice cream as a kiddo with my parents. I've never used an old crank ice cream maker. I bet that would be fun. I would love to try this with my kids. My daughter actually asked for an ice cream maker for her birthday.
Heidi Fowler
Good luck, Marcy. It would be great if you could surprise her with this ice cream maker!
Christina @ It's a Keeper
What a great project! I am going to have to try this with my son!
Heidi Fowler
Thanks, Christina. It sure is fun!
Sydney @ Tastefully Frugal
This looks like such a cool project for kids! My boys will love doing this!!
Heidi Fowler
Thanks, Sydney. I love that there was a little science mixed in. I hope your boys love it.
Heather Hayes Panjon
Yes, I've Made Ice Cream With A Ice Cream Maker When I Was A Child. Great Memories!
Heidi Fowler
Good luck in the giveaway, Heather. Thanks for entering!
Jamie @ Coffee With Us 3
I've never made homemade ice cream, but I'd love to start!
Heidi Fowler
Good luck, Jamie! I'd love to start, too! It looks so fun to do it with the kids.
Kadie
When we made ice-cream at home it was in a plastic bag. We just kept moving it until it became ice-cream. But I would love to make a batch in something bigger and a little easier. :)
Heidi
I remember doing that at school, Kadie! Good luck in the giveaway!
Adrienne
I have made ice cream in a machine and in a plastic bag.
Heidi
Thanks for entering, Adrienne. Good luck in the giveaway!
Adrienne
I made ice cream with a machine and in a plastic bag
Jess
What a neat thing to do with kids!
Thanks for joining the Link Up this week!
Heidi Fowler
Thanks, Jess. It was really a fun project. (Now I have to find a place for the crystals! I'm thinking Christmas tree.)
Michelle from Weekend Craft
So fun! What a good mom. Thanks for stopping by Creative Spark Link Party last week. Be sure to stop by again today to link up! http://bit.ly/1kGF4f5
Heidi Fowler
Thanks so much, Michelle. I'm already linked up for the week!
Carie Spence
So cool! never seen a project like this for kids! Thank you for linking up to the Bloggers Brags Pinterest Party. I have pinned your post to the Bloggers Brags Pinterest board.
Heidi Fowler
Thanks, Carie. It was a really fun project. Thanks so much for the great party and the pin!
Marilyn
I love science projects with kids....crystals are fun!
Diane
These are so cool. I love them!