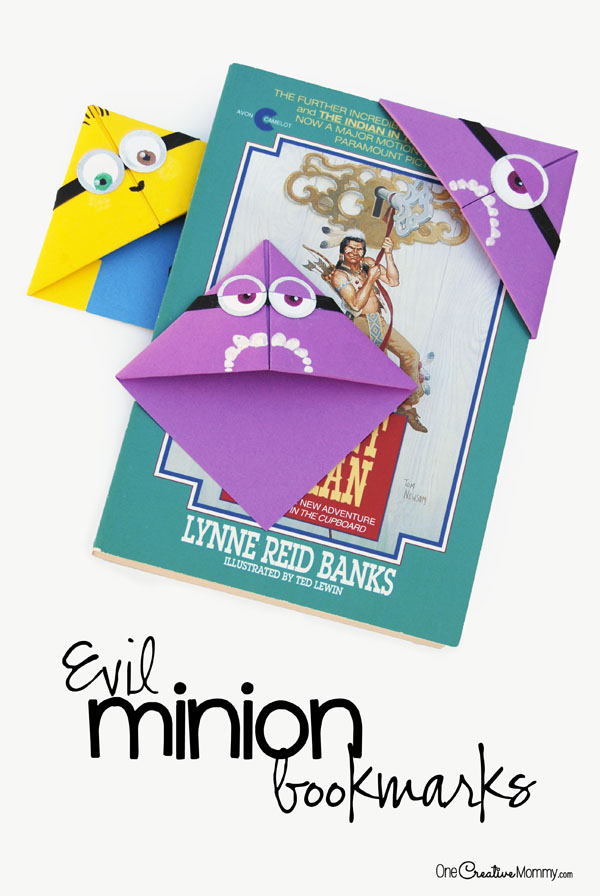
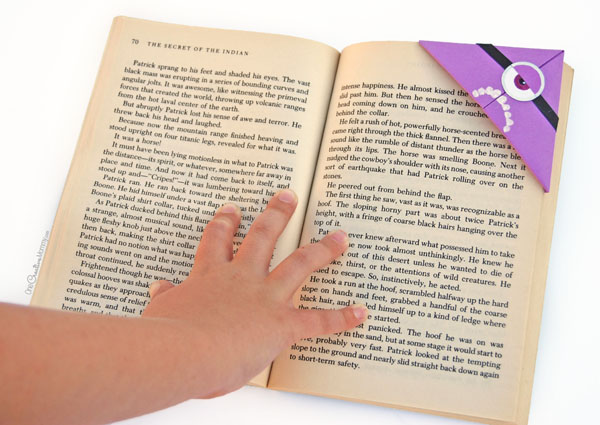
I'm so excited about this Minion bookmark craft! (I know. I say that about all my projects. I guess crafting just makes me happy!) These bookmarks were so easy, and they turned out so cute. What kid doesn't need a Minion peering at them out of their book, right?
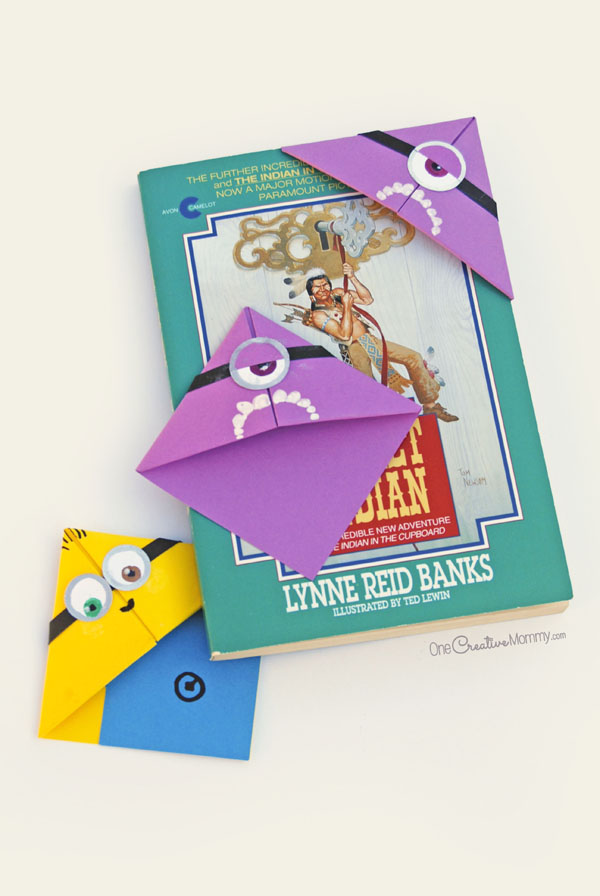
The night before Boo's Minion birthday party, I realized that I had not planned enough to do. My mom (the birthday party helper) scoured Pinterest and found these Minion corner bookmarks from Red Ted art. They are absolutely adorable, and Red Ted Art has a fantastic video tutorial for the yellow minion (complete with overalls). We needed yellow and purple minions for our party, so these evil Minion bookmarks were born!
They're super easy, so let's get started.
Evil Minion Bookmark Tutorial
RELATED: Harry Potter Party Ideas, Spy Party Ideas, Frozen Party Ideas, Un-Slumber Party Ideas
Materials:
- Purple copy paper (cut into 6" x 6" squares)
- White cardstock
- Black cardstock
- Purple marker
- Black marker
- Silver Paint marker
- White Paint Marker or Pen
- Strong Glue Stick (I like Elmer's X-treme School Glue)
Instructions:
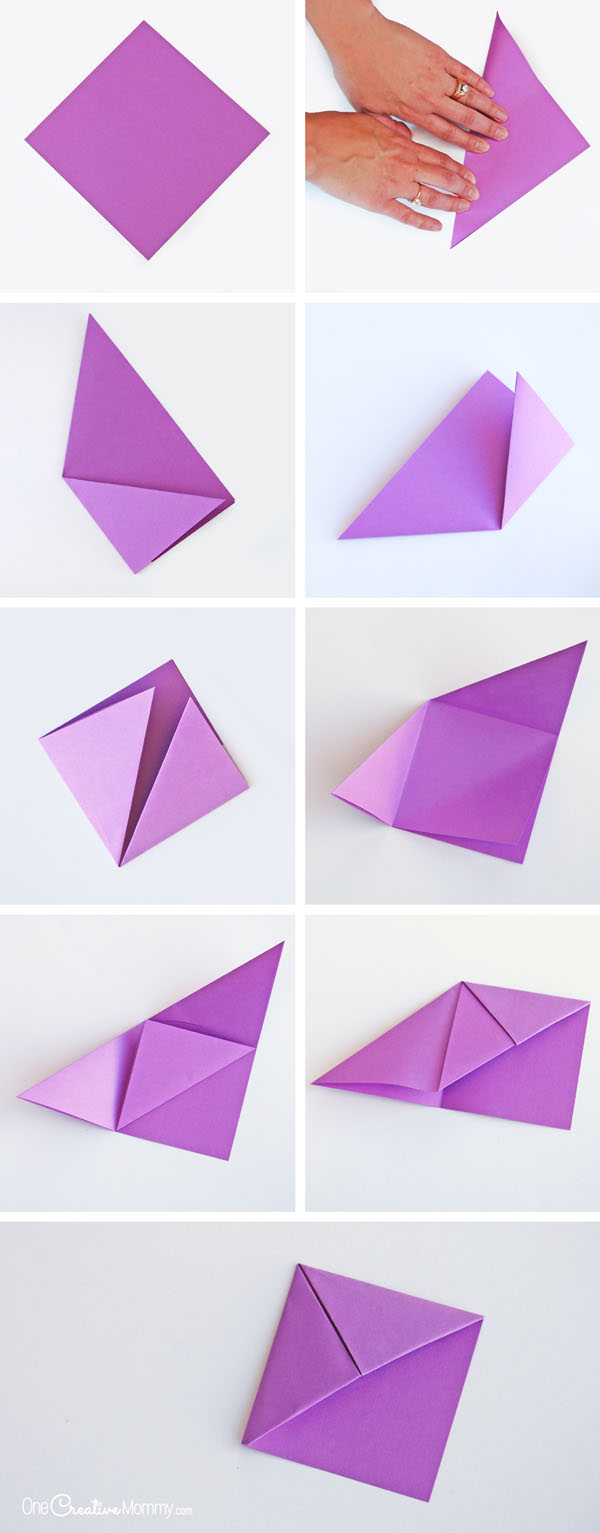
The pictures are the best instruction, but I'll do my best to explain.
- Fold the 6" x 6" square into a triangle.
- Fold the corners of the triangle (along the fold) down to the tip of the triangle. Oops! It looks like I've got an extra picture in the instructions! I've showed folding down one side twice. I'm not going to change it right now, but maybe I'll fix it later. Sorry about that.
- Unfold the corners and fold one side of the tip of the triangle up toward the first fold from step 1 (to create a small triangle).
- Fold the corners back down and tuck them under the small triangle.
Now it's time to decorate! Let's create the eye (or eyes). The single eye can be fairly large. If you want your Minion to have two eyes, make the eyes slightly smaller.
- Cut a circle (or circles), and draw a small black dot in the center.
- Outline the black dot a few times with the purple marker.
- Highlight the pupil with a small dot of white paint marker.
- Trace the eye onto a small piece of purple copy paper. Cut out the circle and cut it in half. Glue the half circle on top of the eyeball.
- Outline the eye and eyelid with a silver paint marker.
- Cut a thin strip of black cardstock to create the band for the goggles. Glue it on the top of the bookmark, and overlap it to the back of the bookmark. (You'll need to hold it down a few seconds to make it stay.)
- Glue on the eye.
- Starting in the center , just below the eyeball, create the teeth with your white paint marker.
That's it!
I'm having fun with a new app called Flipagram, so here's my video from start to finish:
For the party, I found it easiest to make baggies for the kids that contained supplies for one yellow and one purple Minion. I gave them each three eye circles -- one big and two small -- so that they could make one one-eyed Minion and one two-eyed Minion. Not surprising -- they all chose to make Bob, the cute Minion with one green eye and one brown eye. So, even though this tutorial is just for the evil Minions, I couldn't resist including Bob in the pictures. Kids are so creative!
We almost had a tragedy when Boo left her Bob bookmark in a library book that I returned to the public library. Thankfully, it wasn't a very popular book, and Bob was still hiding between the pages the next time we visited the library. Phew!
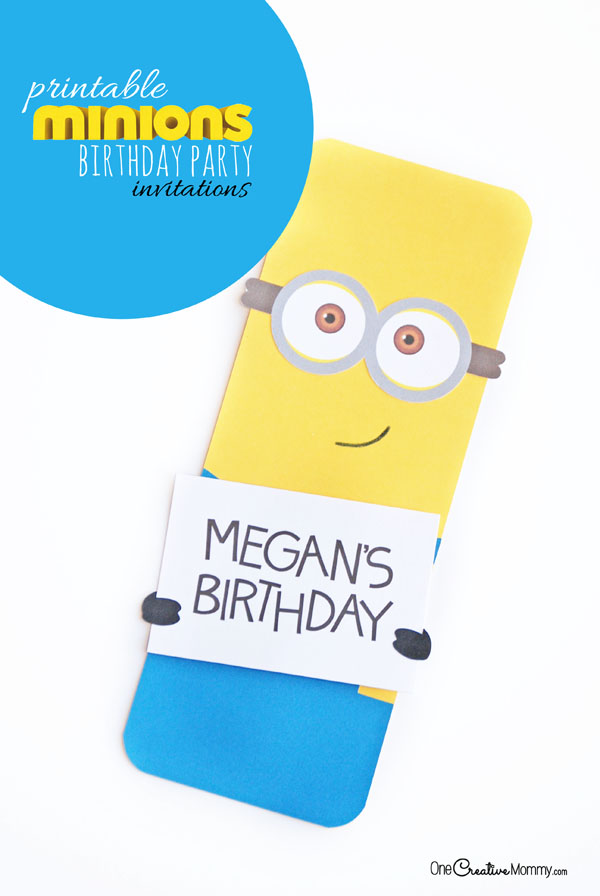
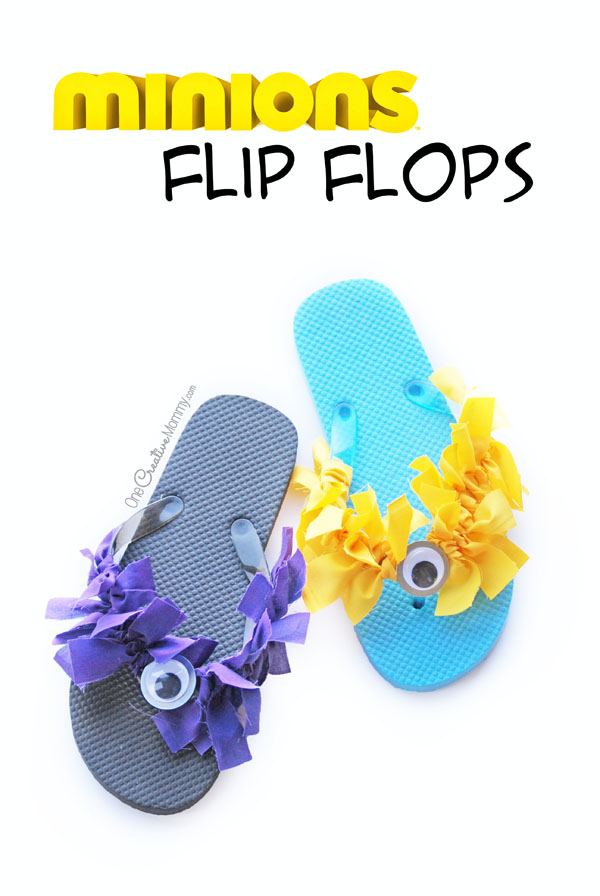
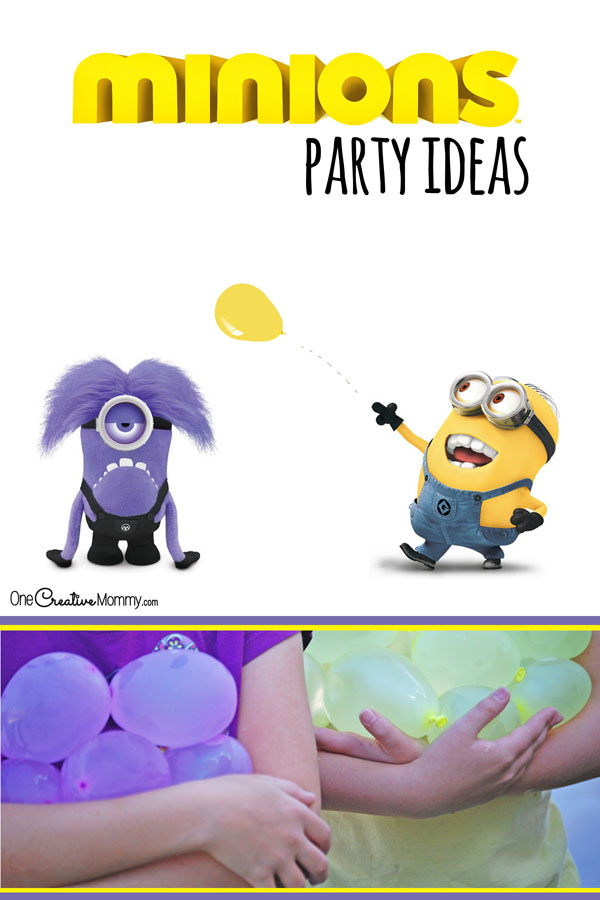
Thanks for stopping by today. You might also like our other Minion projects. Images below are linked to posts. Click on the image to view the project.
Thanks for stopping by. See you next time!





linda spiker
I love all these cute craft ideas! Gotta keep those kids busy till school starts!
Lara
Fun! My girls did this bookmark craft at the library recently, but I love the minion version, and I know they will, too!
Heidi
Oh, the cuteness! I feel like I need to make this with my minion-crazy 6 year old right this minute. What a fun idea!
Online 50+ SEO Tools
Yoս have mentioned ѵery intеresting points! pps decent web site.