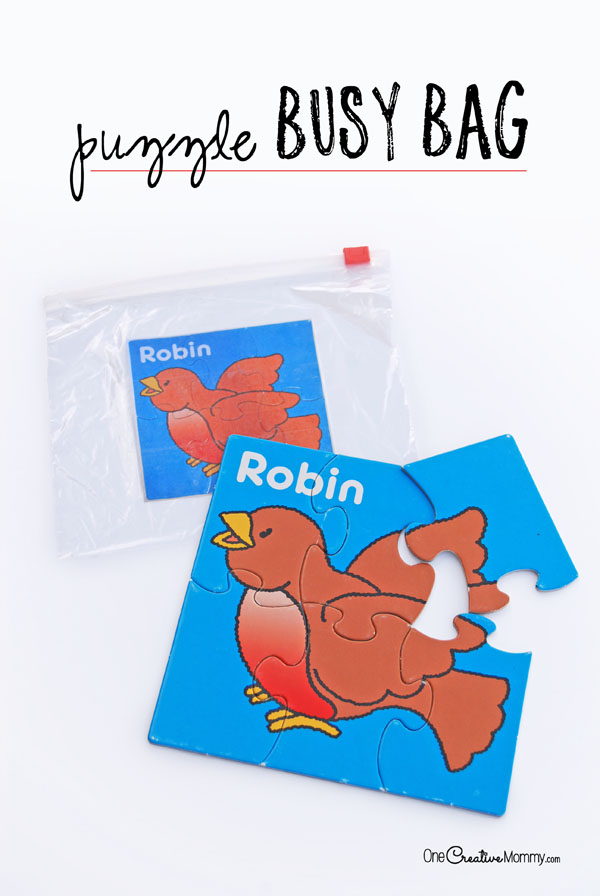
Do you have a bag of tricks to keep your kids busy at the doctor's office or during church, or do you just hand your kids a technological gadget? If you want to keep the kids "unplugged," puzzle busy bags are fun and easy to make.
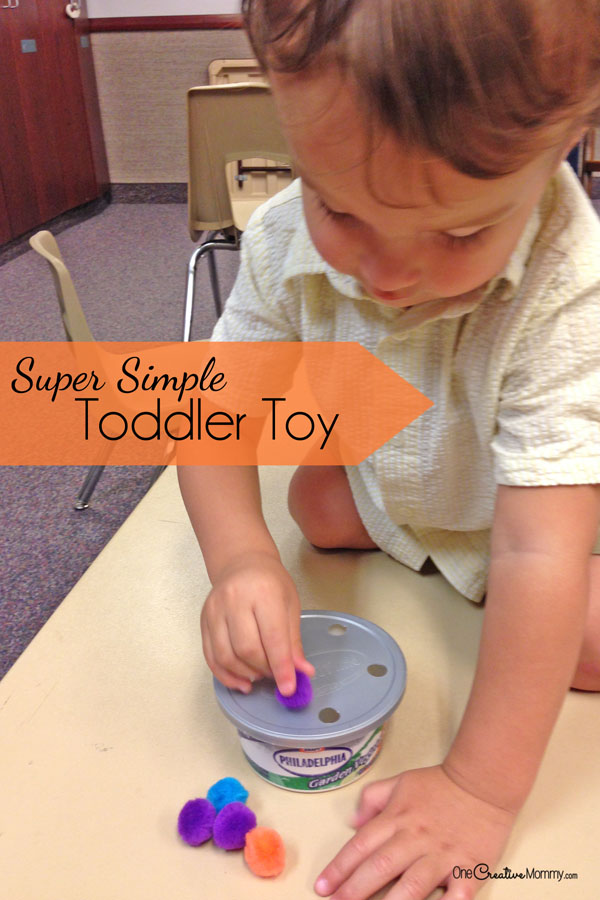
RELATED: Super Simple Toddler Toy
Although I love technology, I'd rather not make it the #1 source of entertainment for my kids. When my kids were younger, I always traveled with small, portable things that I could pull out when my kids needed to stay busy and quiet. Puzzle busy bags were my kids' favorite go-to activities. They're great for keeping kids engaged and quiet.
You can make a puzzle busy bag for any puzzle, but the project I'm showing you today is for very simple puzzles designed for young children (4-12 pieces).
Materials:
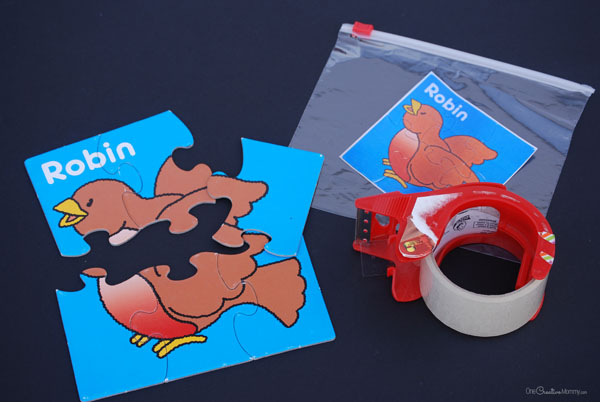
- Sandwich or quart-sized slider zip top bags. (The zip top makes the bag simple for little hands to open and close.) Do not skimp and buy the cheap bags. These will be used a lot, so go for Hefty brand or something sturdy. I used Walmart brand to remake one of my old, beat up busy bags for these pictures, and there is no comparison. The bag feel like it will last only a few days. I'm putting the puzzle back in the old hefty bag as soon as this post is done!)
- Simple puzzles (I'm sharing links to some good ones at the end of the post.)
- Packing tape
- Photocopy or photograph of each puzzle
- Sharpie or magic marker
Instructions:
- Put the puzzle together and photocopy or take a photograph of the finished puzzle. Cut it out. (You can also use a picture cut out of the box the puzzle came in.)
- Place photograph/photocopy on the front of the bag, and tape it down. Cover the picture completely with packing tape so that it cannot be damaged.
- Turn over the pieces of the puzzle, and mark each piece with a symbol or a number. (For example, put a star on the back of each piece.) If you are doing more than one puzzle, this will help you and the kids keep track of which pieces go to which bag. Use a different symbol for each puzzle. Put the same symbol somewhere on the bag.
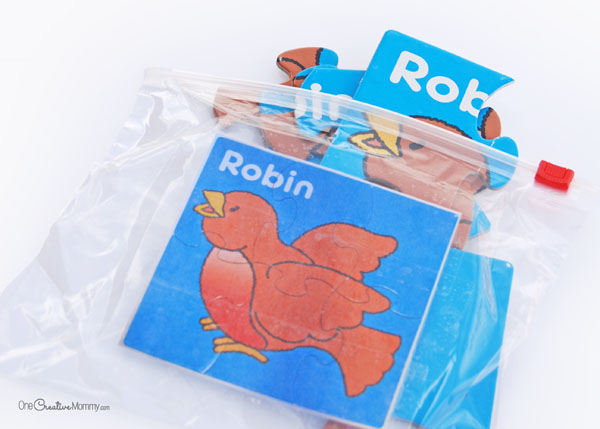
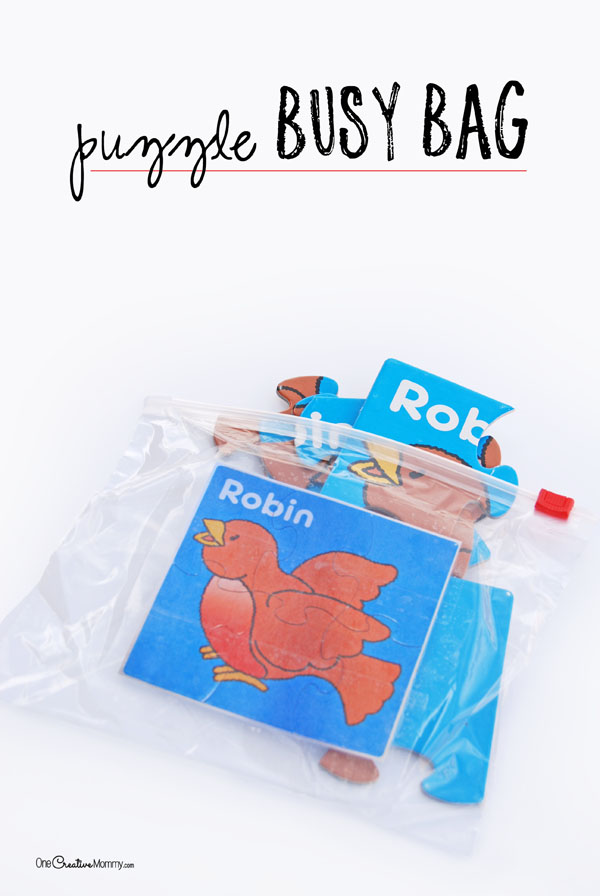
- Put the puzzle inside the bag and seal it up.
That's it!
I always kept a few puzzles in my bag when we traveled. As the kids got better at putting them together, I had them put the puzzle together face up, and then I'd have them take it apart and put it together again with the picture side down. It was great for giving them another activity that took more time, and it really helped them look at the shapes and visually decide what shapes went together.
So, where do you find simple puzzles? Years ago, my mom gave me a box of puzzles that came with 4, 6, and 12-piece puzzles. They were absolutely perfect for this project. (Similar puzzles show up at Ross occasionally.) If you see a box like that, snatch it up for sure! I searched Amazon and found a few good ones that are perfect for this project.
Thanks for stopping by today. I'll be sharing a round up of great busy bags soon. In the meantime, you might like some of these ideas. The images below are linked to posts. Click on the image to visit the post.)




Camille
I love puzzles! These little puzzle bags are great for kids.
Heidi
Thanks, Camille. They really are fun for the kids. My girls loved to turn them over and put them together upside down.
Kerry
Ooh!! I clicked, pinned, and was inspired. Thanks for the great ideas. I will put the puzzle busy bags to use this Sunday at church.
Nicci
These would be great for church. Plus, my kids love puzzles!
Debbie
Hi Heidi,
Where is the robin puzzle that is shown from?
Thank you!