Today my guest is Barbara from Chase the Star! Barbara's site is full of awesome decorating and DIY projects. I'm excited to have her here to share her ideas with you.
I’m Barbara from Chase the Star, and I’m thrilled to be a guest here at One Creative Mommy! I’m a wife, mom, and a Christian. I started blogging as a creative outlet almost a year ago, and I love it! I get to craft, paint, use cool power tools, make all sorts of crazy messes, and share all the adventures with my fabulous readers! At Chase the Star, I focus on DIY decorating and crafting on a budget. I love to shop at thrift stores, garage sales, Craigslist, or anywhere else I can get a fun item for dirt cheap! Taking an ugly piece and making it beautiful is a thrill for me! Other things I enjoy are chocolate, reading, music, movies, and reality t.v. (guilty pleasure!). You'd make my whole day if you stopped by and said hello!
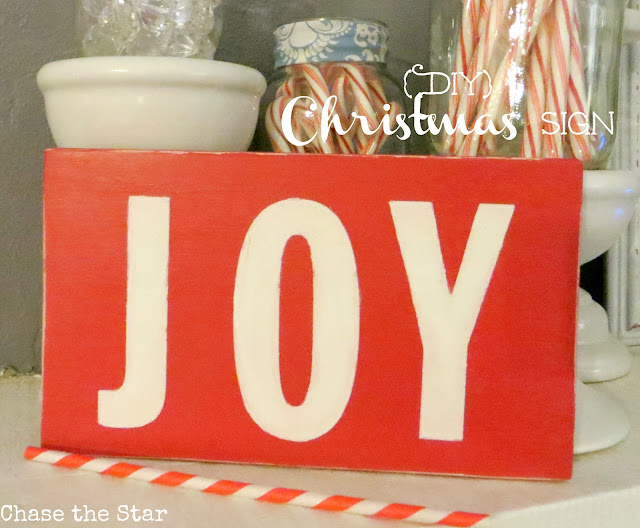
Today I'm sharing a super easy tutorial on how to make a Christmas sign (or any occasion). I love to use wood to decorate, it's so versatile and can be easily made into something fun in no time!
{Make a Wood Sign}
Materials:
- 4x6 Piece of wood (sanded down until smooth)
- 4" Vinyl letter stickers
- Pencil
- Level
- Paint (2 colors)
- Foam brush
- 1 sheet of fine sand paper (optional)
Instructions:
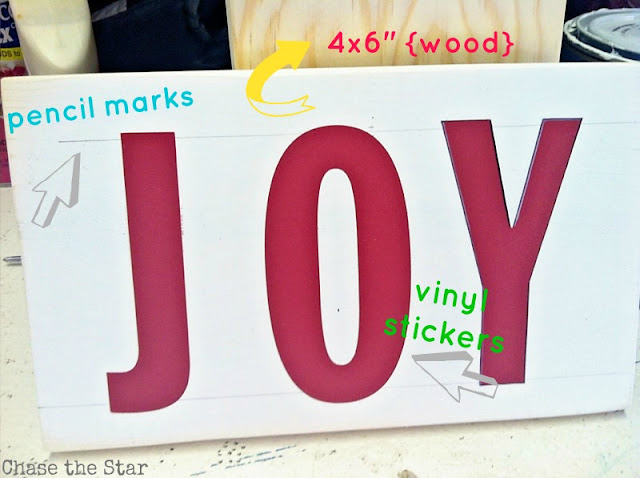
- Paint the entire piece of wood in white using a foam brush, and let dry
- Place the vinyl stickers where you want them (use a level and a pencil to make sure the wording is straight)
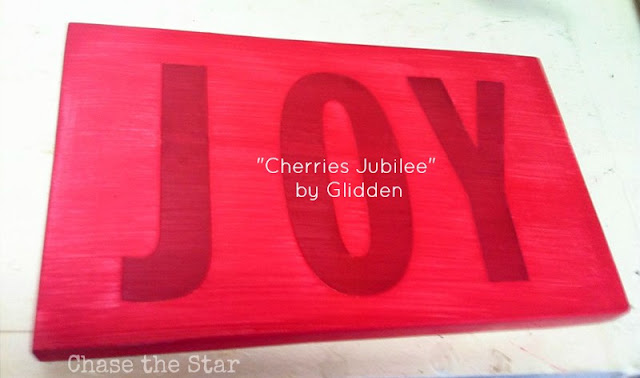
- Paint the entire piece in red (or your color of choice); you may need several coats to cover the white completely
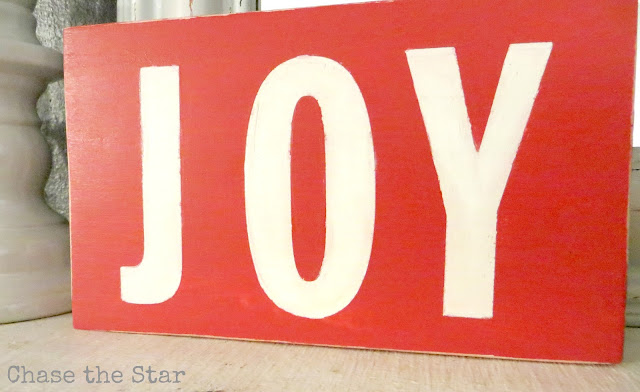
- When the sign is totally dry (overnight usually), carefully peel the stickers off
- Go over the edges with the sand paper for a distressed look (optional)
You can add a hook on the back to hang it, or you can opt to lean it on your mantel or anywhere else you are decorating this season!
Thanks, Barbara!


Steph @ Crafting in the Rain
Love how this is so simple and stunning!