I know some of you are procrastinators, just like me. (Maybe even many of you!) So, for all of those times that you need to wrap a gift at the last minute, here's a quick and easy DIY gift bags idea. (And of course, it comes with a free printable!)
I've had a brief blogging break, but now that I've had an awesome vacation with the Fowler clan in North Carolina, I'm back and ready to blog again. (Well . . . sort of. Have you ever noticed how hard it is to get back to real life after a vacation? You should see my house. On second thought--you definitely should not see my house! I can't seem to get life back in order. It's time to buckle down and get some work done!)
Before I begin, there are a few things you should know about me:
- I am a procrastinator
- I hate spending money
- When it comes to craft odds and ends, I am a total pack rat. I save everything . . . tissue paper, bits of ribbon and fabric, containers . . . You name it. I've got it. I just hate to see perfectly good materials go to waste!
Together, these qualities make my life very interesting! Sometimes I think I should be the poster child for "scatterbrained," but at least I have lots of stuff to work with when I need to get something done quickly! Every cloud has a silver lining, right? This part of my life fits perfectly with the idea I'm sharing today.
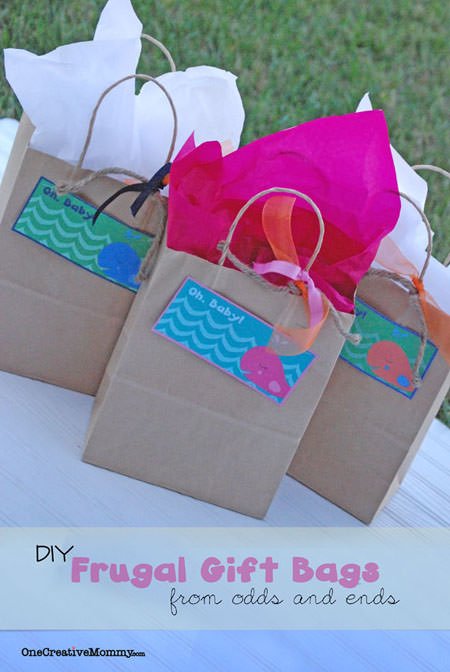
Frugal Gift Bags from Odds and Ends
I know this has happened to you: You remembered to buy the gift, but when you finally sat down to wrap it, you were out of wrapping paper and gift bags. (If this has not happened to you, then you are extremely organized, and I need you to be my new life coach!) It's time for a solution!
Here's what you need:
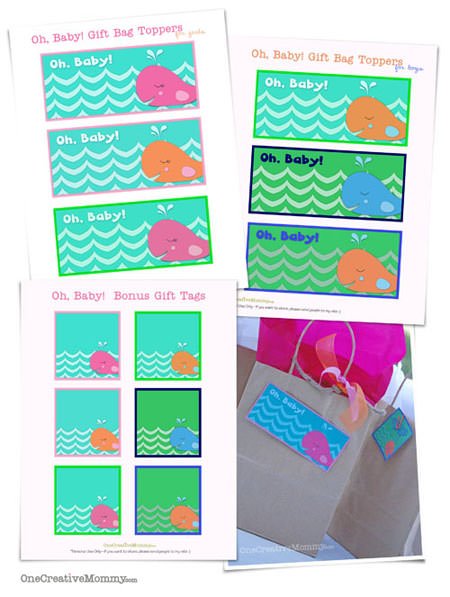
- Printable bag topper (download here)
- Any paper bag you can find! (My bags are recycled gift bags from a family reunion five years ago. They had something on the front, but I just removed it and covered up the holes with my printout.) You can get stacks of these at craft stores. I plan to use 40% off coupons and get a bunch to have on hand. They come in solid colors, too. (I love the bright colored bags at Michaels.)
- New or gently used tissue paper
- Bits of ribbon and/or twine
- A stapler (Yep. I really just stapled them on!)
Instructions:
- Print a bag topper that fits your occasion. (Right now, I only have baby bag toppers on my site, but I have birthday bag toppers coming soon.)
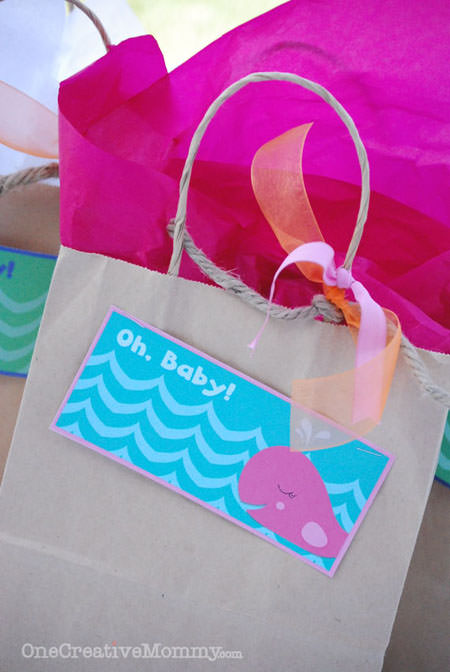
- Cut it out and staple it to the front of the bag. (Bonus--if your bag has been used before, you can position the bag topper to cover up the tiny imperfections from the bag's previous life.)
- Tie on bits of ribbon and string. (Every one of the ribbons I used came from something else!)
- Fill the bag with your gift and accent with tissue paper.
Yep. I'm encouraging you to be a pack rat (exactly what my husband is trying to encourage me to stop doing)! If you have the space, don't be afraid to save used bags, tissue paper, and bits of ribbon. You really can put them to good use. And the best part? If your friends are frugal too, they might just re-gift the bags to someone else! (Kind of like the summer zucchini that gets passed around the neighborhood, but better!)
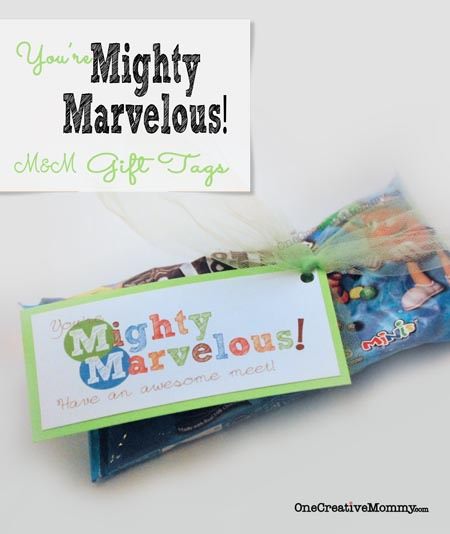
Thanks for stopping by! Looking for more printables? Check out a few of these (images are linked):
Click here to see the fantastic sites I like to link up with each week.




Brenna
YOU WERE IN NC!! You know that is were I live right!? Anyway very cute idea and printable.
Jessi @ Practically Functional
Too cute! I totally collect odds and ends too, and I definitely save ribbons and bows off of Christmas and birthday gifts etc. :-) In case you didn't see it earlier, I featured this on my blog today! I'm stopping by to pin, and to let you know you can grab a Featured button if you don't already have one! http://practicallyfunctional.net/2013/07/10-creative-ideas-2/