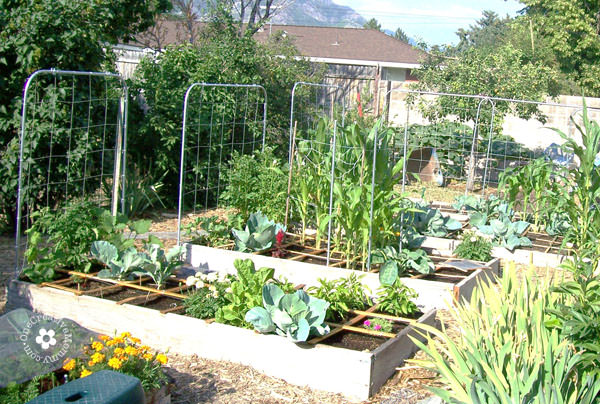
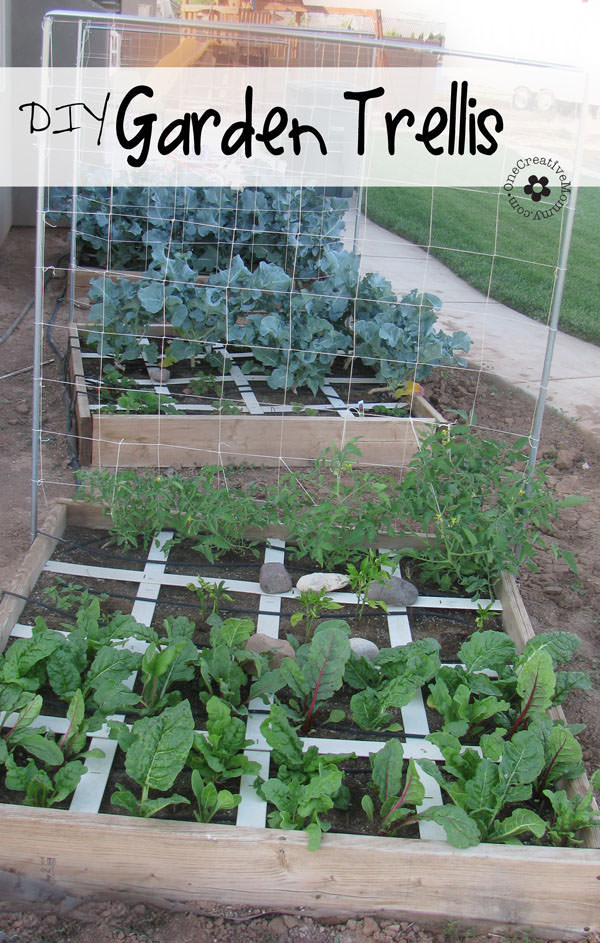
It's finally Spring! Time to clean out the garden beds and hope for a green thumb. This year, I'm expanding my garden beds vertically by adding a DIY Garden Trellis to each of my square foot gardening beds. (I really wish this was a picture of my garden, but it belongs to my uncle, a Master Gardener who taught me his garden trellis secrets!)
Quick gardening story first . . .
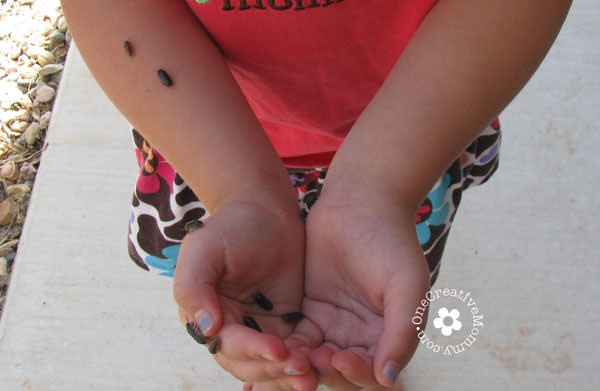
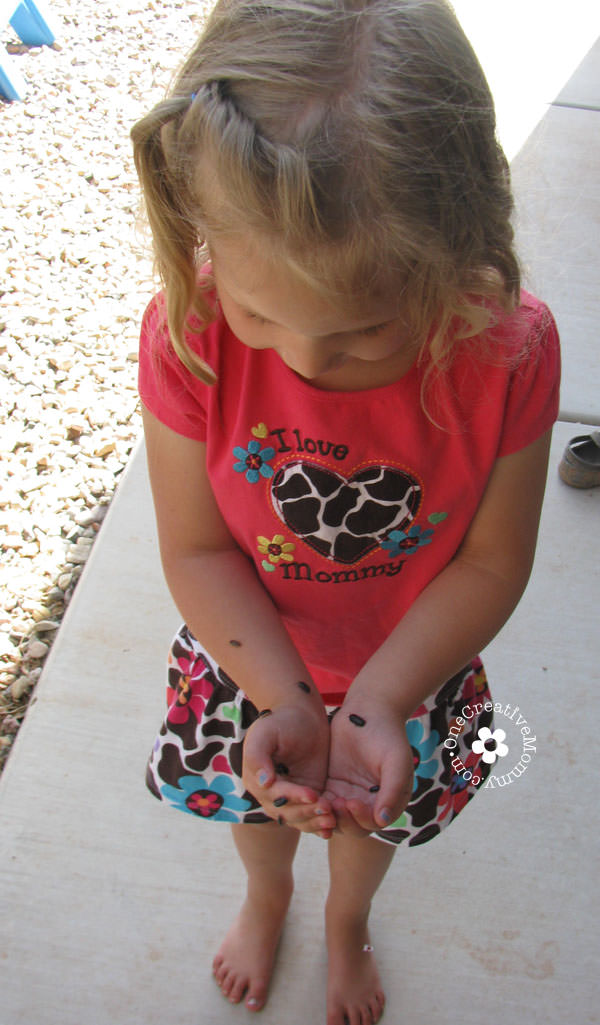
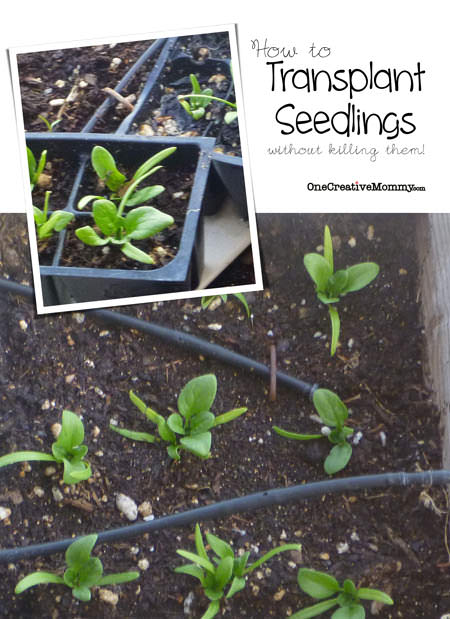
These little critters have been devouring the spinach in my garden like it's their own private salad bar! Unfortunately, they are also the best friends of this little girl.
Every time I snatch one from the garden to squash it, I hear a little voice pleading, "Don't squish my friend!" Now, instead of squashing them, I throw them as far into the field as possible.
The things we do for our little ones. Even when it comes to sacrificing our spinach crop. Sigh . . . I think it's getting too hot for the spinach plants now, anyway.
So, inspired by my little bug girl, here comes a GARDENING PROJECT:
DIY Garden Trellis
I love to garden, but gardening in the desert is a little tricky. Since the local soil is terrible, I square foot garden in raised beds. Once I figured out how much to water, the garden started to flourish--so much that my squash and melon vines overtook the entire garden and spilled out several feet into the yard. My uncle is a master gardener, and he gave me a great idea with his design for a garden trellis.
Isn't his garden beautiful? Mine is not that pretty (especially since the yard isn't finished, and it's surrounded by dirt), but I am learning how to make things bloom in the desert. Come mid-summer, my trellises will be overflowing with vines.
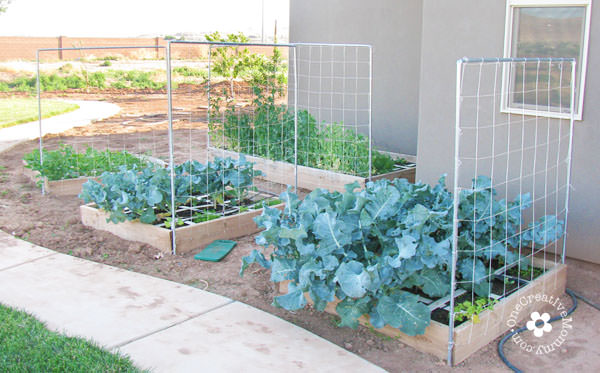
Here's my garden--muddy footprints, dirt landscaping, background weeds, and all. It's not pretty, but it works for me. (Someday I'll have rocks or pretty pavers around the garden. Someday.)
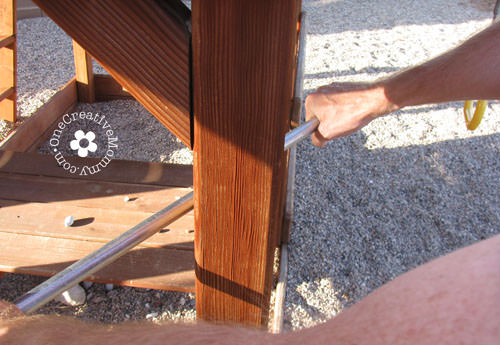
Before I get into the details, you have probably already noticed that the corners of my uncle's trellises are beautifully rounded, while mine are simply bent. He owns a pipe bender, so he was able to make his corners perfectly smooth. I don't have access to a pipe bender, but I do have a strong husband. His result wasn't as pretty, but it was a great alternative to spending $40 to buy a new tool! Here's our knock-off version:
Since I didn't do the actual building, I'm not going to even try giving a step-by-step tutorial. I will give you the basic idea, though. (I'll put in lots of pictures. Hopefully, they'll help!)
You will need:
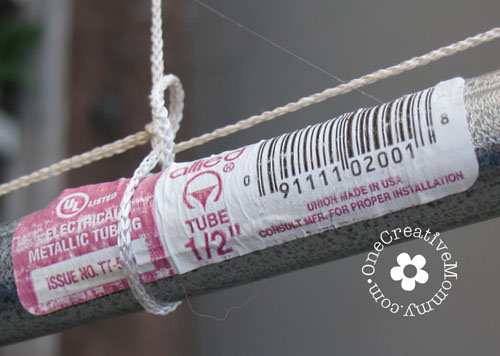
- 8-10 foot lengths of ½" electrical conduit pipe (The amount you choose will depend on how tall you want your trellis.)
- 24" lengths of ½ rebar, 2 per box (I actually used 36" lengths, but anything over 24" should be fine.
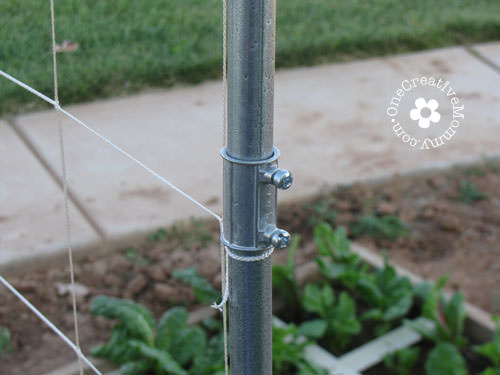
- Electrical conduit connectors (In the below image, the connector is on the side, but it all depends on the length of your pipe and the size of your garden bed. Your connector may end up on top.)
- Nylon garden trellis mesh
- Staple gun
So that the vines on your trellis don't shade the other plants, put the trellis on the north or east side of your box. The rebar will support your frame.
- Pound a length of rebar into the ground where you plan to put your trellis. (Your pipe will slide over the rebar.) You need two lengths of rebar for each box--one for each side of the trellis. Pound them in about half the length of the rebar.
- Using a pipe bender (or my free method described below) bend the pipe at the height you want, then slide it over the rebar. Repeat with another length of pipe on the other side.
- Trim excess pipe length if the two pipes overlap, and then connect the pipes with electrical conduit connectors.
- Tie on the garden trellis mesh and trim off the extra. To stretch it tight, staple the bottom of the mesh to your box.
Here's how my strong hubby bent the pipe. Just place it behind a strong pole or beam, hold the bar with one hand on each side, and pull the bar toward you. (That's a post from our play set. If you don't have a play set, try a local park or school. We used to have poles supporting the roof in our unfinished basement as kids. They would have worked perfectly for this!)
So far, the trellises have worked great for my peas. They grew almost all the way to the top! (Last year, with no trellis, they got about 6" high.)
Let me know if it works for you! I'd love to see how it turns out.
Thanks for stopping by. I hope you'll stick around. Check out some of my other gardening posts (images are linked):




Sherry
Hello Heide, thanks for stopping by P3! The stage was great but way under utelized for the space it took up in our classroom/playroom. I think a curtained area would be just as useful with some hooks or coathanger type device for props. The stage had it's day in the spotlight but we really wanted to garden and this makes it so simple for the kids to be involved...without worrying about them stepping on things! So far so good. Getting lots of rain so I haven't had to figure out the appropriate amount of watering yet...
Dacia
Wow, I love these. I need to make some for my garden. thanks for sharing!
Anup
I don't know about any plans, but I built some elevated beds by tknaig a piece of 5/8 treated plywood and building a stand for it out of 4 4 s. The stand has to be pretty stout, it will be holding a lot of weight. Build the frame first then set it on the legs, It has six legs. I have a full frame around the outside with two cross pieces evenly spaced from end to end. I cut sides and ends out of another piece of plywood 16 tall and then attached them to the floor by running a 2 2 around the edge , set back far enough so that the outside of the sides and ends are even with the edge of the floor. I ran another wall across four feet from each end and stiffened that with 2 4 s. I used screws throughout that are rated for use in treated lumber.I have three of the beds that are three years old and still going great. Don't forget to drill holes in the floor for drainage.
Kadie
What a great idea!! I made some trellises last year but they were to small and flimsy. I can't wait to try them out. Thanks so much for sharing with us at Link It Up Thursday.
Kadie
I will be featuring these at our party on Thursday. YAY!! They are so great. Stop by and grab a button if you would like.
Rachel @ I Love My Disorganized Life
I think it looks just lovely!
Heidi
Thanks, Rachel!
Angel
SO Much useful information in this post!
Thank you for linking up to #throwbackthursdaylinkup
Heidi
Thanks, Angel!
Heidi
Thanks, Angel!
Amy @ItsAMindfulLife
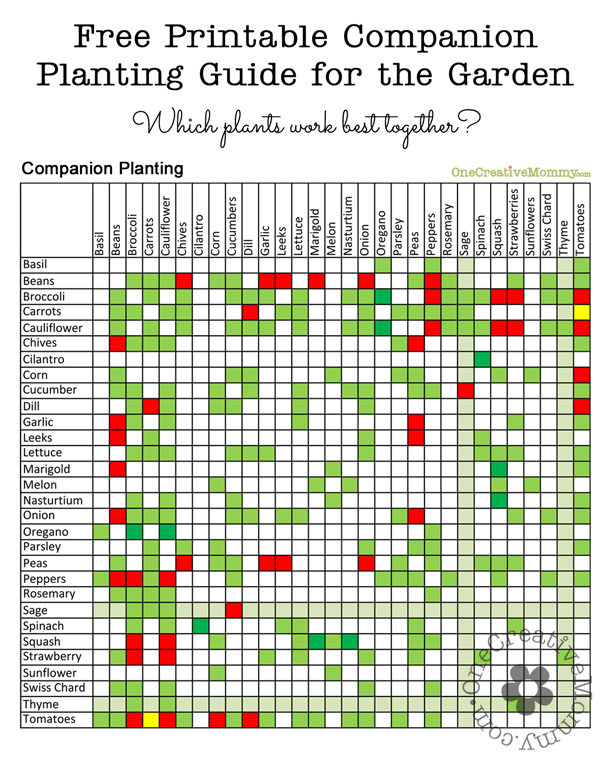
Hello! Great tutorial and love the gardening guide! Thanks so much for sharing!
Heidi Fowler
Thanks so much, Amy! Happy gardening!
Dannette Henning
I love the trellis idea! I have another suggestion that might work too...we bought cattle panel (4'x16') from Tractor Supply Store and cut in half (4'x8') with tin snips. Our raised bed beds have a tall posts in each of the the corners that we attached the cattle panels to and set solar lights in top of the posts. It looks really nice during the day and night!
Heidi
What a great idea, Dannette! Wish I could see it.