

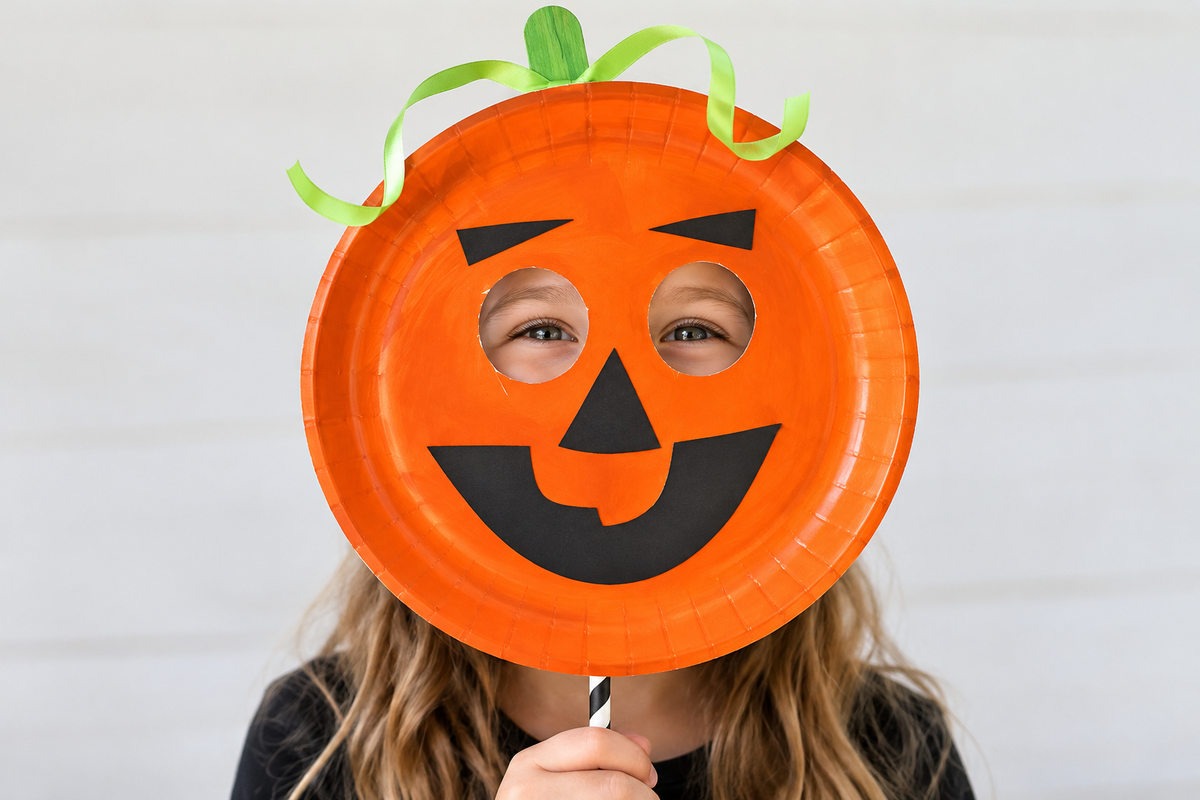
Looking for an easy Halloween craft for kids? This paper plate pumpkin mask is a fun way to turn a few basic craft supplies into an adorable jack-o'-lantern!
Kids can create their own silly, spooky, or smiling pumpkin faces, and when they're finished, they'll have a mask they can actually play with. It's a simple project for a Halloween party, classroom activity, or afternoon of crafting at home.
This cute idea was originally shared by Lisa from Pebbles and Piggytails as part of our Spooktastic September series. It's one of those easy Halloween crafts that's worth bringing back!
Supplies for a Paper Plate Pumpkin Mask
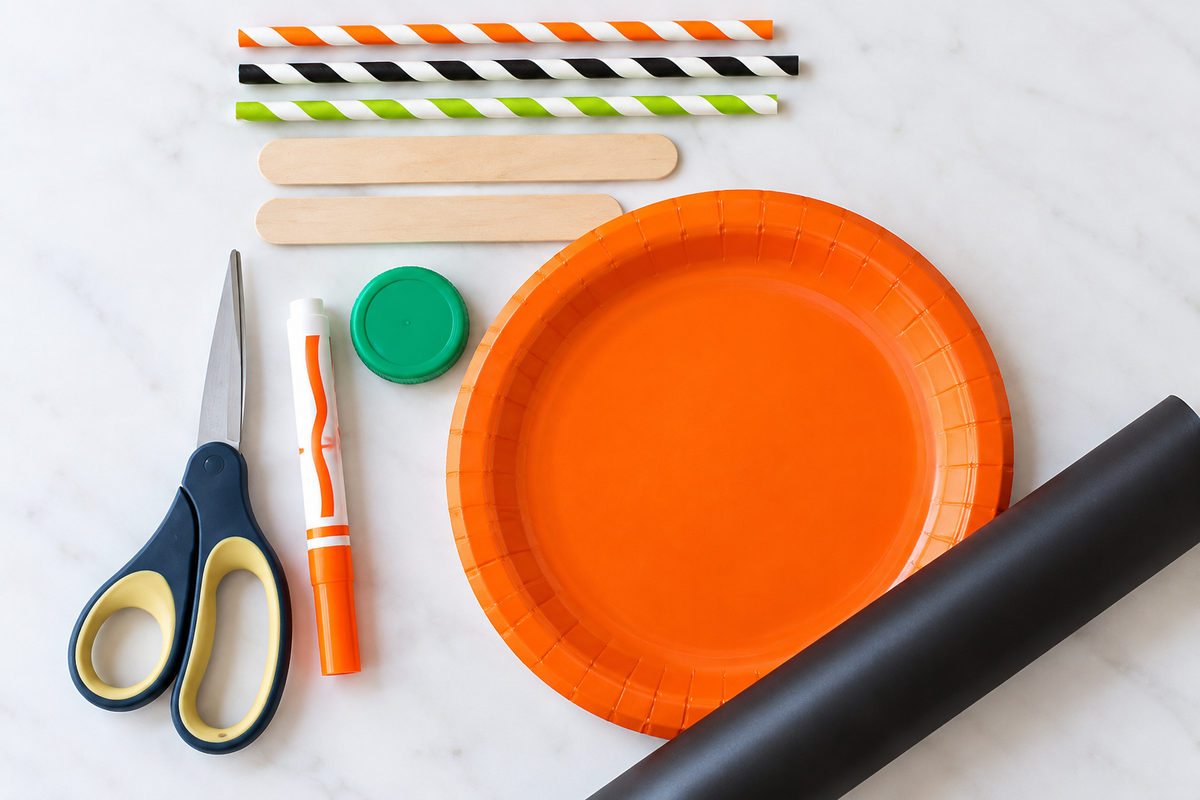 You'll need:
1 orange paper plate
Black adhesive craft vinyl (scraps work great!) *affiliate link
1 straw or craft stick for the handle
1 popsicle stick for the pumpkin stem
A milk jug lid or another round object for tracing the eyes
Scissors
Pencil or marker
Tape
Green marker and ribbon (optional)
Tip: Don't have adhesive vinyl? Black construction paper and a glue stick are an easy alternative. Just keep in mind that glued-on pieces won't be repositionable like vinyl.
How to Make a Paper Plate Pumpkin Mask
Step 1: Trace the Eyes
Use a milk jug lid or another small round object to trace two eye holes on the paper plate, about an inch apart.
Position them so your child will be able to see comfortably through the finished mask.
Step 2: Cut Out the Eye Holes
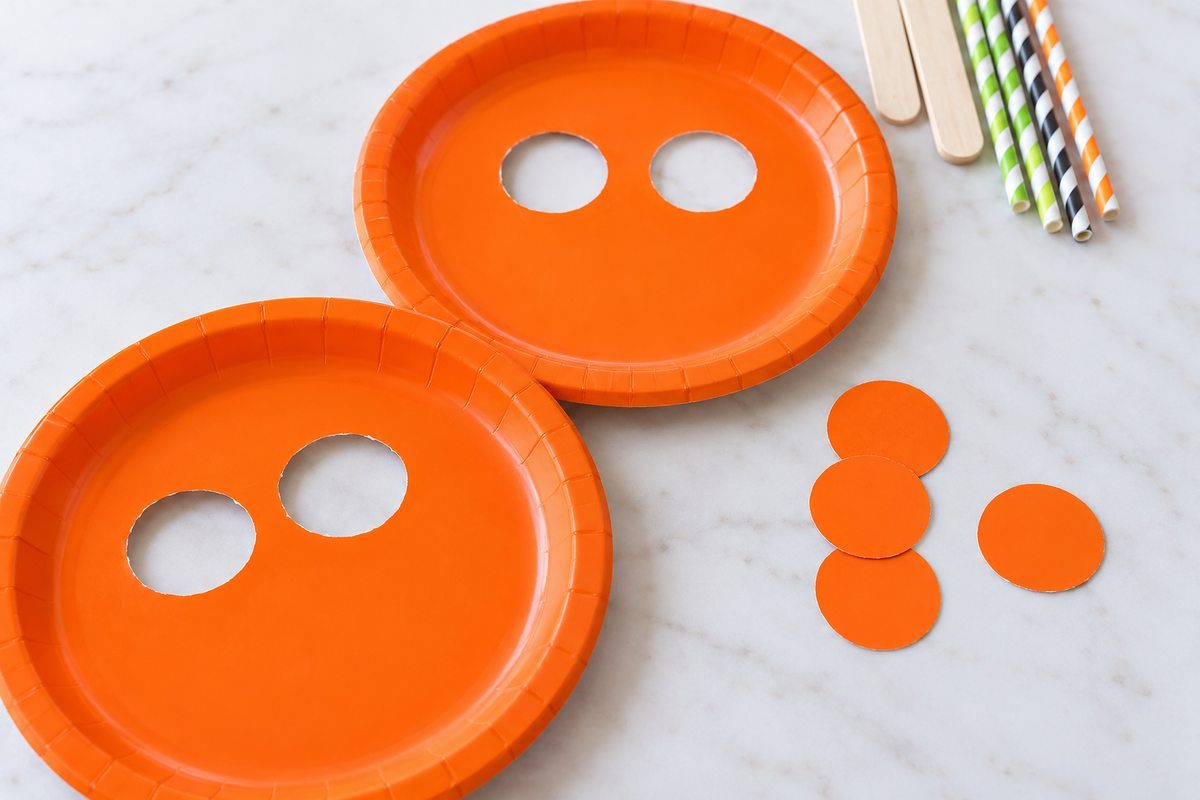
Carefully cut out both eye holes. An adult should handle this step, especially if you're using a craft knife to get the cuts started.
Step 3: Make the Pumpkin Face
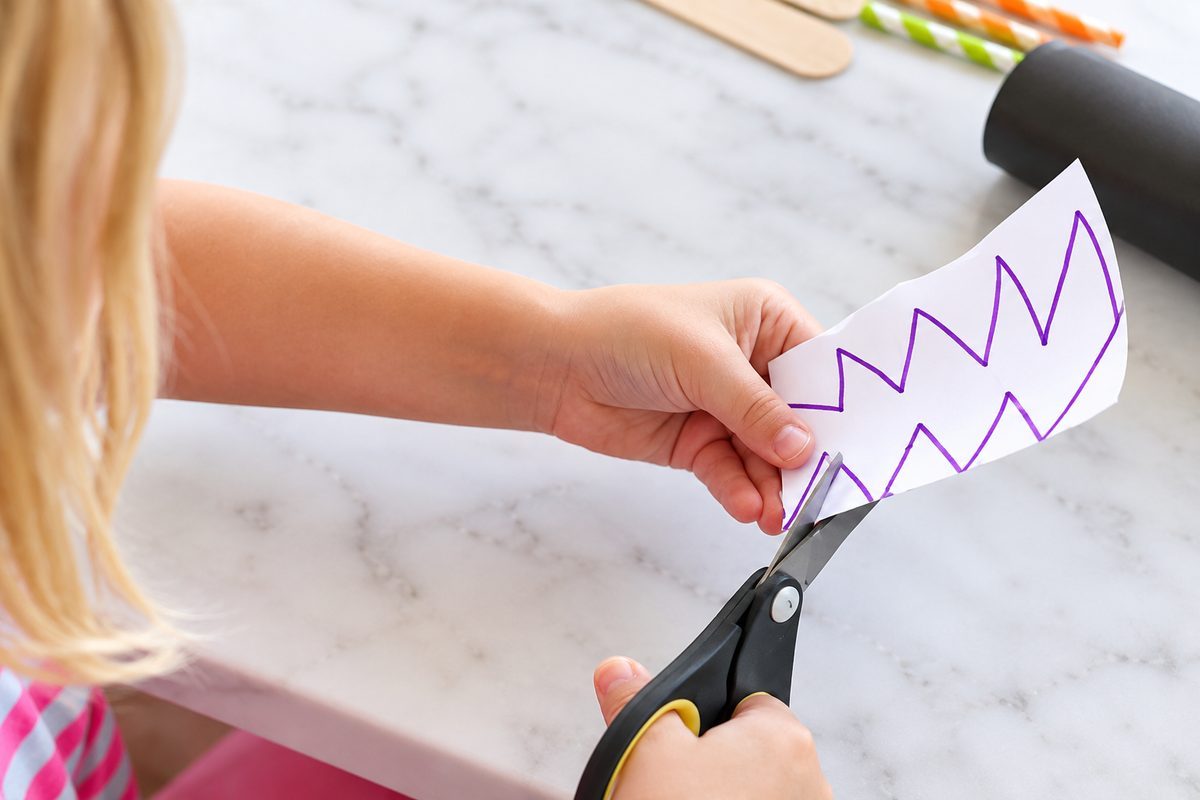
On the back of the black adhesive vinyl, draw a nose and mouth for your jack-o'-lantern.
This is where kids can get creative! Make a big toothy grin, a funny smile, or a spooky pumpkin face.
Cut out the nose and mouth shapes. Peel away the vinyl backing and let your child arrange the pieces on the paper plate.
Adhesive vinyl makes it easy for kids to move the pieces around and try different expressions until they create a pumpkin face they love.
There's no need to make everything perfectly symmetrical. A crooked smile might be just what gives your pumpkin its personality!
Step 5: Add the Stem and Handle
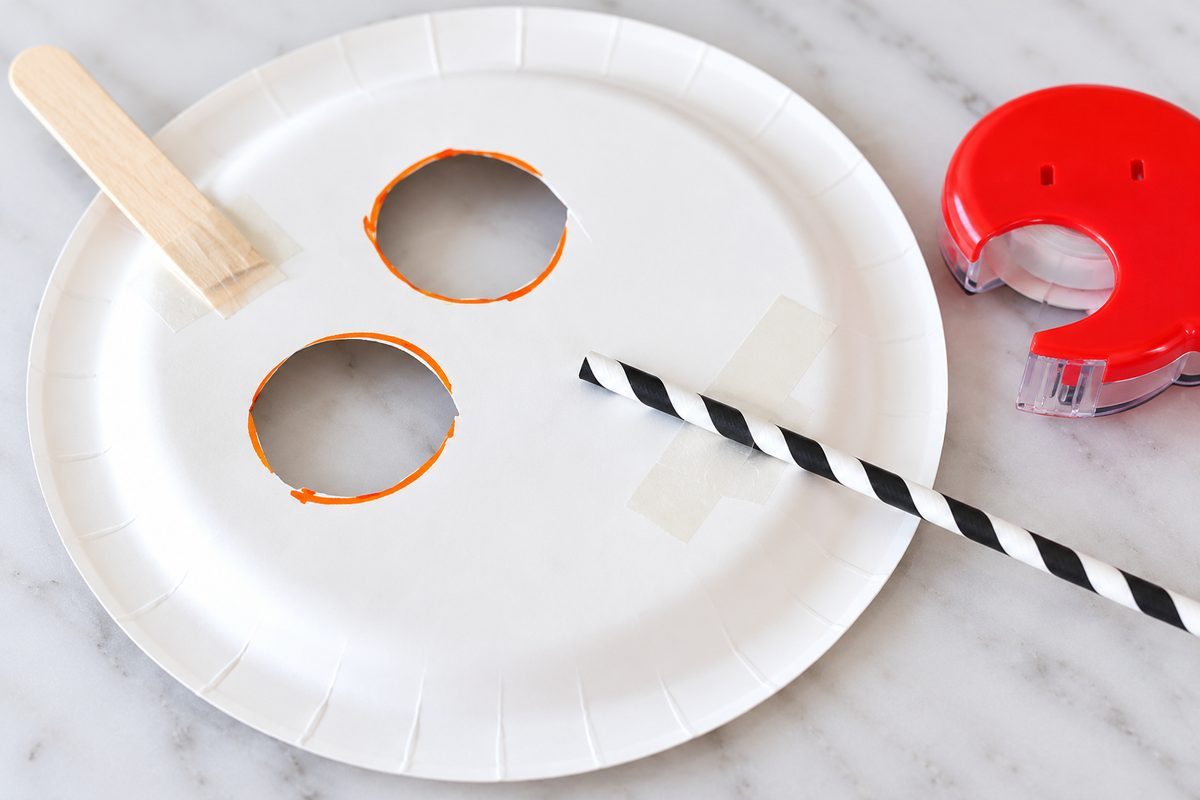
If you'd like, color a popsicle stick green and tape it to the back of the plate so it sticks out above the pumpkin like a stem.
Next, tape a sturdy straw or craft stick to the back of the plate near the bottom. This gives little hands an easy way to hold the mask in front of their faces.
Add a ribbon or other embellishments if you want to dress it up.
Make Your Pumpkin Mask Your Own
The fun part of this project is seeing how different every pumpkin turns out. Give kids the same supplies, and you'll probably end up with a whole collection of unique jack-o'-lantern faces!
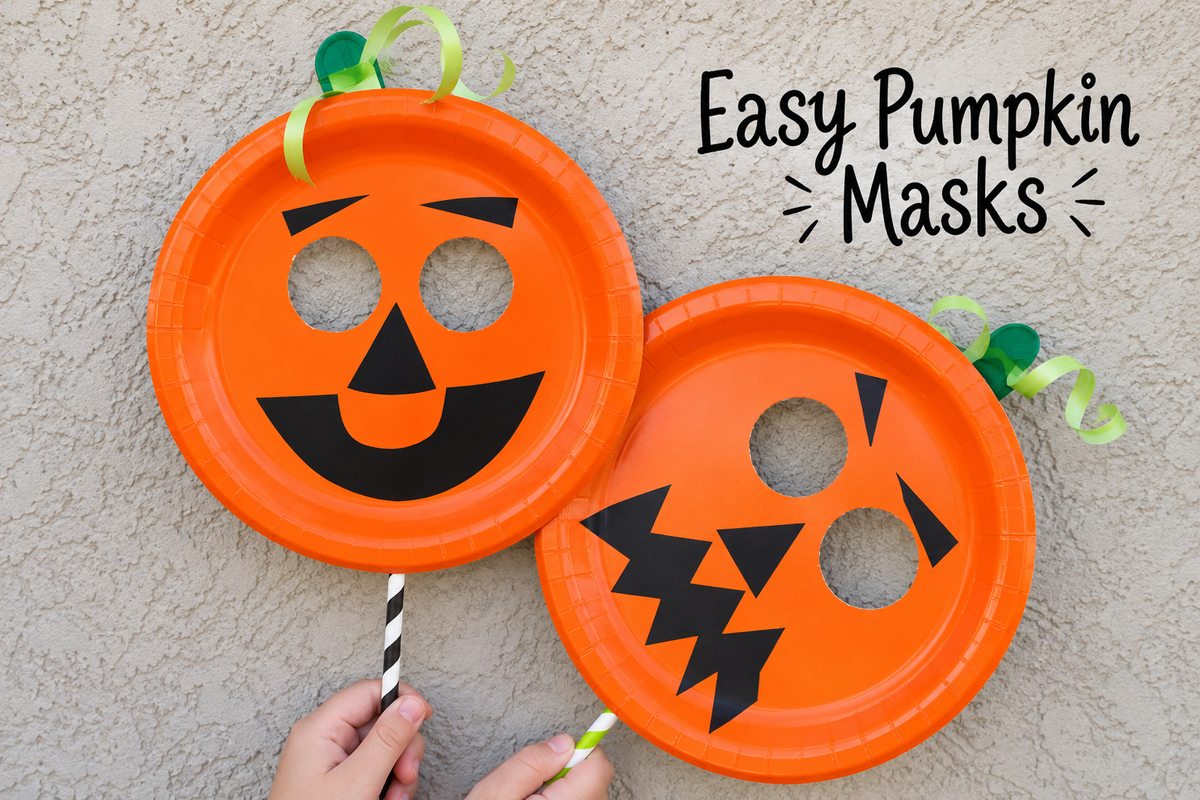
You can also try making a few different expressions and using the finished masks for Halloween photos or pretend play.
For a classroom or group activity, prepare the plates and eye holes ahead of time so younger children can focus on decorating their pumpkins.
More Easy Halloween Fun
If you're looking for more Halloween activities, don't stop with pumpkin masks! There are plenty of simple ways to make the season fun without spending a lot of money or planning an elaborate project.
Try these ideas next:
Sometimes the simplest projects are the most fun. A paper plate, a few scraps of vinyl, and a little imagination are all you need for this one!
Thanks for stopping by!









Lisa Jorgensen
Thanks for letting me stop by and share!
Heidi
Thanks for sharing such a cute and easy craft, Lisa!
Jess B
I can't find the adhesive craft vinyl! Any ideas of where you source?
Heidi
I get mine at Michaels or Joann, and I think they may also have it at Hobby Lobby. Amazon should also have it.
Jessica C
What a cute and easy mask. Good job ladies. My almost two year old is into masks right now and he loves "scaring" his older siblings. So this is going to be a fun project for the both of us. Thanks for sharing.
Heidi
Thanks, Jessica. I hope he loves it! Quick and easy crafts are the best.