

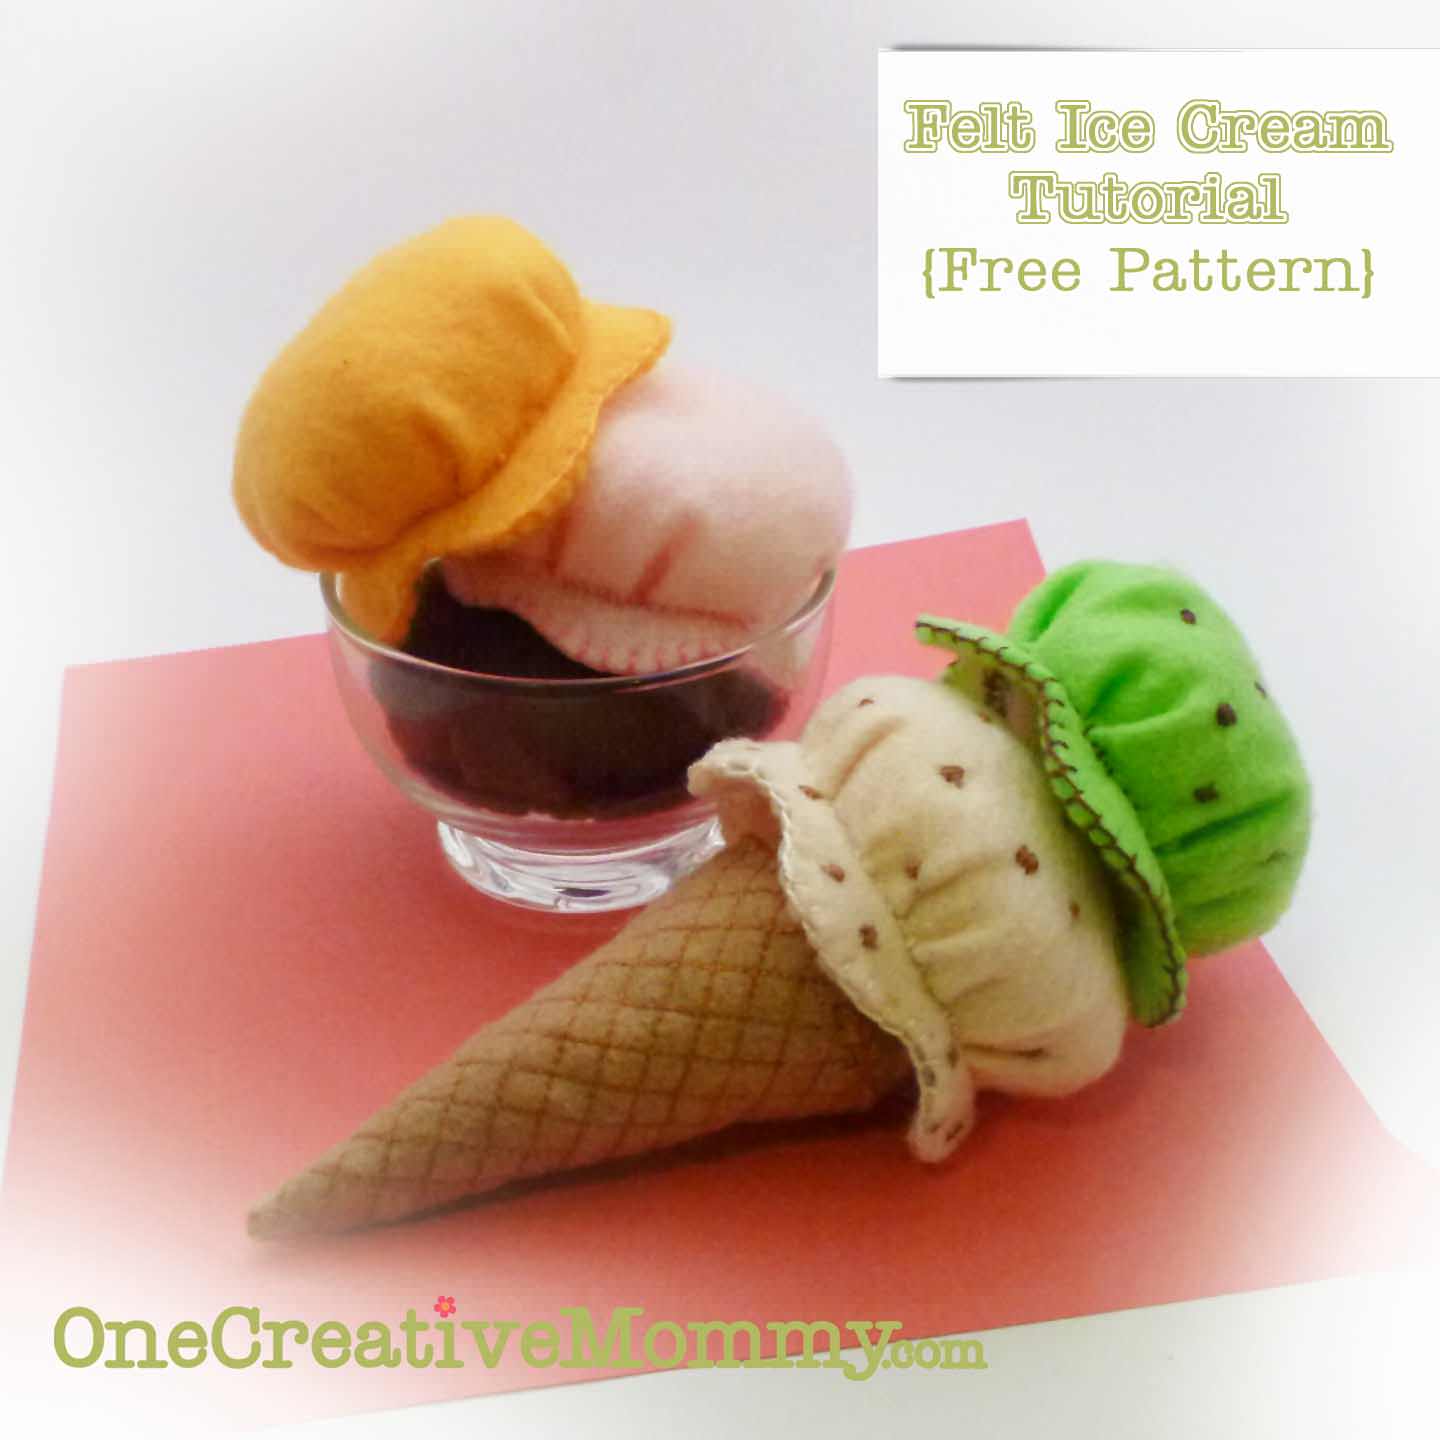
I'm so glad I decided to host a Felt Food Roundup, or I never would've finished this post. I originally made these ice cream scoops and cones for Boo's birthday over a year ago. I guess I needed a deadline to get the tutorial written! This is not exactly a beginner project, but you can do it! I'll walk you through every step to make felt ice cream and cones.
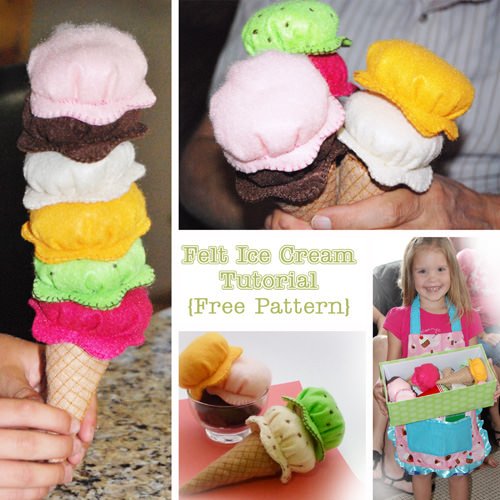
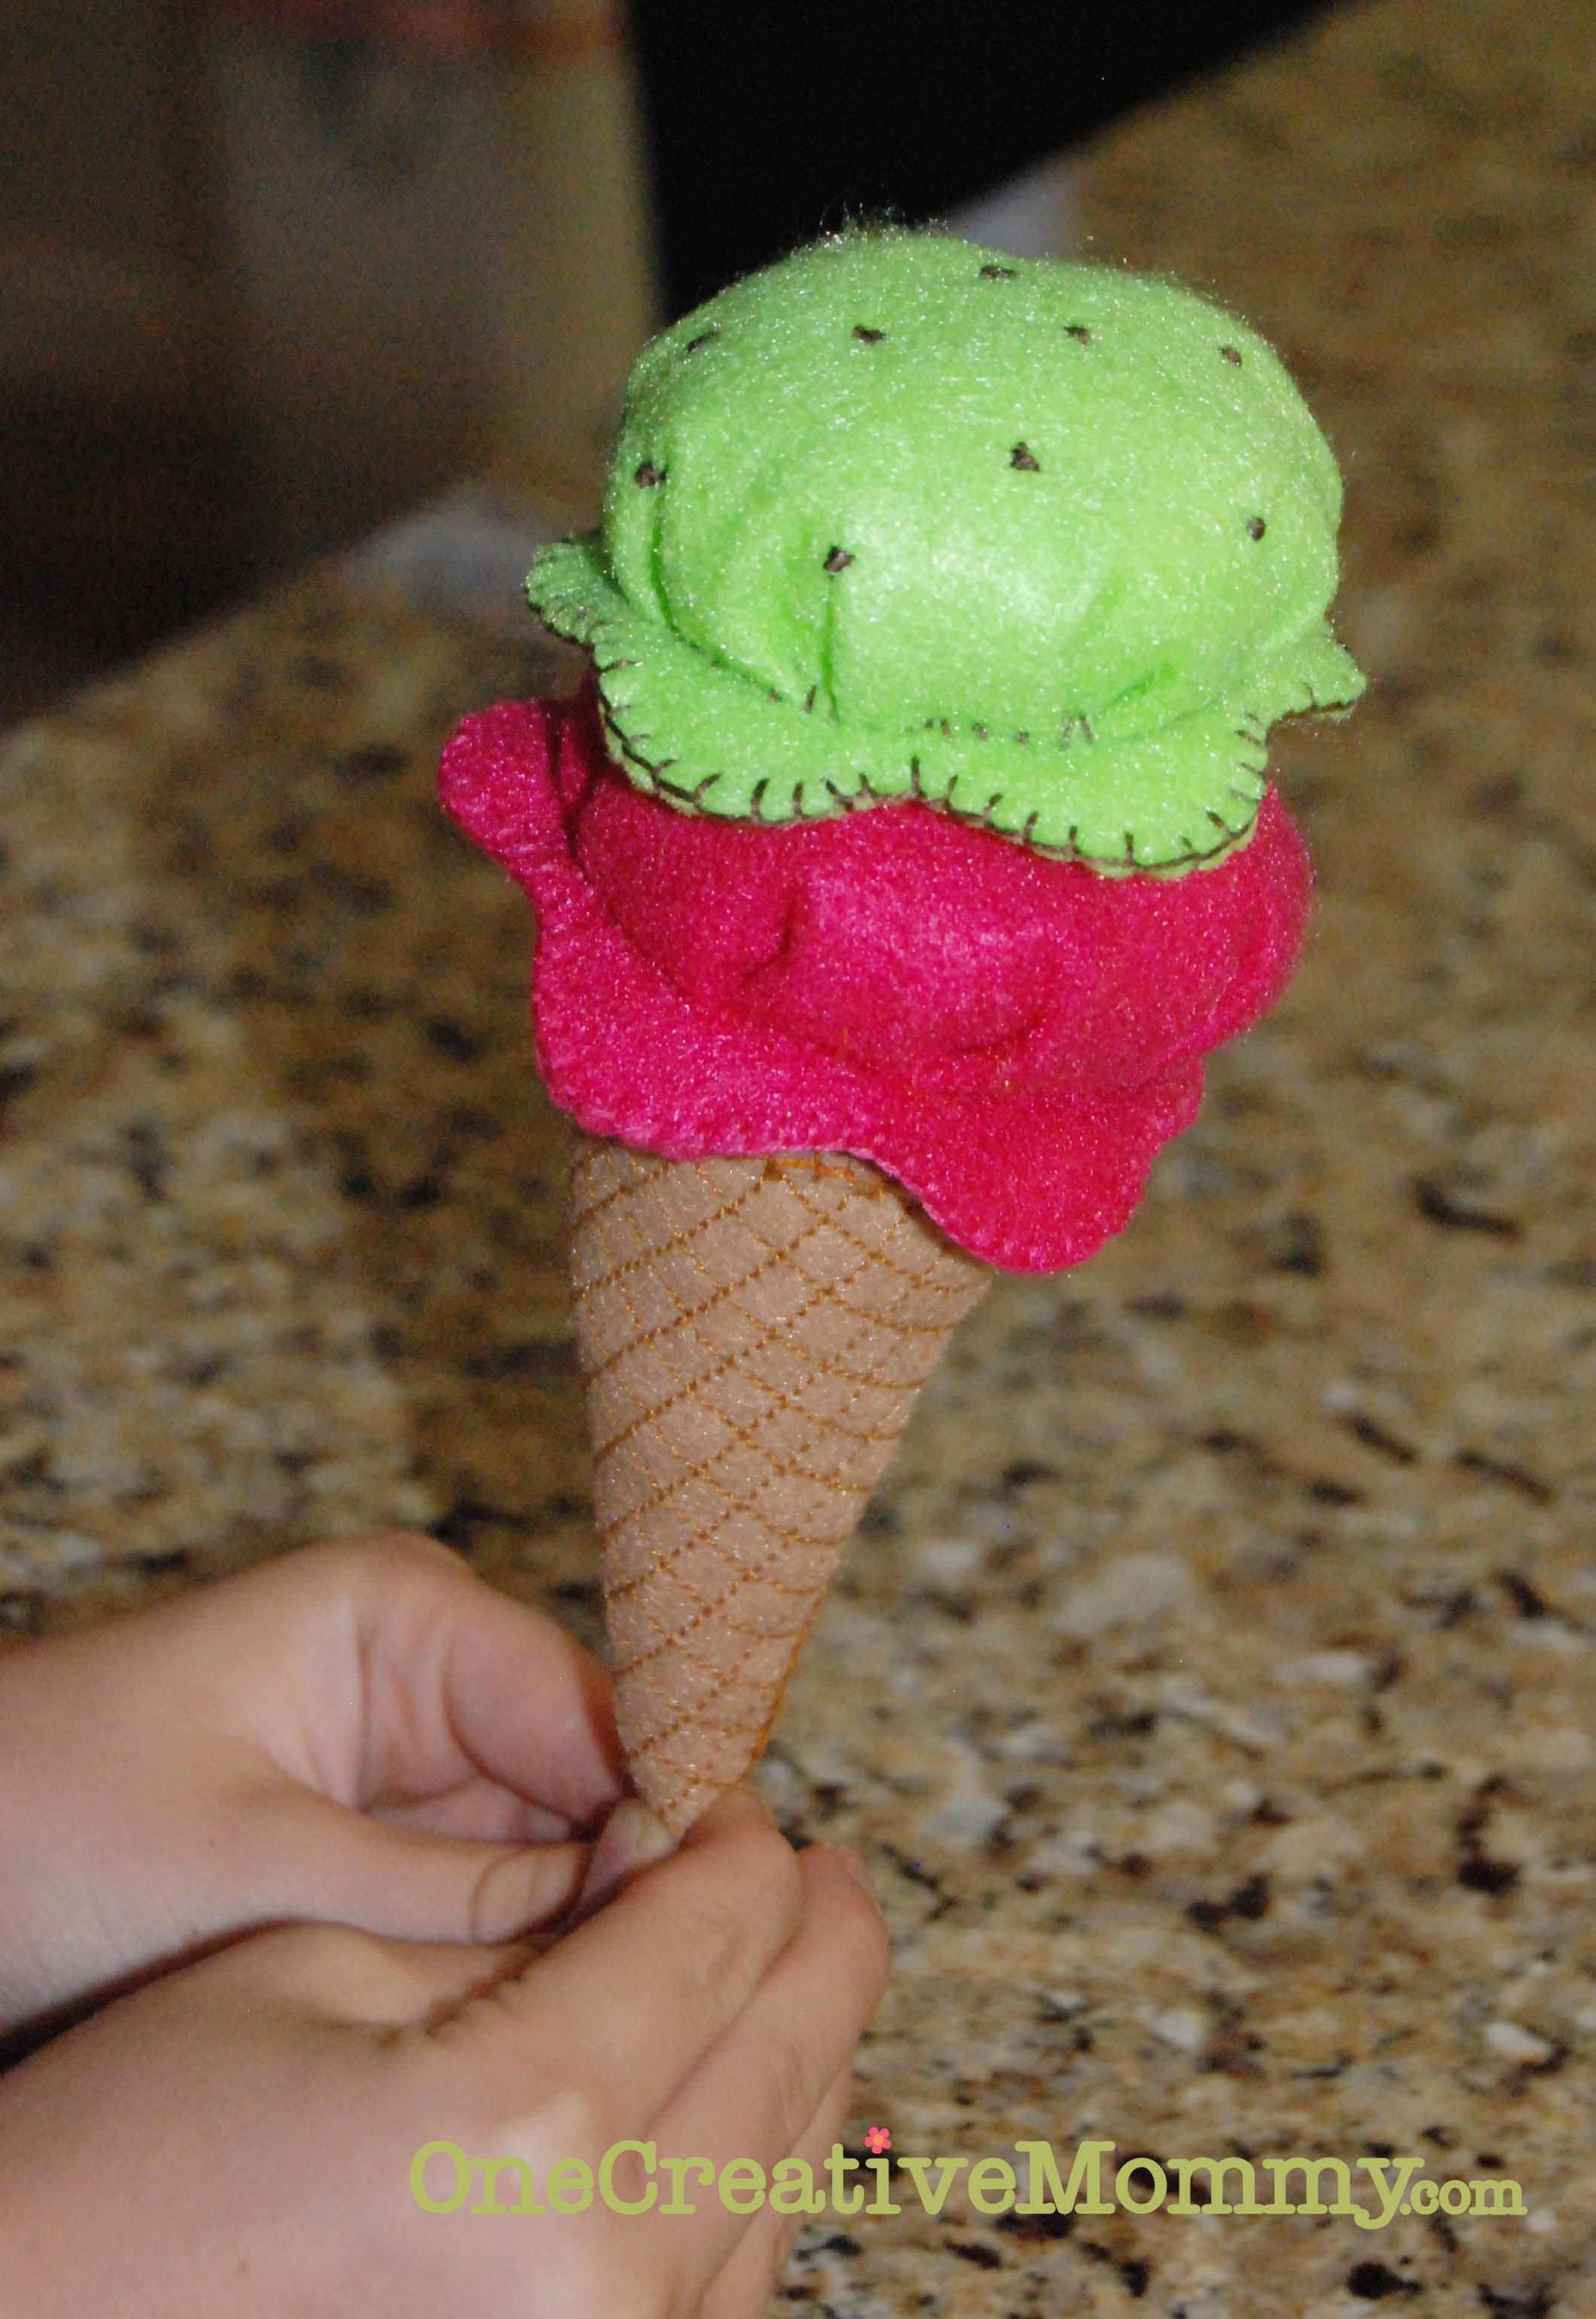
What kid wouldn't love a double scoop of ice cream?
How about a sextuple scoop? (Yep. I had to look that word up. It's been a long time since I've taken a math class!)
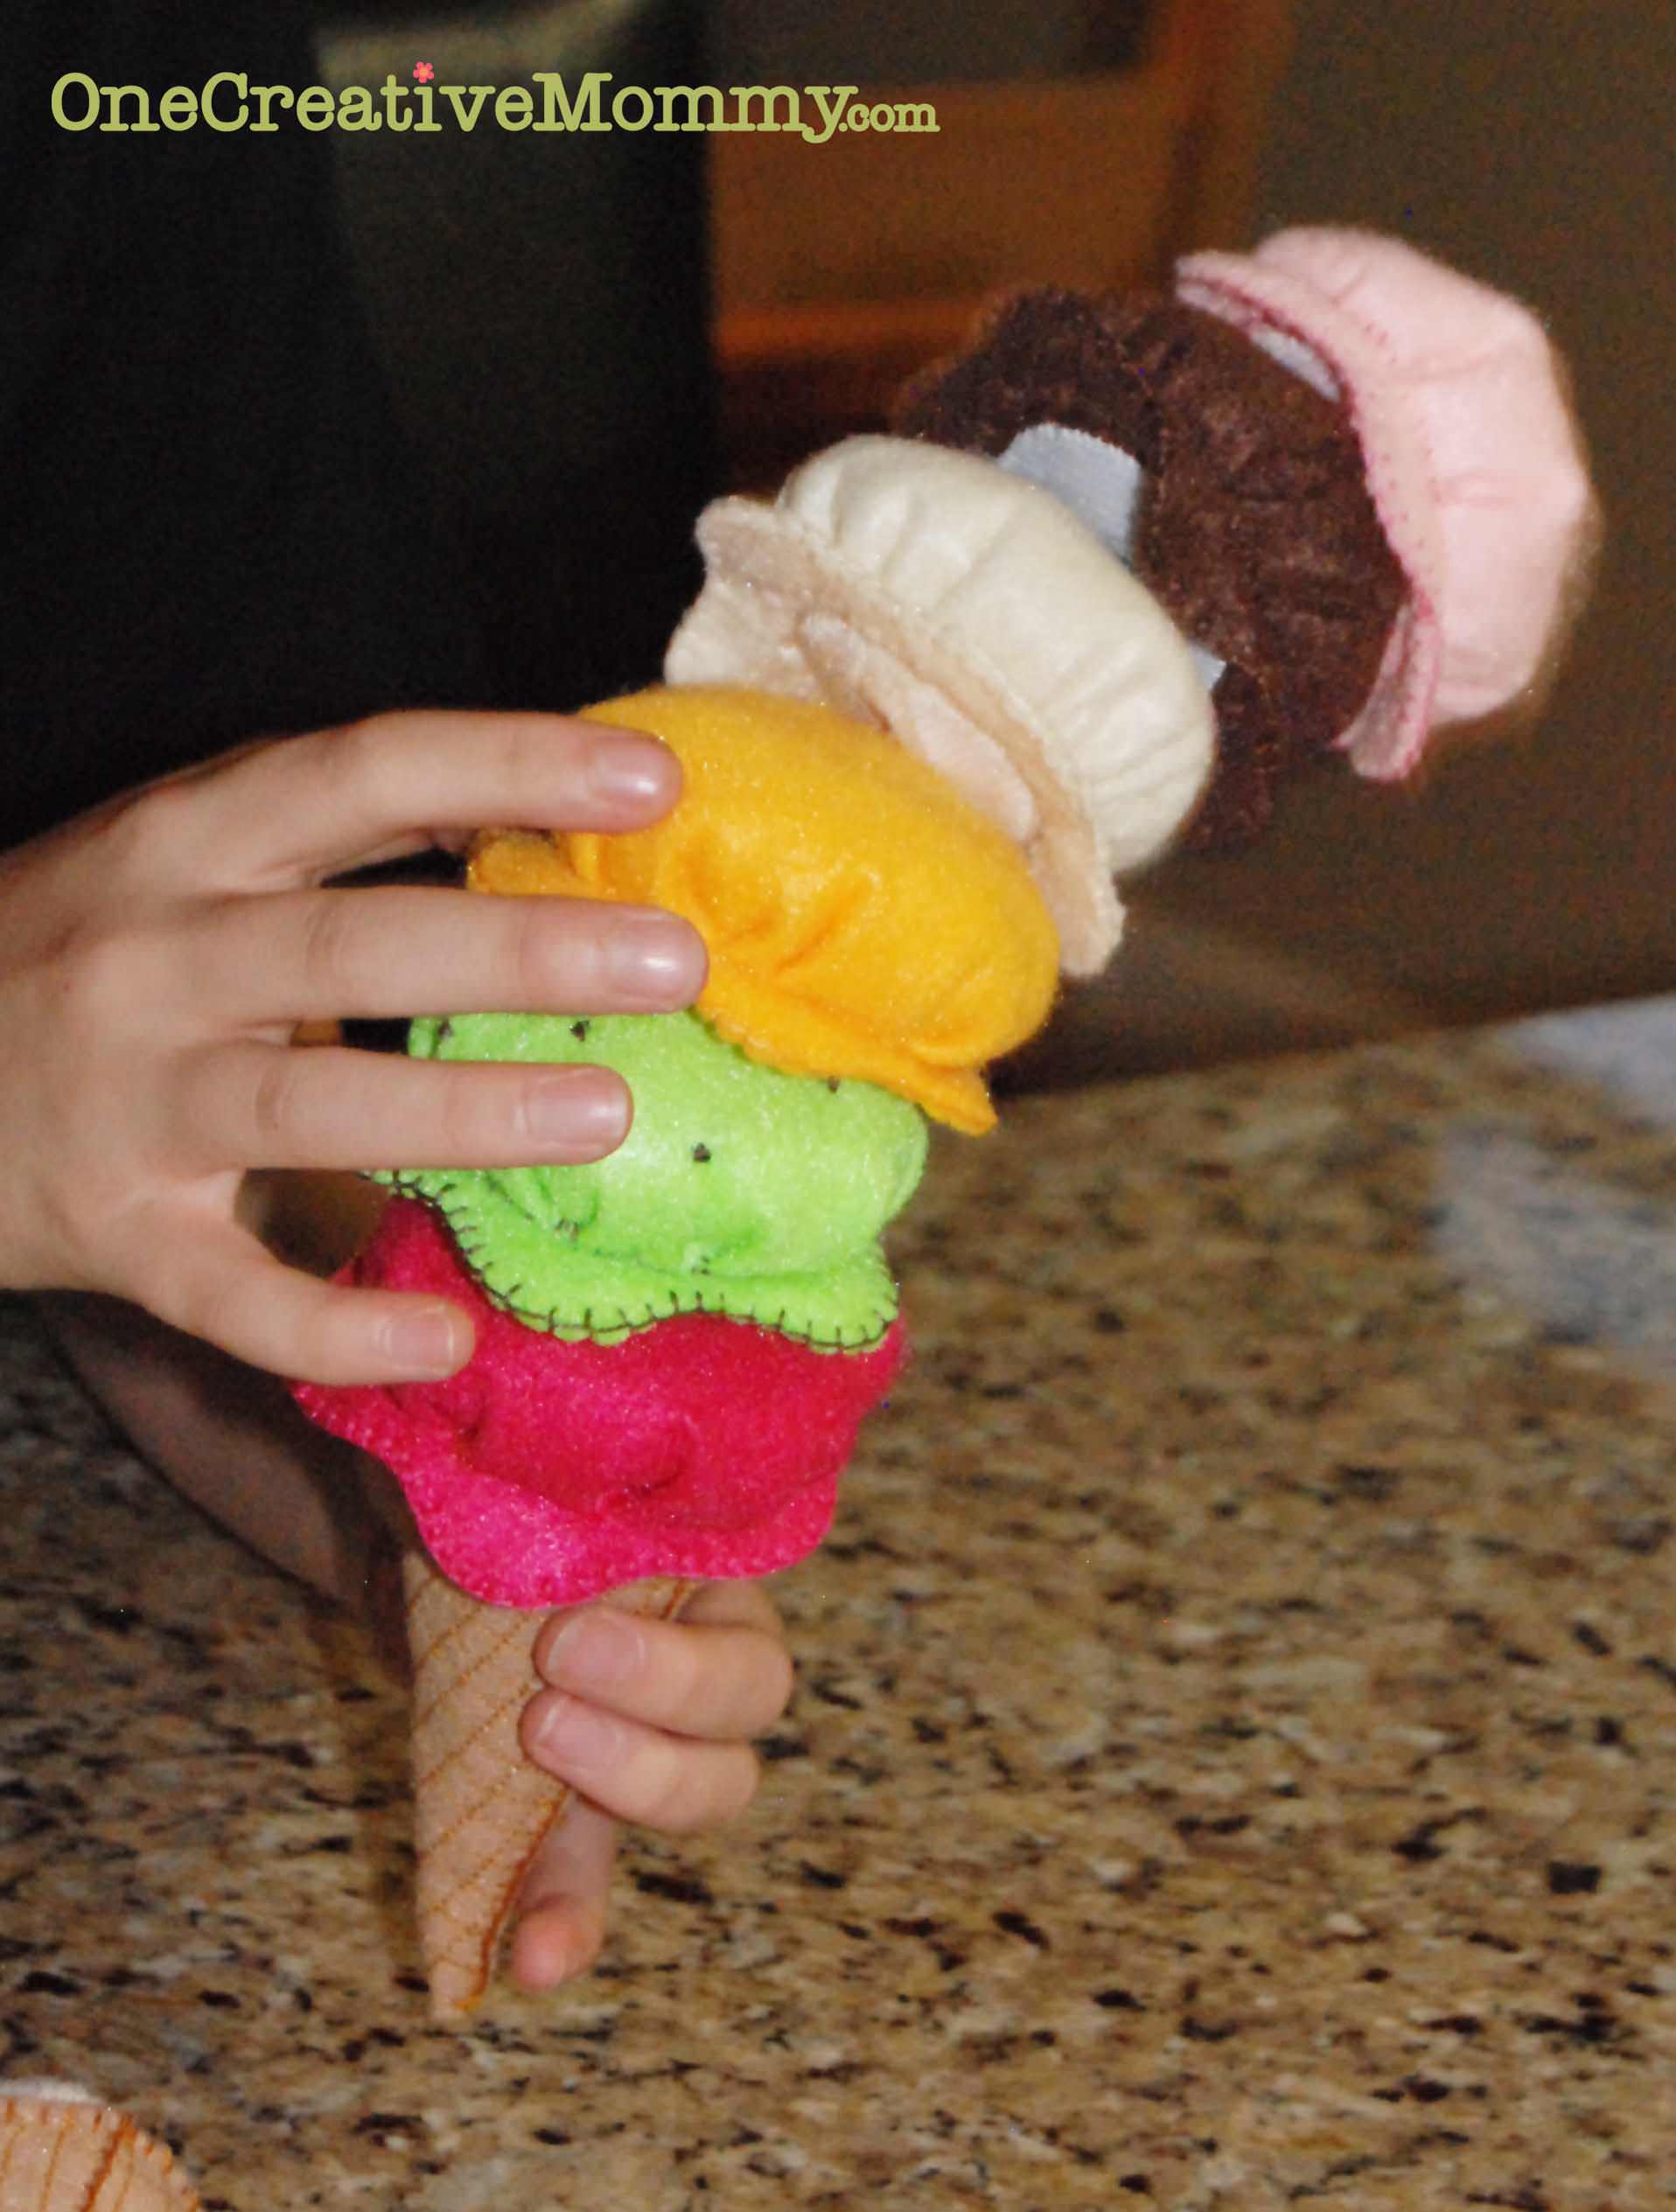
The sky (or the amount of felt colors you can find) is the limit!
Felt Food Ice Cream Cone Tutorial
It is easiest to make the cone before the scoops.
Begin by downloading and printing my free pattern:

Felt Ice Cream and Cone Free Pattern
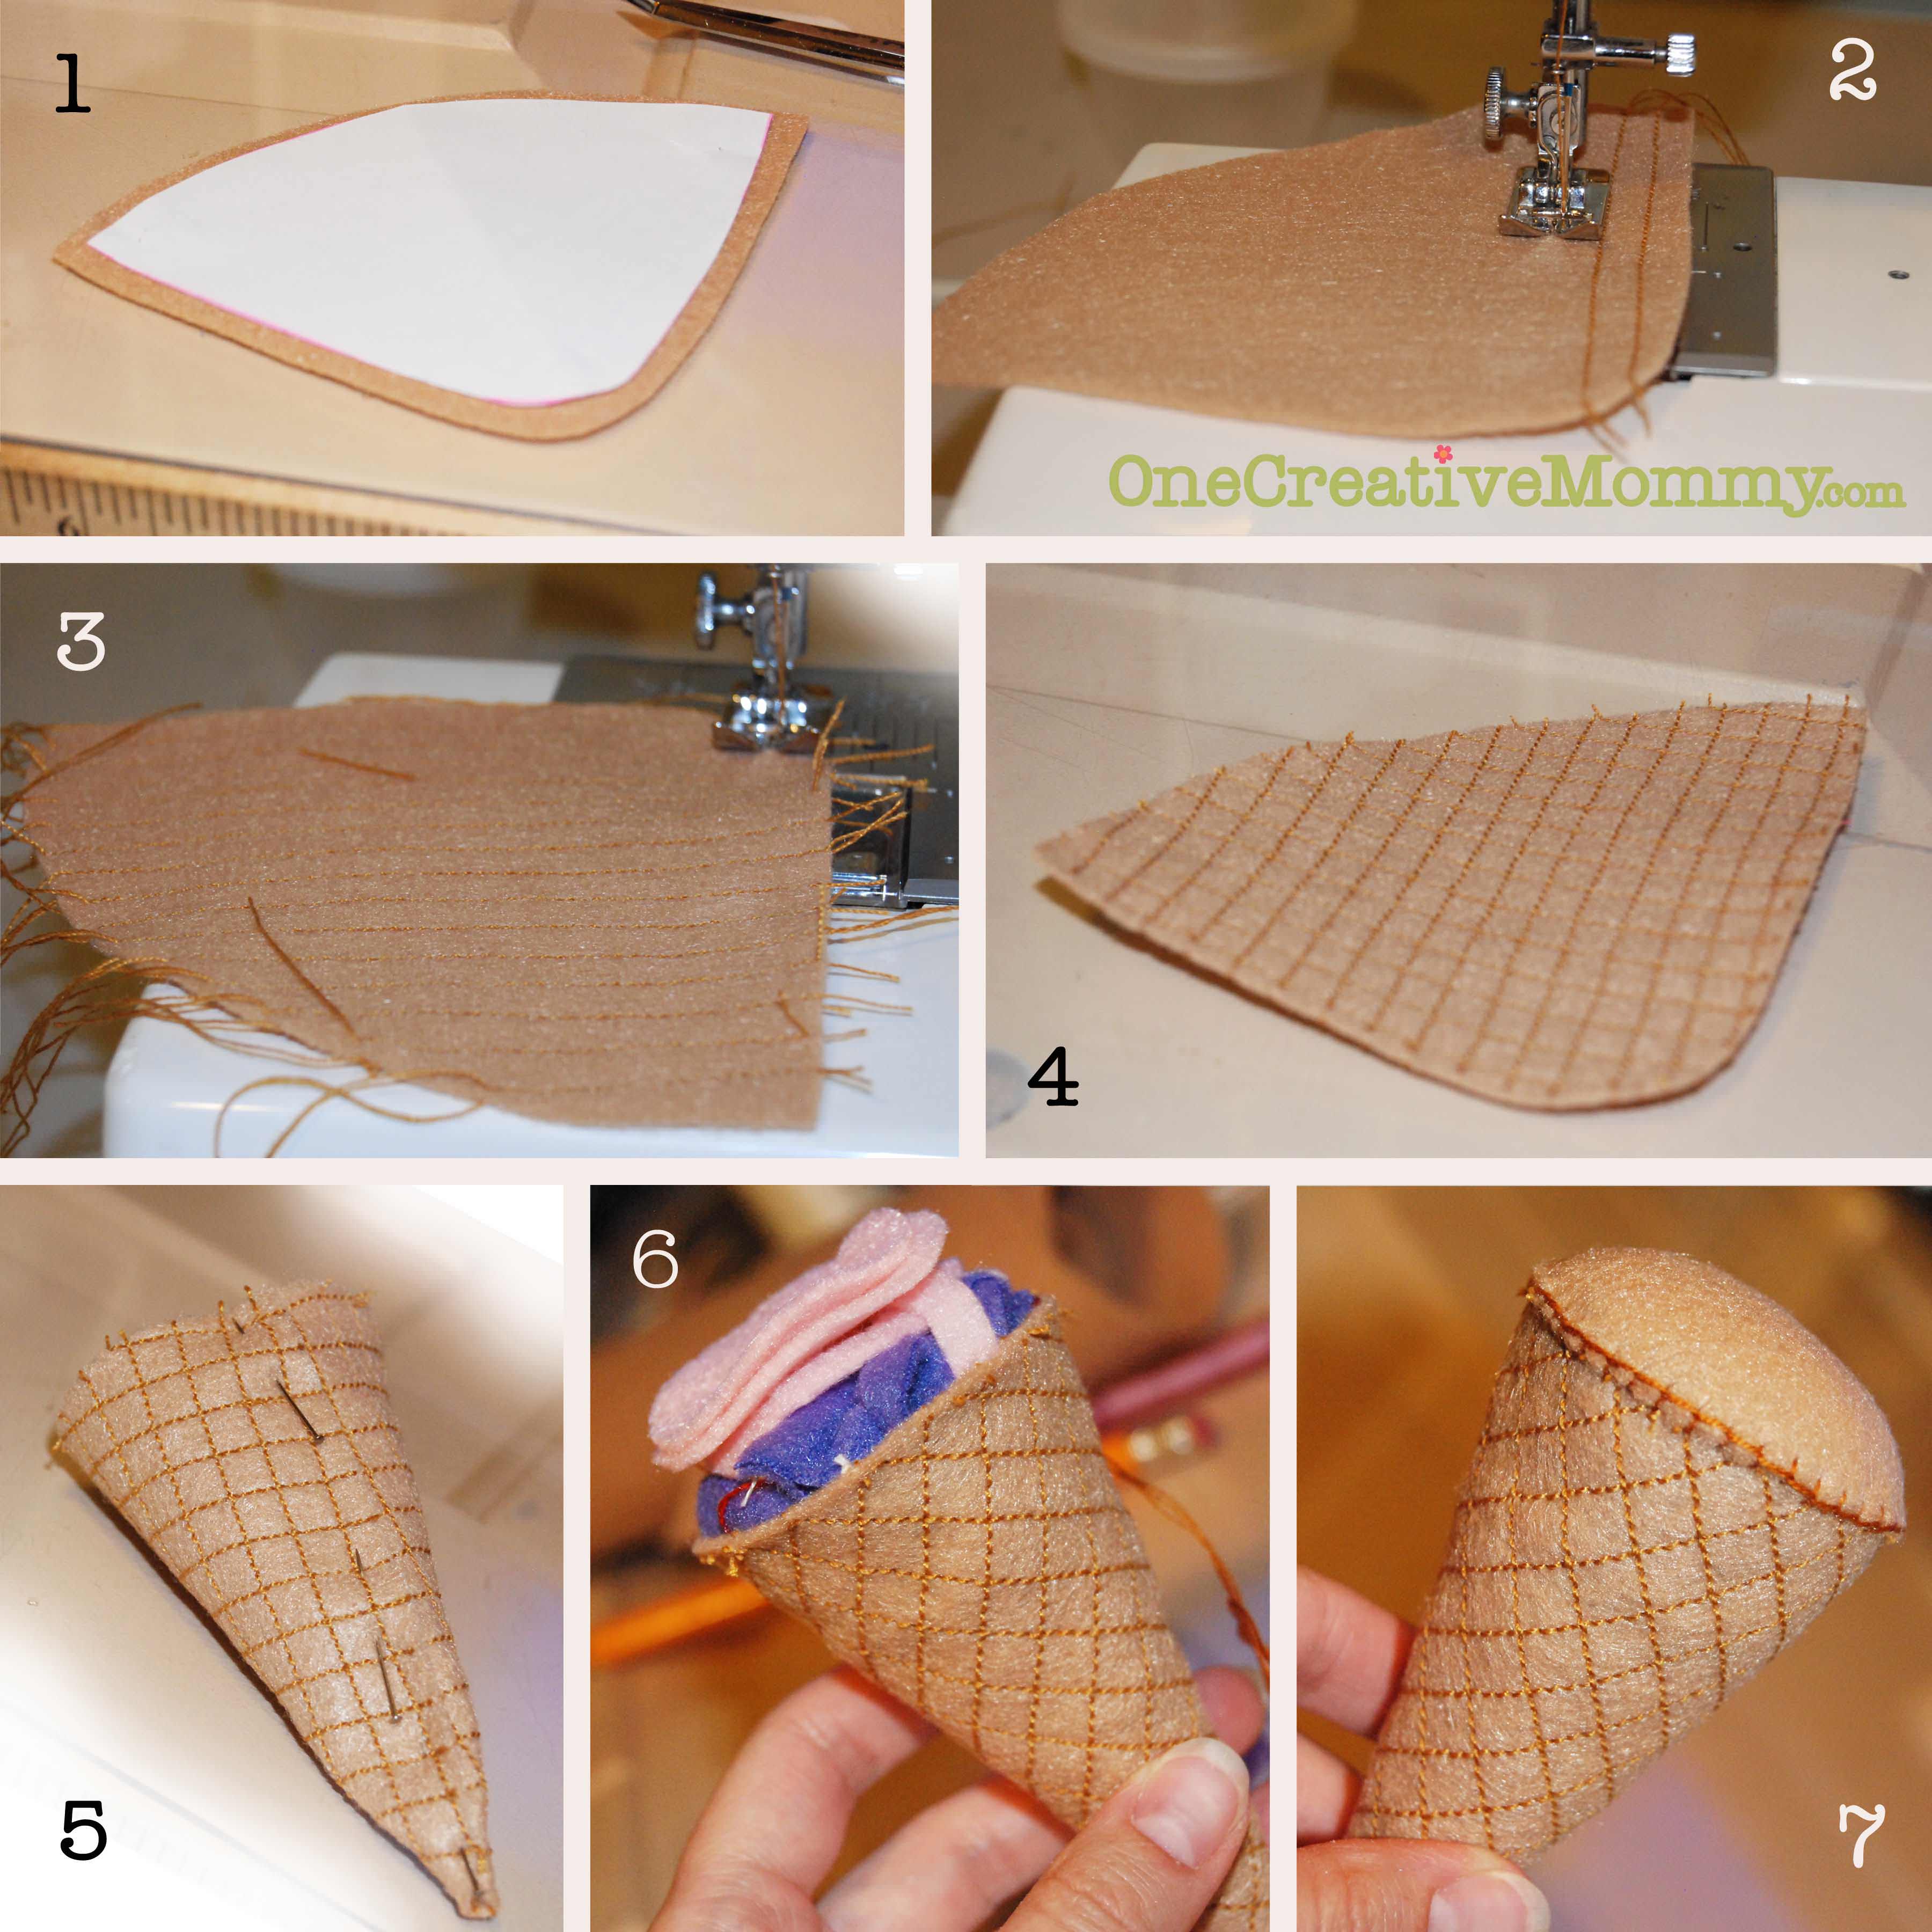
- Cut the cone piece about ¼ inch larger than the pattern. (It doesn't need to be exact.) Cut out the small circle from the same felt, and set it aside.
- Using your sewing machine, stitch horizontal stripes across the cone piece. Use the presser foot as a guide to keep your stripes even and straight.
- Turn the felt piece the other direction, and stitch horizontal stripes again. You should end up with a nice diamond pattern.
- Lay the pattern back on top of your felt piece and trim the felt to the correct size.
- Roll the cone and pin it together. Using coordinating embroidery floss, sew a blanket stitch up the seam of the cone--starting from the bottom and stitching to the top. (See this post for links to stitching tutorials.) Just leave the needle and thread hanging off the top. You don't need to tie it off because you will be continuing your line in step 7.
- Using felt scraps or batting, stuff the cone to overflowing.
- Place the small circle over the top and check to see if you have enough (or too much) filling. Blanket stitch around the circumference of the circle.
You're done. It wasn't as difficult as it looked, right?
Felt Food Ice Cream Scoops
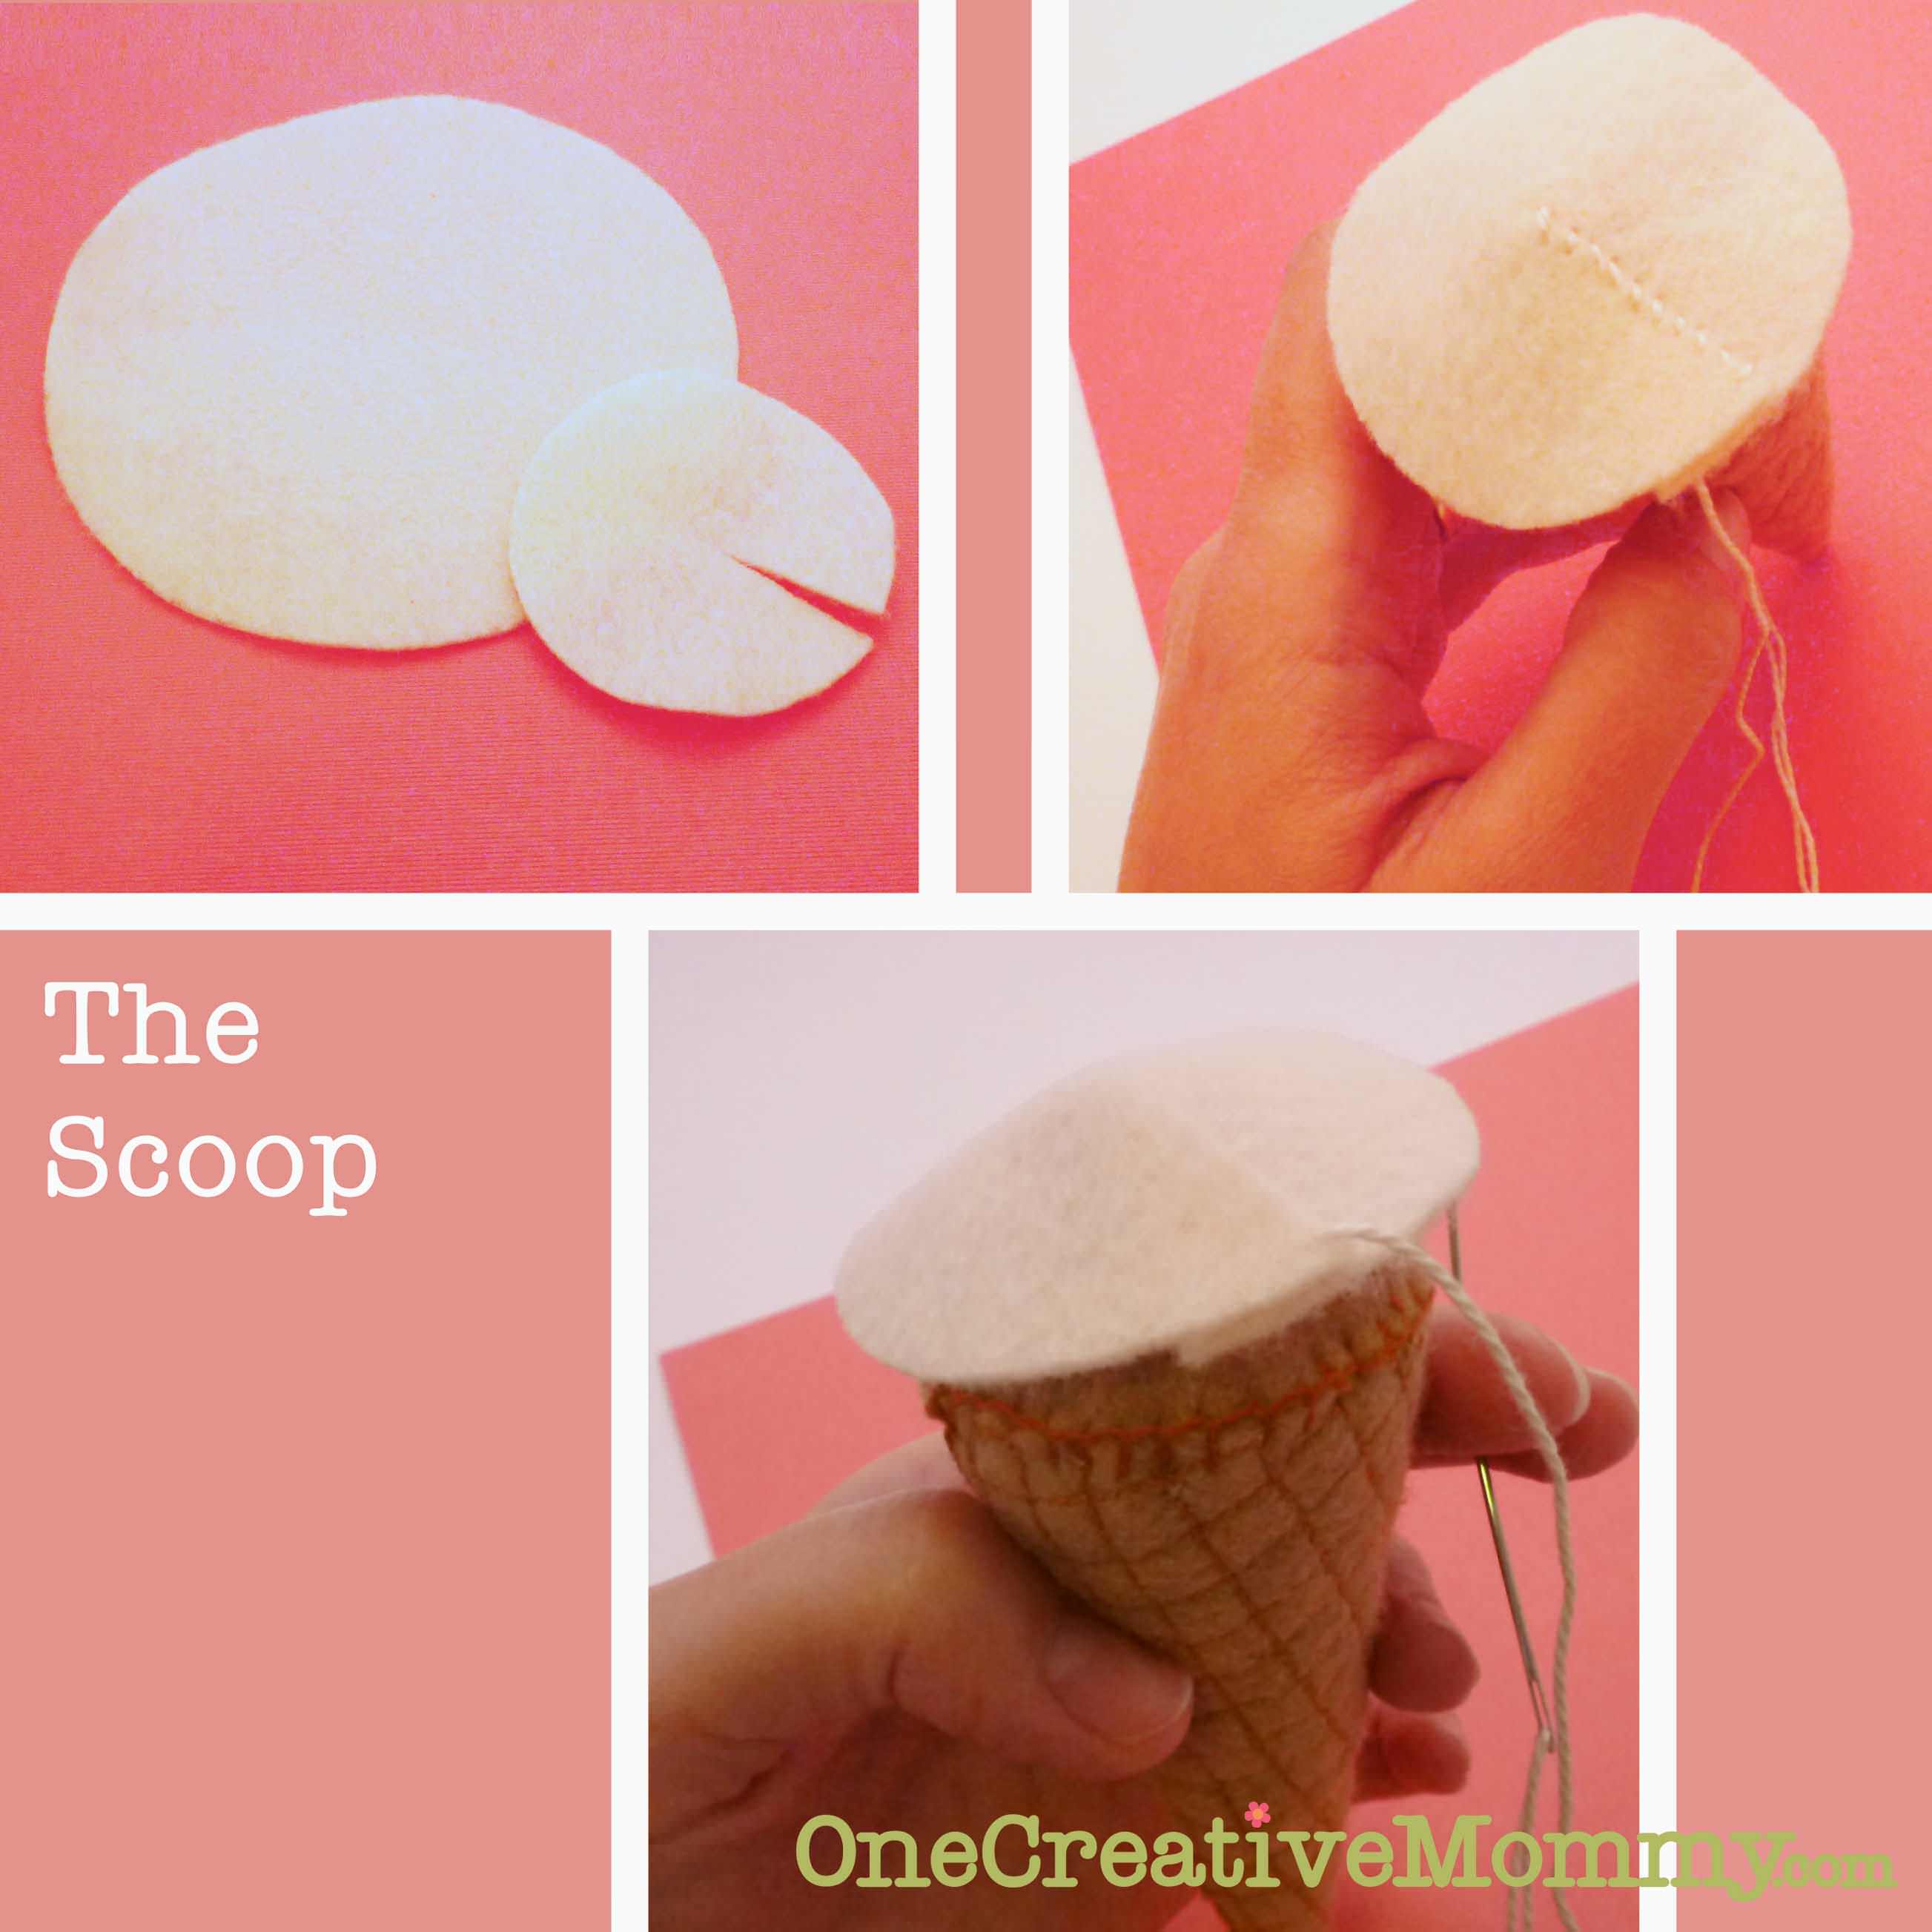
- Cut out one large and one small circle from the provided pattern. Cut a slit from the edge to the center of the small circle.
- Lay the small circle on top of your cone and overlap the slit portion until it matches the top of the cone.
- Whipstitch across the slit and trim off the extra piece.
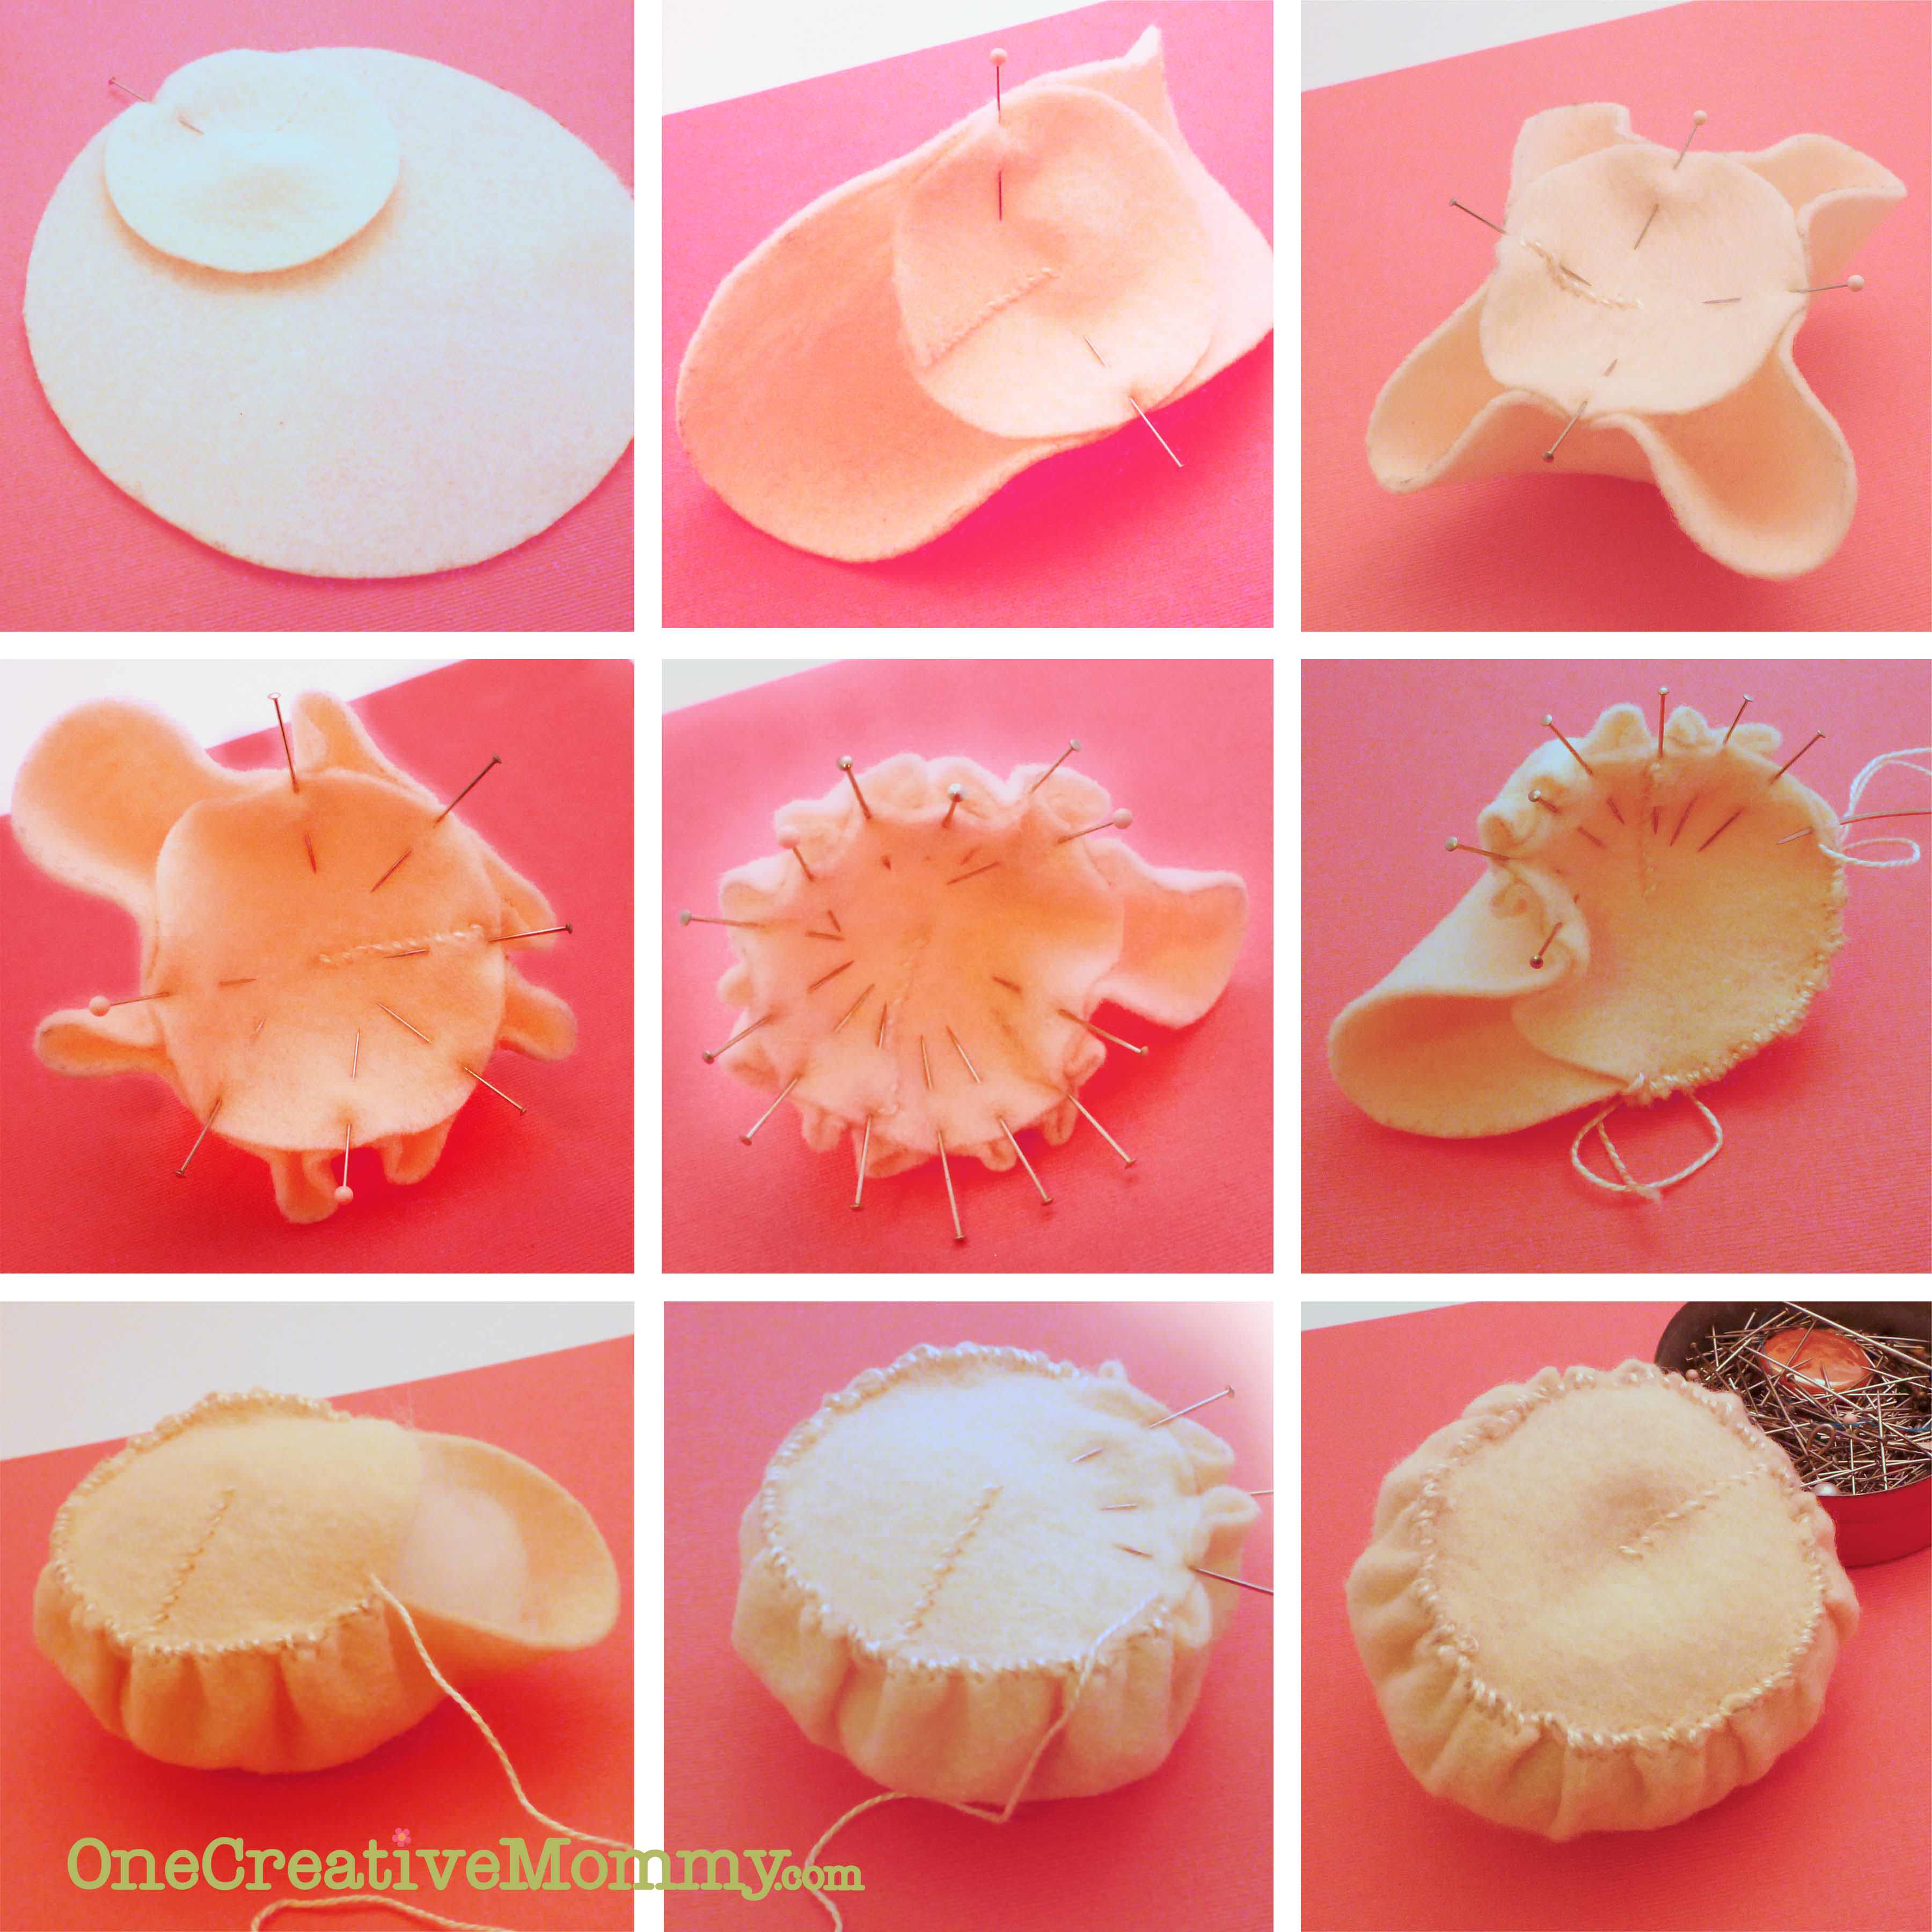
- Lay the small circle on top of the large circle and pin them together at the top.
- Fold the large circle up and pin it to the bottom of the small circle.
- Do the same on the left and right sides.
- The pictures tell the next steps better! Don't pin around the entire piece. Leave an open spot for stuffing.
- Whipstitch (you don't need a blanket stitch here) around the edge--stopping at the opening.
- Stuff with batting or felt scraps. (I like batting for this part because it makes the scoops soft and squishy. It also doesn't show through the light-colored felt.
- Stitch around the remainder of the circle.
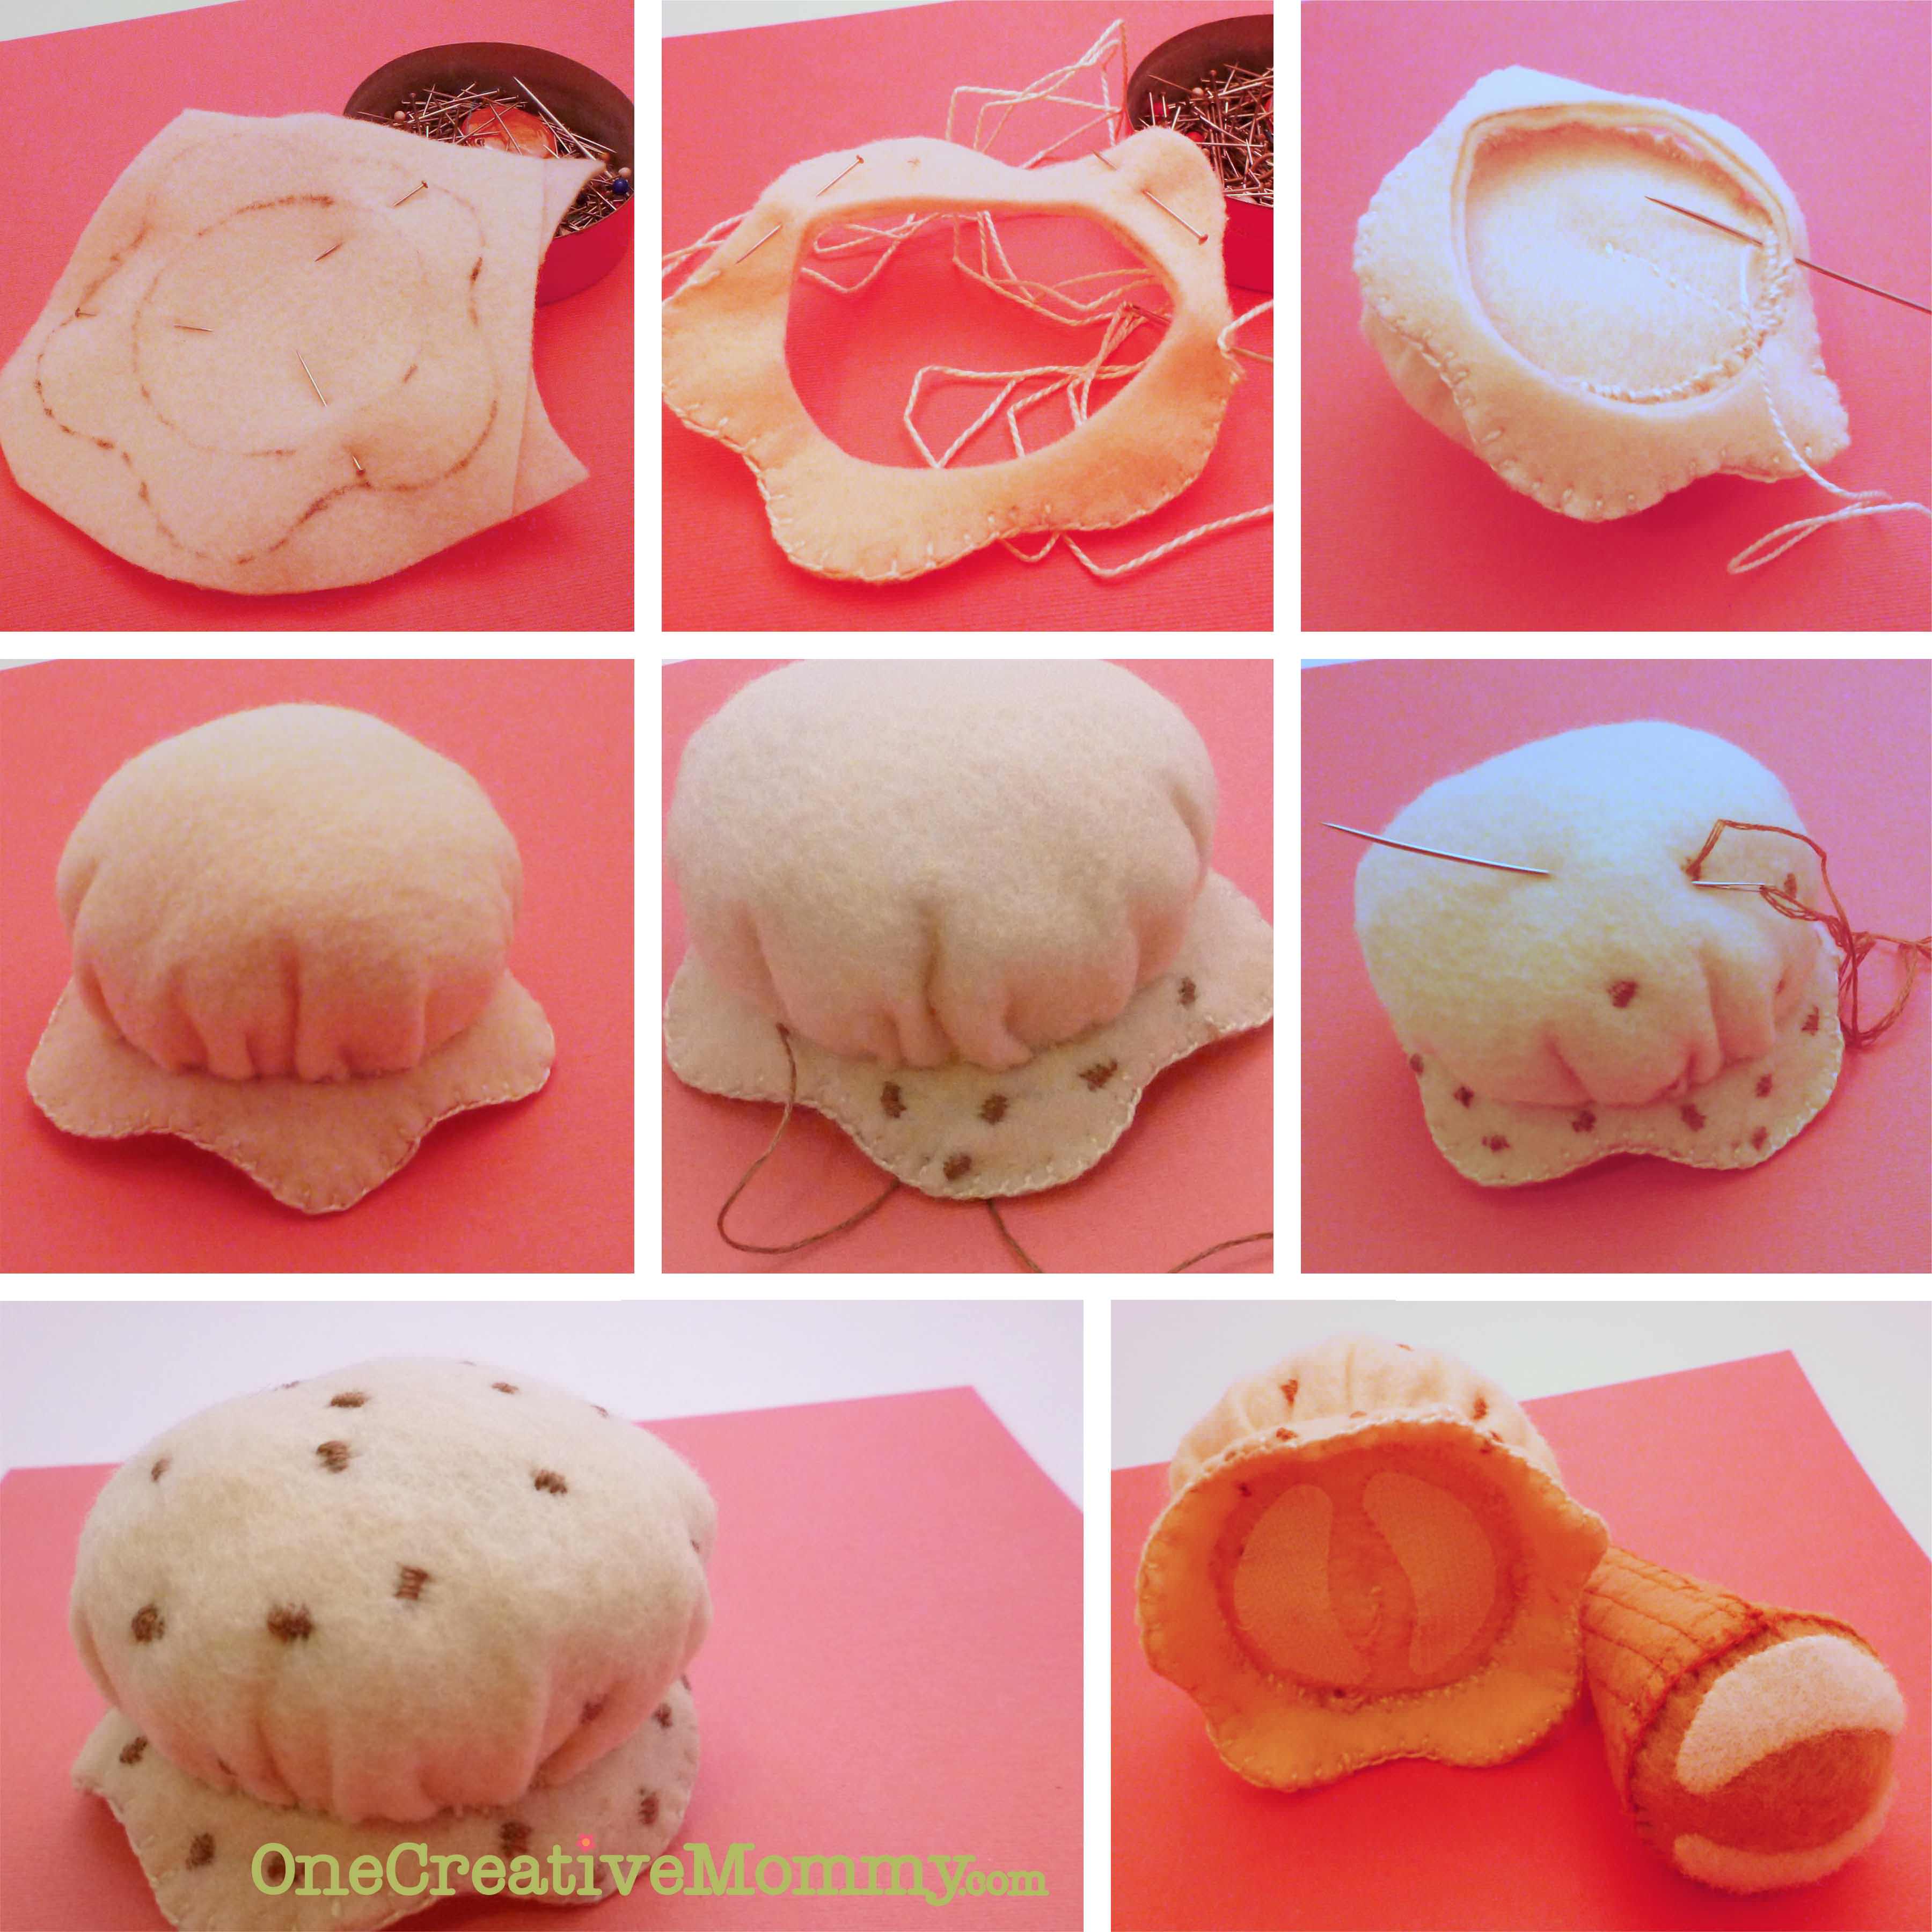
- Cut the flower shape from two layers of felt. (You want these shapes to be exactly the same, so it is best to trace, pin, and cut the two pieces at the same time.)
- Blanket stitch around the outside edge only.
- Lay the shape on top of your scoop and stitch around the inside edge.
- Optional--add some sprinkles, chocolate chips, nuts, etc. (This scoop was supposed to be chocolate chip, but I'm thinking it looks more like pralines and cream.)
- Cut two velcro pieces. Stitch the rough side to the ice cream scoop and the soft side to the cone.
You are done! Now make some more ice cream flavors. One will never be enough!
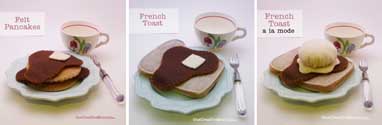
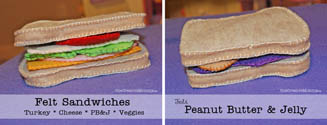
Check out my other felt food creations:









Melissa
So cute! My daughter loves to make felt food. I'm going to have to show her this pattern. Thank you for sharing with us!
Melissa
redflycreations.blogspot.com
Heidi Fowler
Thanks! If your daughter loves to make felt food, be sure to direct her to my felt food roundup. It should fill up in the next few days.
Rosey
Oh my gosh, you have NO IDEA what a hit this is going to be w/my son. He's always opening up an 'ice cream shop' in our little world of play! GREAT share!!
Heidi Fowler
I'm glad you can use the tutorials. I made a menu and diner apron to go with these. I'll post them eventually!
Pam from Over the Big Moon
This is so cute! Love them! Thanks for sharing!
Anna @Bean Bug Crafts
This is so cute! I saw this on Pinterest earlier and then saw it linked up over at Financial Friday so had to come over and take a peek. I have to put this in my "to-do" pile for sure, my kids would LOVE it!
Thanks for sharing!
amber b
um, this is fantastic. i love these with my whole heart. pinning this and making it soon -thanks for sharing!
Emily
I love felt food, popped over from chic on a shoestring. Pinning!
Winnie
Wowwwww
This is soooooooooooo beautiful
I've never seen something like that and I'm totally impressed
Jill @ Create.Craft.Love.
I love these! They look so real! Thanks for sharing at the Pomp Party! Pinning!
Jen @ frazzled5
These are adorable! My kids would love them. New Follower and super excited to have found your blog!
Hugs, Jen @ frazzled
Mariel
It's been fun checking out your blog! I would love to have you stop by and enter my link party, as well. (Hosted every Saturday) http://www.oneshetwoshe.com/2012/09/hello-weekend-50-mikarose-giveaway.html
Melanie
Linked up to the felt food party- I'll also be featuring this on Thursday!
Barbara
Adorable! You're so creative! Thanks for joining the party at Keep Calm and Link Up!
Barbara at Chase the Star
chasethestar dot net
Katherine
These are lovely! I would probably sew the velcro onto the small circle of the ice cream first though, I think that would be much easier.
Nicole@Show Off Friday
Those are super cute! That's a great tutorial. Thanks for sharing!
Christy
How fun and cute are these?? I love them! And the colors are perfect. Thanks so much for sharing the tutorial with it. I would love it if you would link up to my party that is going on right now. It's Tip-Toe Thru Tuesday and we have three different co-host, so that's three different sites sending traffic. I hope to see you there!
http://christyscuties.blogspot.com/2012/09/tip-toe-thru-tuesday-link-pary.html
Britni
LOVE these! I can't wait to try making felt food, it looks like too much fun!
Jessi @ Practically Functional
I love all these felt foods, so cute! Thanks for sharing at The Fun In Functional!
Nichi - The Mandatory Mooch
Adorable. You are such a talented person!! Thanks so much for linking up to Tasty Thursdays on The Mandatory Mooch!! I hope you will link up again. The party will be live tonight. http://www.mandatorymooch.blogspot.com
Thanks, Nichi
Christina at I Gotta Create!
Your felt food is just toooo adorable!
Thank you so much for sharing it at the Wildly Original linky party at I Gotta Create!
<3 Christina
Kim@madeinaday
I featured you today!
Kim~madeinaday
Mariel
Thanks for sharing this with my readers and linking up at Or so she says...! I hope you'll add me to your party list and come back this Saturday! http://www.oneshetwoshe.com
Heidi Fowler
Yep. You're on my list. I'll be back.
Ewa
these cones look so great!
Carrie
Oh, I love it!! Thank you for sharing on Sharing Saturday!!
Randomly Fascinated
These are super cute! I am very inspired by your felt food series. Maybe one day I will get my sewing machine set up so I can use it easily and make all the cute sewing projects that I keep pinning :)
Thanks for linking up to Friday Fascinations! Don't forget to come back this week and join the party!
Charlene@APinchofJoy
You are featured this week on Busy Monday at A Pinch of Joy! I hope you will stop by and grab a Featured Button from the Button Box on the sidebar this afternoon. Pinned. Can’t wait to see what else you’ve been working on — hope you will link again soon!
Jamie @ Love Bakes Good Cakes
So cute - I wish I was more talented in this department!! Thank you so much for sharing this at All my Bloggy Friends last week. I can't wait to see what you share tomorrow! :)
K @ Claiming Our Space
Oh my goodness, what a cute ice cream cone! Thanks so much for sharing on Tout It Tuesday. Hope to see you tomorrow.
Christine
CONGRATS!!!! You have been featured at The DIY Dreamer.. From Dream To Reality! Come on over and grab your featured button :) You deserve it!!
http://thediydreamer.blogspot.ca/2012/09/from-dream-to-reality-linky-party-34.html
Ruth @ AtNumber 29
Thank you for the tutorial, it's amazing! will be trying this!
Carrie
These are adorable and perfect for my grandsons! I featured your cones on my blog at http://whittskitsfabricscrafts.blogspot.com/2013/03/find-it-for-free-on-friday-5-patterns.html
Thanks!
Corey @ Tinysidekick
I love this project Heidi. My daughter would get such a kick out of stacking the scoops! Thanks for stopping by my blog TinySidekick the other day. I've enjoyed clicking around here and will be following!
Corey from TinySidekick.com
Heidi Fowler
Thanks for stopping by, Corey! I hope you find many more projects to love. I just popped back to your site and explored some more. I'm now following you via Bloglovin. (Love your peek-a-boo toy storage!)
Damya
OMG i must try this some day later ! very nice ice cream, and clear explanation for this tutorial ! thank you for sharing :D
Heidi Fowler
Glad you stopped by, Damya. I warn you . . . once you start making felt food, you'll never stop! It's really fun. I'm off to check out your site. Thanks for stopping by.
Ana
Thank you so much for sharing. Im making a sweets store for my kiddo`s christmas present. He is always prettending to be an icecream seller on his tricicle.
And you are right, felted food is an addiction.
Ana Elena
From Mexico City, Mexico
Heidi
Thanks, Ana! Thanks for telling me where you are from. It's so fun to know that I have readers in other countries!
LeAnne
Adorable! I whipped up one scoop and a cone....working on more, for my 3YO granddaughter! So cute! TFS!
Heidi
I'm so glad to hear that you were able to follow the tutorial, LeAnne! I hope your granddaughter loves them. (I warn you . . . making felt food is addicting!
Tatiana
Adorable!
Would it be inappropriate to ask what program you use to make your patterns? I designed a pop up doll house I'd like to offer patterns for, but have no idea how to go about it. Even though I intend to give them out, I'd rather offer something nicer rather than the rough marker sketches that exist now! Heh.
Thanks for the patterns, my girls are going to love them!!
Heidi Fowler
Of course it's not inappropriate, Tatiana! I use Adobe Photoshop and Photoshop Elements (both work well), and then save my patterns as pdf files so that others can open them. Good luck with your pop up doll house! I'd love to see it.
Smita
I just made these for my girls (5 and 3yrs old) - 2 cones and 7 colorful scoops of ice cream! your turorial was so easy to follow and they came out perfect...thank you!
Heidi
I'm so glad the tutorial worked for you, Smita! Thanks so much for coming back and letting me know. I hope your girls love them!
sylvie la GB
Thank you very much for your great tuto and pattern ! just made some ice creams, and it turned out perfect !
thanks, thanks, thanks for sharing !!
Sylvie, from France
Emily
WOW!! this is one of my favorite felt food ideas!! I think I commented on this when you first posted it ;o) LOVE it!! You are featured today... pinned and shared around social media. I would appreciate any comments or reshares on the post.. thanks!! Emily
Matheus
Haha, this one is just great. For kids this idea is awesome.
Maryline
Thank you so much for this great tutorial. What a so good idea.
Greetings from Switzerland
bogner hamburg
Arabian
bogner hamburg http://bognerhamburg.umidlan.com/
bogner jacke herren
purlieu
bogner jacke herren http://bognerjackeherren.seaatduke.com/